Migrating Microsoft Azure SoftNAS virtual machines
- Former user (Deleted)
- Sean Hastert
- Admin
Symptoms
If you need to upgrade or move an Azure-based SoftNAS virtual machines, many of the steps will be familiar. Much like standard SoftNAS instances, there is no direct upgrade path for instances below version 5.0.2. If your version falls below this threshold, you will need to migrate your instance to a new VM. The steps below will help you do so:
Purpose
This article covers the steps required to migrate an Azure virtual machine from one VM to another.
Resolution
- Create a new host VM that mirrors the settings of the original as closely as possible
EXAMPLE: Select the same size of VM, provide the same network settings, etc..
Once the new host is created, the process is the same as any other SoftNAS VM migration.
See Migrate SoftNAS on AWS from VPC to VPC within a Region for step by step instructions on how to migrate settings such as S3 and EBS disk information (if applicable), SAMBA and iSCSI settings, etc..
- Log in to the older VM, by copying the DNS name or Public IP address from Azure to your browser, and entering your SoftNAS credentials as usual on the SoftNAS login screen.

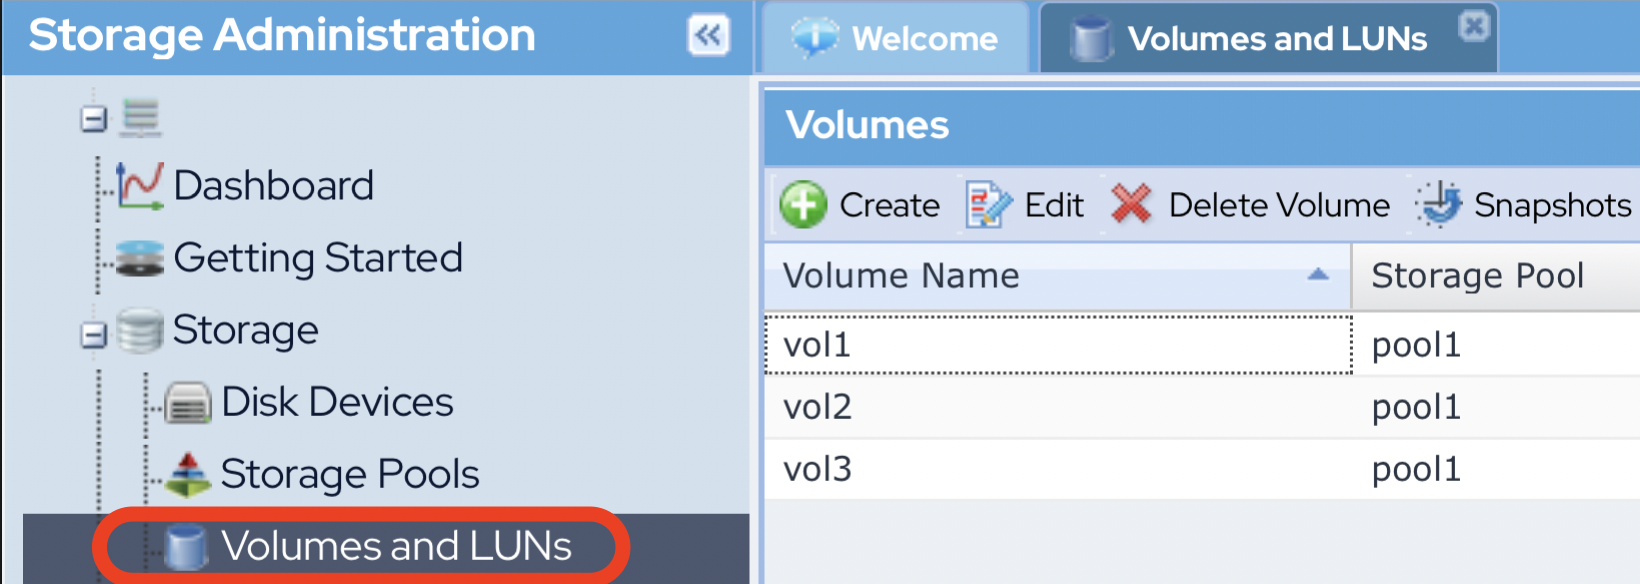
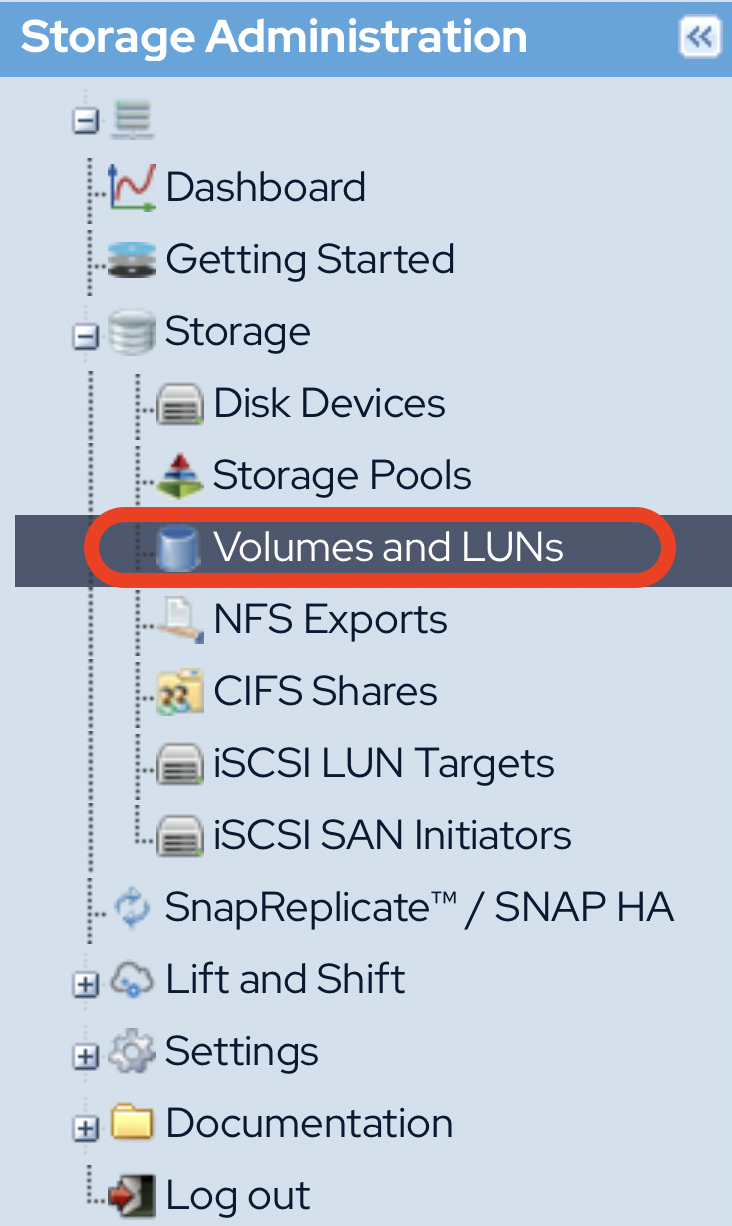
- Open Volumes and LUNs from the Storage Administration pane and record the Volume Name and Storage Pool name.
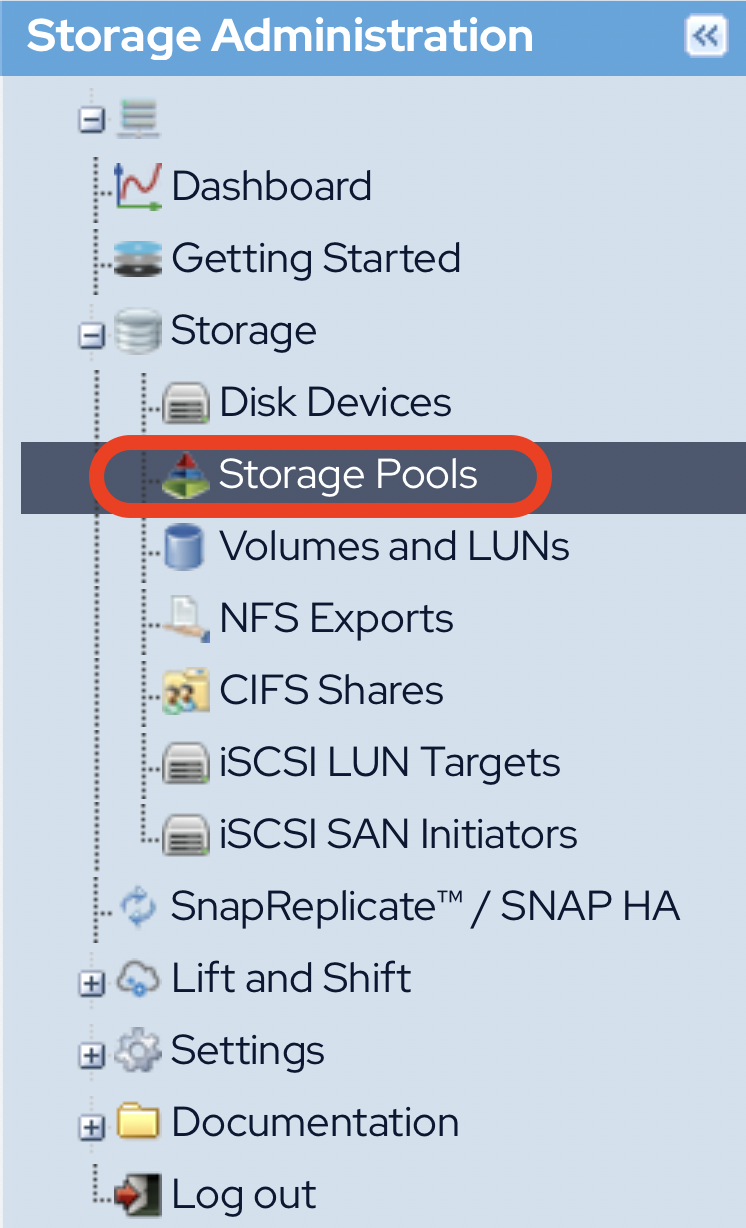
- Open Storage Pools, and record relevant pool configuration information.
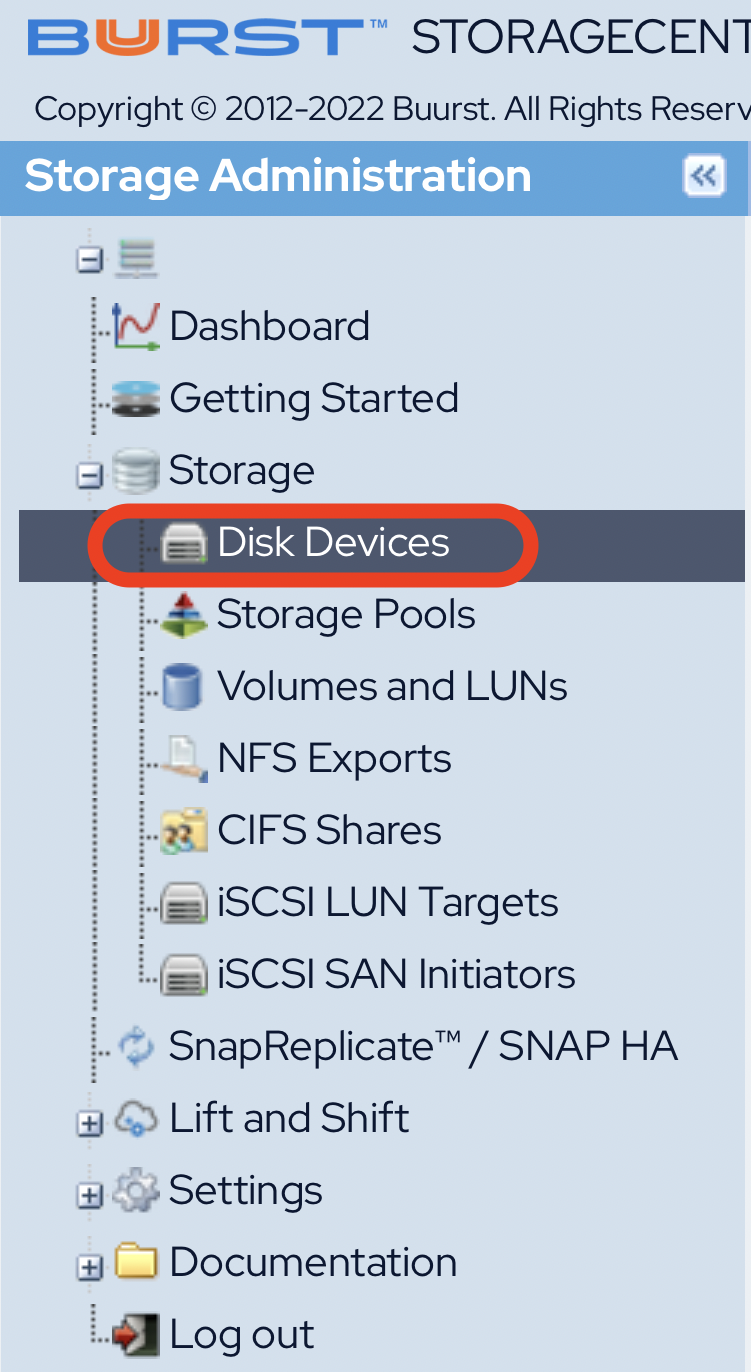
- Open Disk Devices, and record disk specific settings.
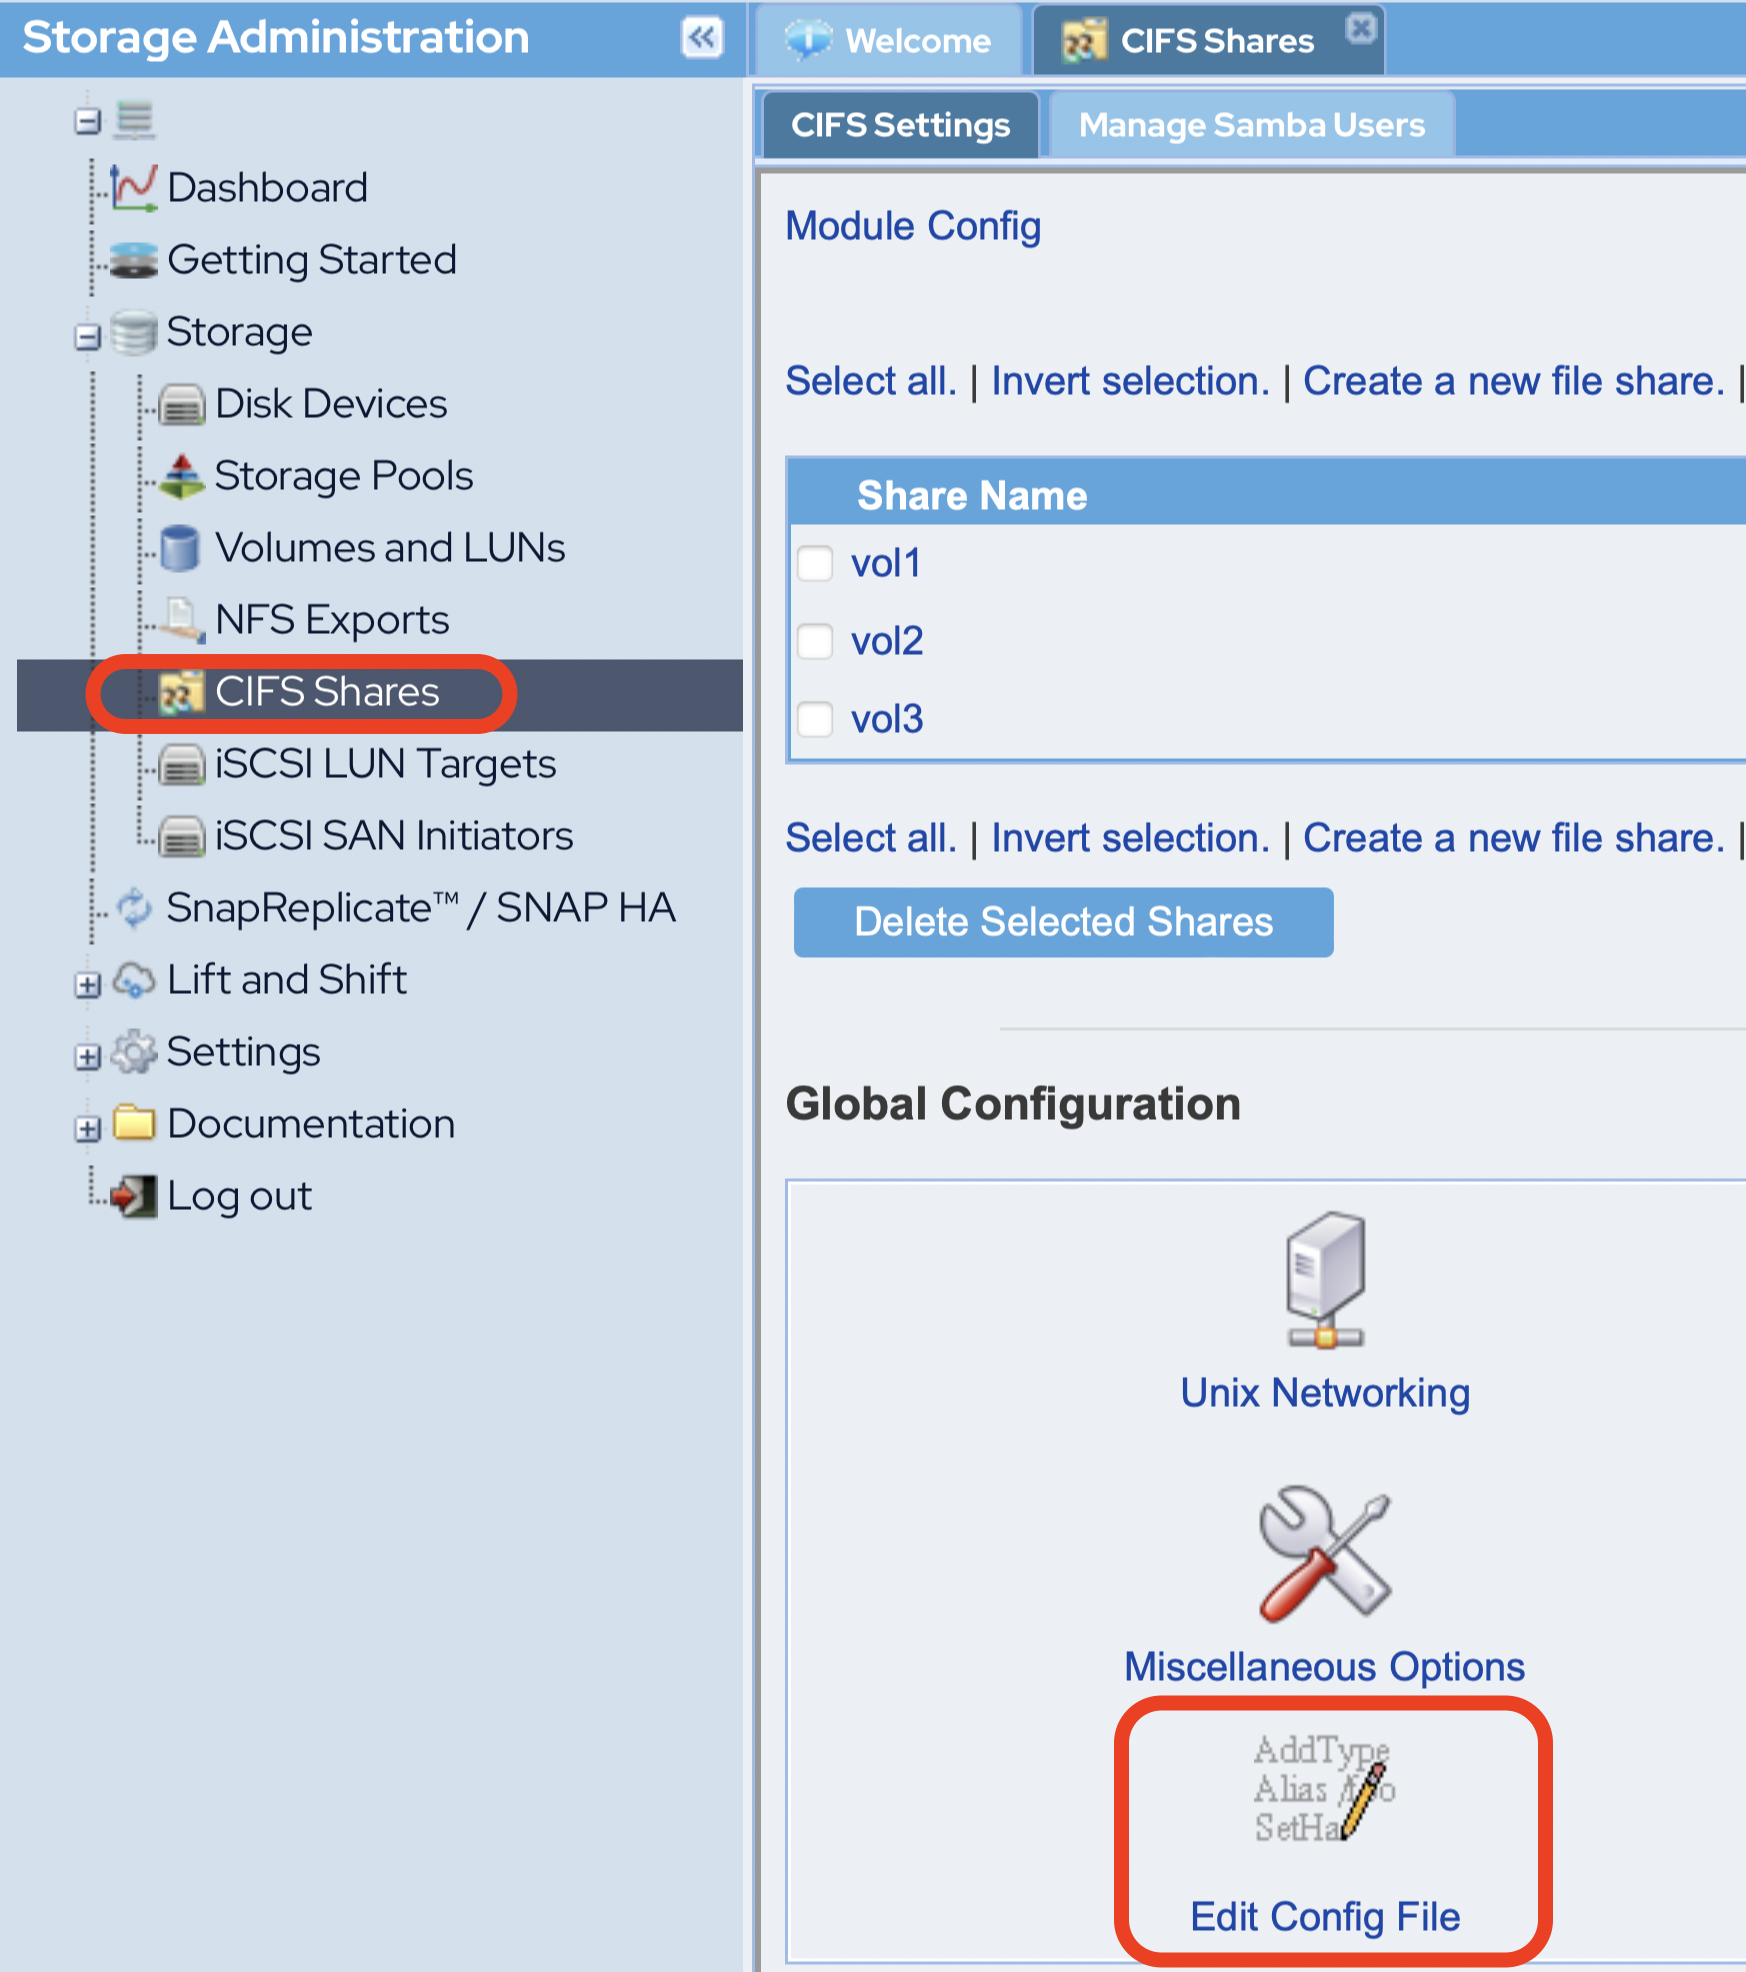
- If your instance makes use of CIFS, open CIFS shares, and select Edit Config File. Copy the
etc/samba/smb.conffile for use on the new instance.
- If using NFS, SSH into the Azure instance and use the following command to provide information on your current NFS settings that you can use to configure your NFS export on the new box.
NFS Settings
Remember, the pictured information is just a sample. The settings of your NFS export might be different.
- Once all settings have been recorded, you are ready to detach the disk(s).

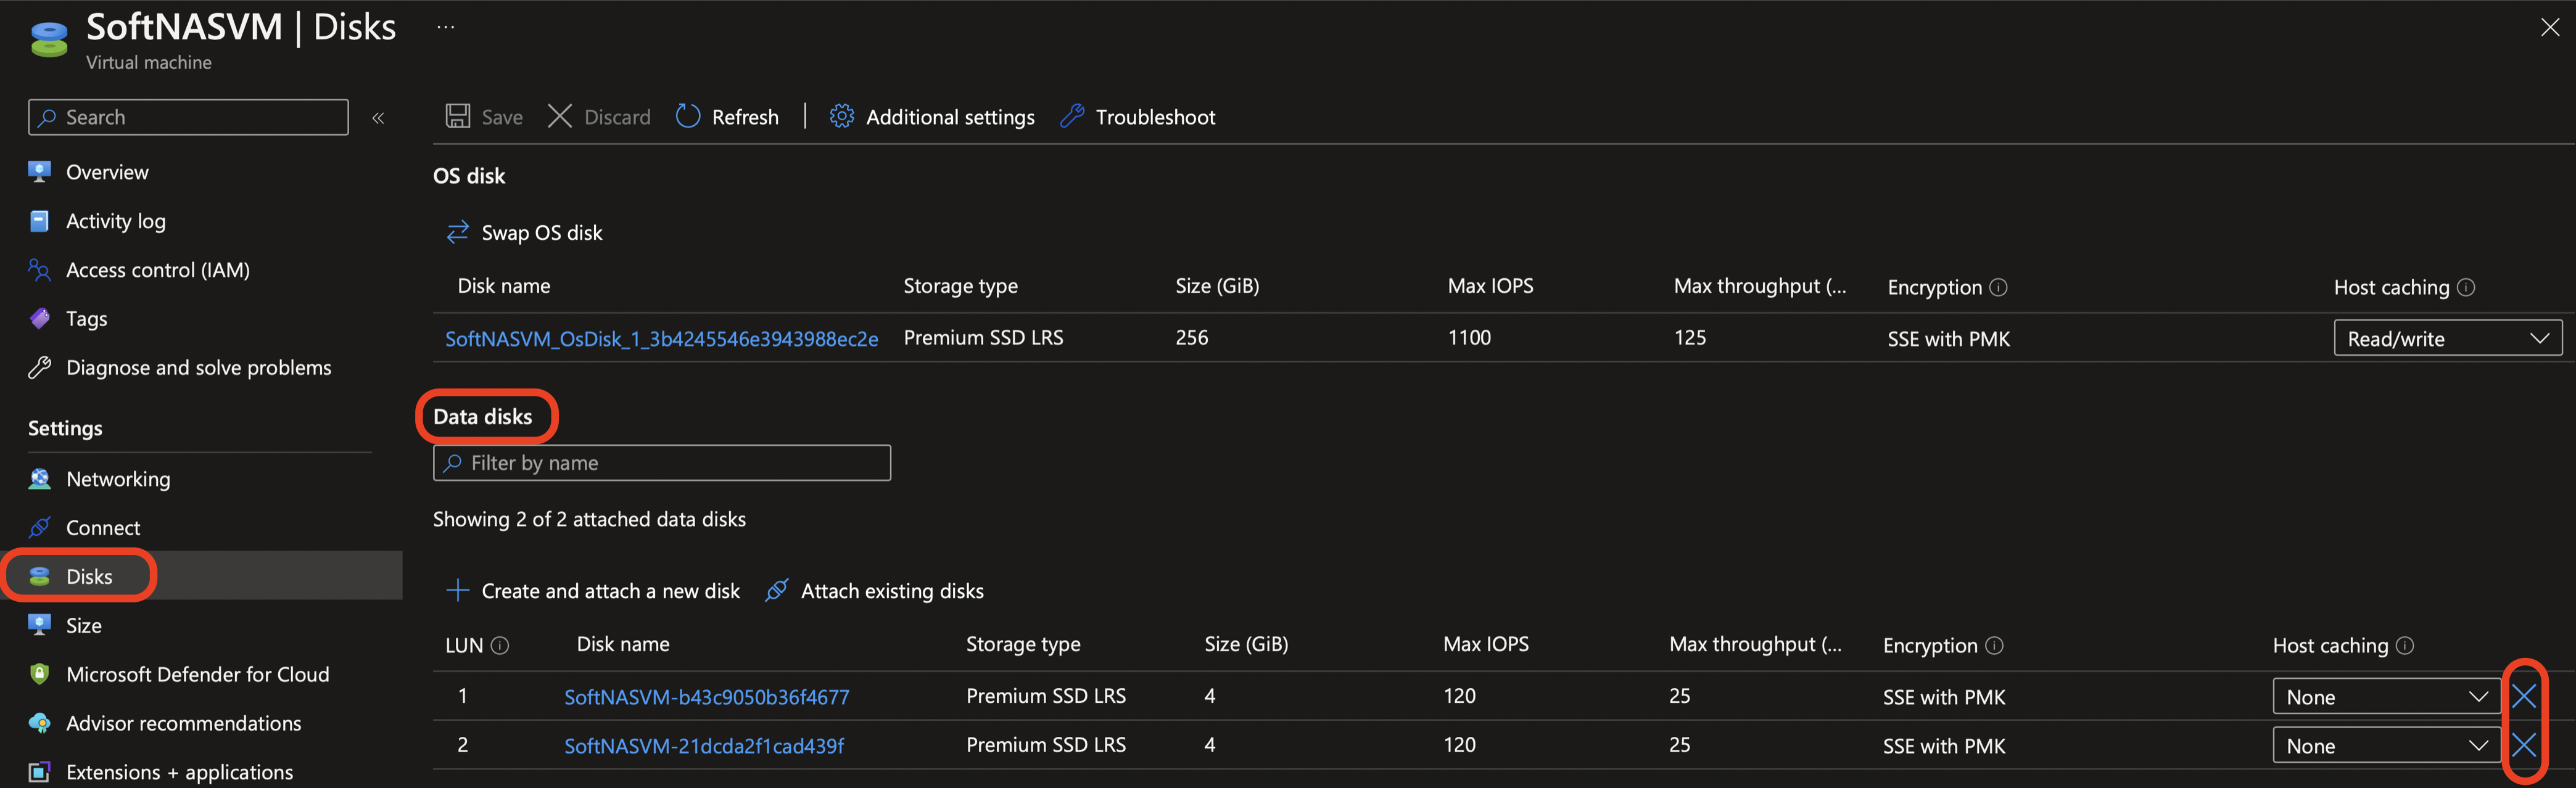
- Back on the Azure Portal, open up your old SoftNAS instance, navigate to the Disks module, and identify the disks which you want to migrate. This should be any disk under the Data disks section.
- In order to detach a disk, simply click the
 button next to the disks you wish to detach on the far right.
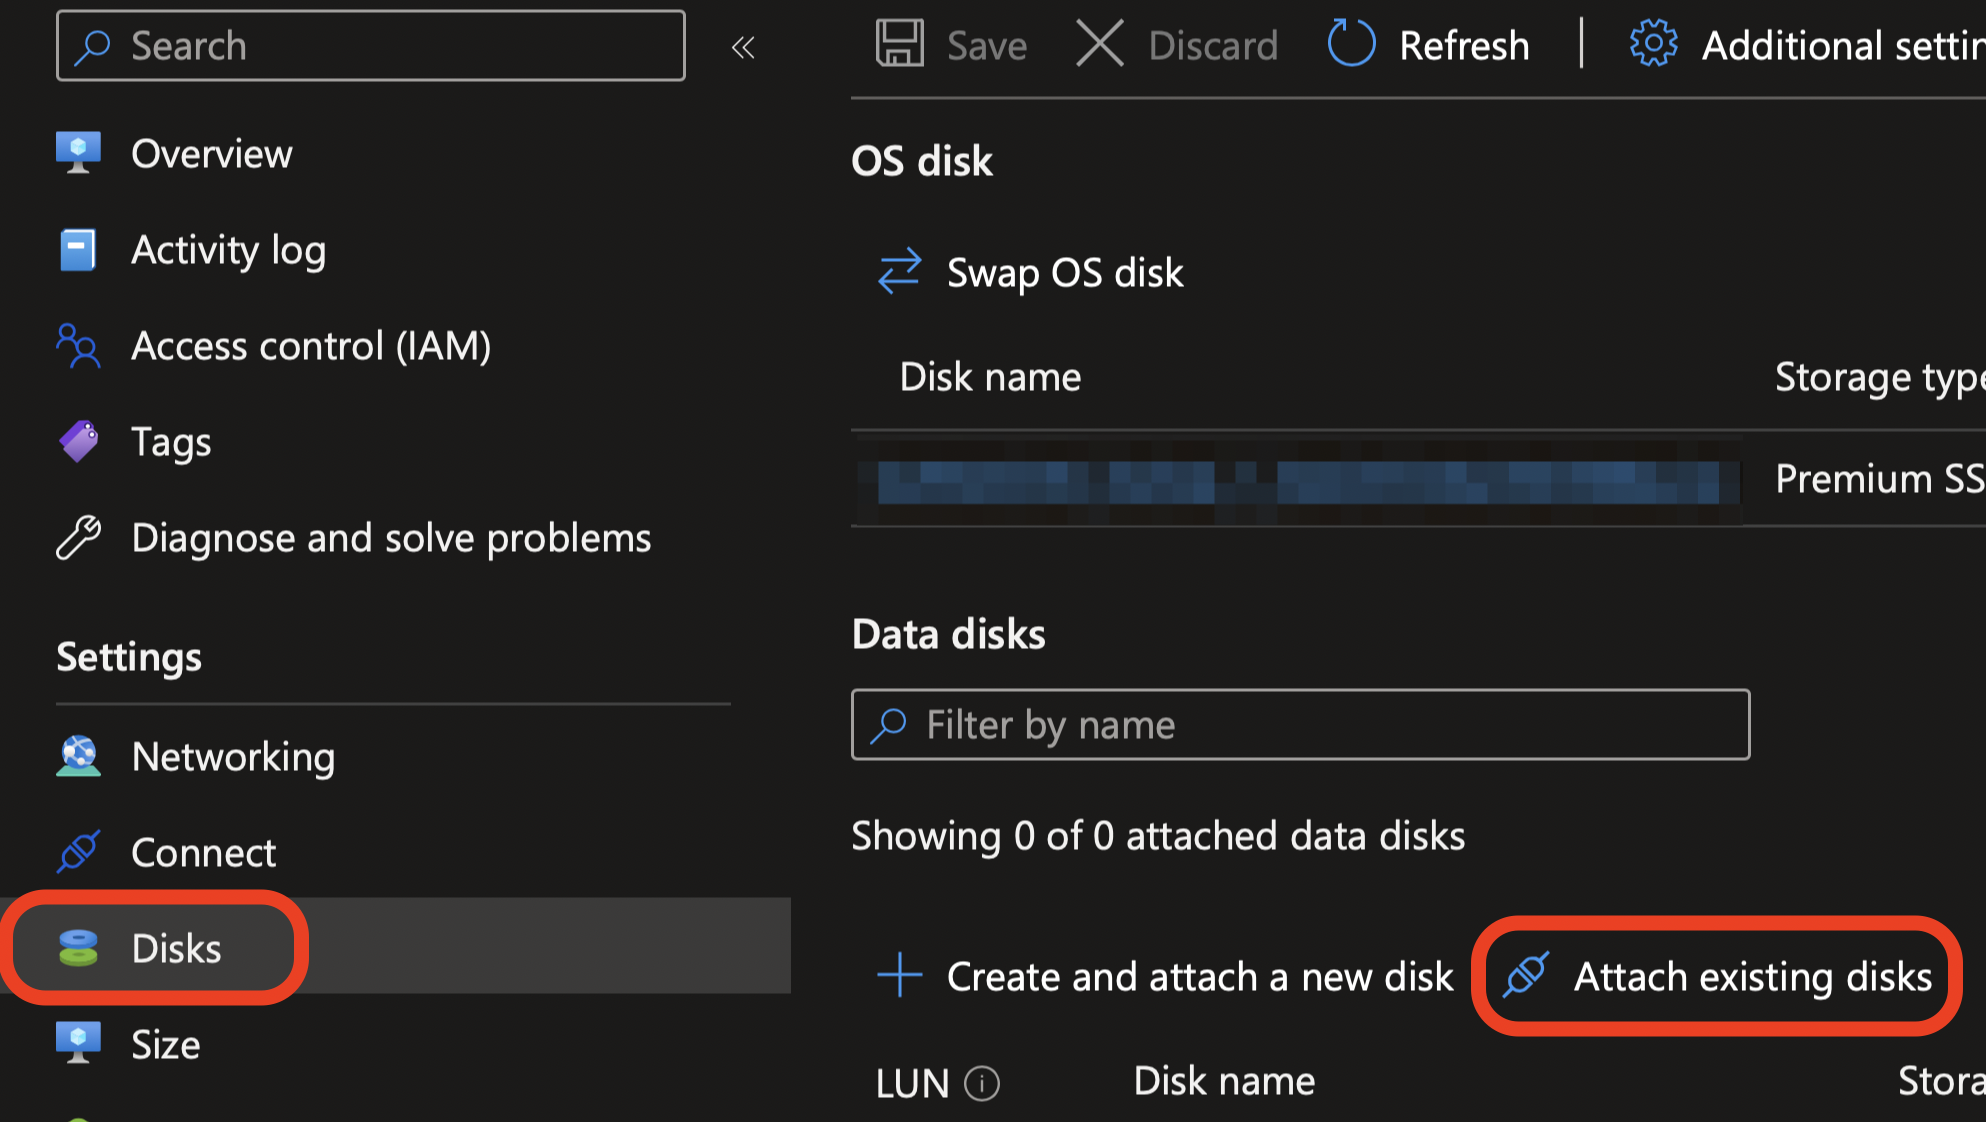
- Once all disk(s) are detached, open the new SoftNAS instance, navigate to the Disks module, and click the Attach existing disks button.
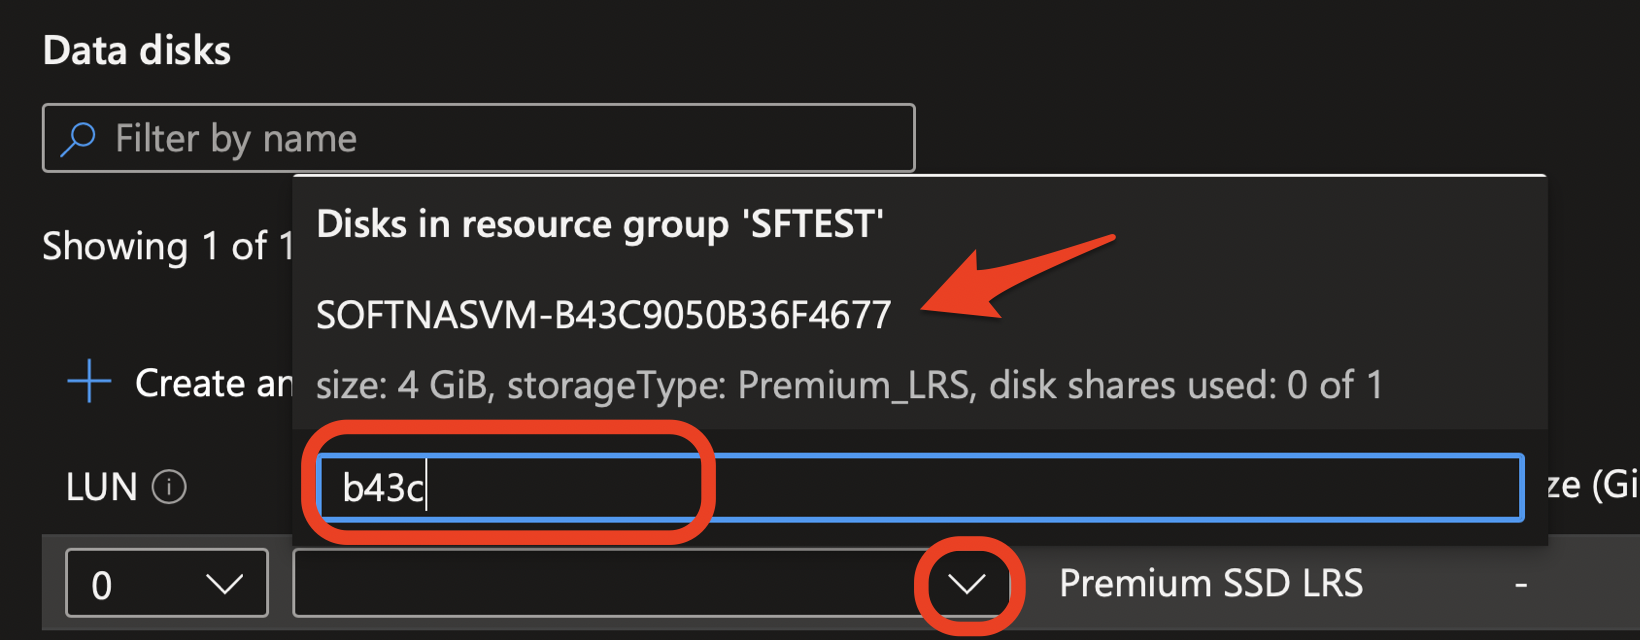
- Search for the disk you wish to attach and select it. Repeat this process until you have added all necessary disk(s).
- Once done, click the Save button in the toolbar.

- Restart your new instance by clicking the Restart button.

- Navigate to Disk Devices in your new SoftNAS instance and you will see the that the disks have been added to the instance.

Checking Pool Status
Once disk migration has been completed, please follow the steps below to ensure that your zpools are updated.
- SSH into the Azure instance by entering the following command and following the on-screen instructions.
ssh softnas@<Instance IP>
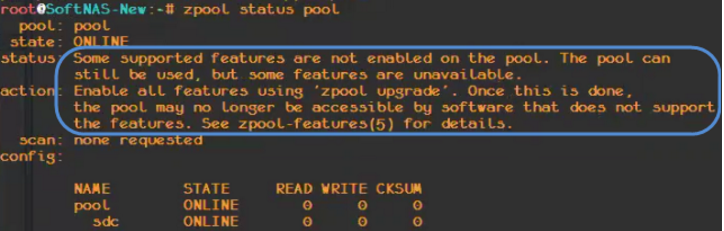
- Run the following command.
zpool status [pool name]
zpool Status
Upgrading Pools
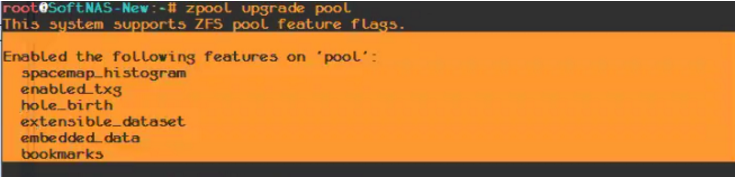
- To update ZFS, enter the command:
zpool upgrade [pool name]
- You will see something like the image shown to the right.
Verify Pool Configuration with SoftNAS
- You can now also verify that your pool or pools are found and configured within the SoftNAS UI. Select the Volumes and LUNS module to see the volume, and the pool it is associated with.
Copy CIFS Information
- To enter CIFS information via the command line, use the following:
scp /etc/samba/smb.conf softnas-instance-ip:/etc/samba/smb.conf
Copy NFS Information
- On your new SoftNAS instance, execute the following command:
nano /etc/exports
- Copy and paste the saved NFS configuration settings that were noted earlier into the /etc/exports file.
- Restart the NFS service using the following command:
service nfs restart
Copy iSCSI Information
- If iSCSI is in use, enter the following command to enter information:
scp /etc/target/saveconfig.json softnas-instance-ip:/etc/target/saveconfig.json
- Restart the iSCSI service using the following command:
sudo service fcoe-target restart
- Your Azure instance is now fully migrated and configured.