Managing Snapshots
- Former user (Deleted)
- Sean Hastert
- Tom Sheffield (Unlicensed)
- Snapshots Grid - Shows the various snapshots created for the specific volume selected.
- Creating a Snapshot - provides a way to manually generate a snapshot for the volume selected.
- Deleting a Snapshot - provides a way to select and delete a specific snapshot for the volume selected.
- Creating a SnapClone from a Snapshot - provides a way to create a mountable volume from a specific snapshot for the volume selected.
The Snapshots tab contains the Volume Snapshot Control Panel.

Snapshots Grid
The Snapshots grid shows a list of snapshots for the currently selected volume (in the upper grid on the page). If no single volume is selected, then snapshots for all volumes are shown (default until a volume is selected). The Snapshots table has the following fields.
Field | Description |
|---|---|
Creation Date/Time | It is the date and time when the snapshot was created. This is the point in time at which an index to the volume's state was marked. |
Snapshot Name | It is the unique name given to every snapshot that is identified with a volume. Scheduled snapshots have names corresponding to the frequency at which snapshots are taken; i.e,, hourlyNN, dailyNN, weeklyNN. When an ad-hoc snapshot is created, it is receives a name in the form "snapMMMDDYYYY-HHMMSS; e.g., snapJun242013-135901 would have been taken on June 24, 2013 at 1:59:01 p.m. |
Space Referenced By Snapshot | It is the space referenced by the snapshot |
Volume | It is the volume to which the snapshot is referred to. |
Storage Pool | The snapshot's storage pool |
Creating a Snapshot
You can create an ad-hoc snapshot of the currently selected volume. To do so, simply follow the steps given below.
- Select the volume to which the snapshot needs to be created.
- Navigate to the Snapshots tab.
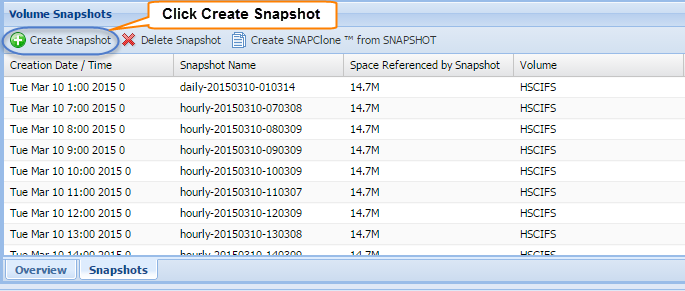
- Click the Create Snapshot button in the toolbar.
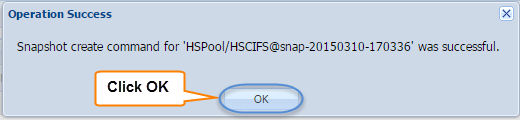
- The Operation Success message confirming the successful creation of the snapshot will be displayed.
- Click OK.
The new snapshot volume will be created.
Deleting a Snapshot
You can easily delete a snapshot. Simply follow the steps given below.
- Select the volume from which you wish to remove the snapshot.
- Navigate to the Snapshots tab.
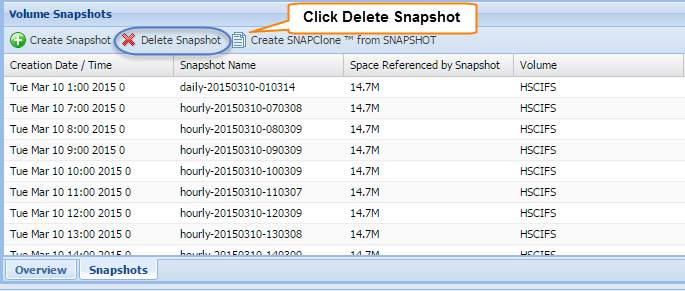
- Click the Delete Snapshot button in the toolbar.
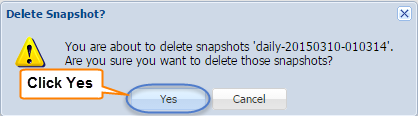
- The Delete Snapshot message asking you to confirm the deletion of the snapshot will be displayed.
- Click Yes.
The selected snapshot will be removed.
Creating a SnapClone™ from a Snapshot
You can create a new volume as a writable clone of the snapshot. The writable clone volume is an exact replica of the volume at the time the snapshot was originally taken. The cloned volume doesn't take up any appreciable additional space; however, as changes are made to the cloned volume, new data blocks are created as difference blocks.
Simply follow the steps given below:
- Navigate to the Snapshots tab.
- Click Create SnapClone™ from Snapshot in the toolbar.
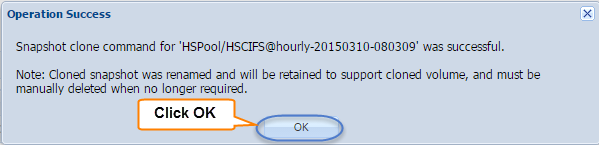
The Operation Success message confirming the successful creation of the cloned, writable volume from snapshot will be displayed.
- Click OK.
The new SnapClone™ volume from snapshot will be created and added to the list of existing volumes.

Location of Snapshot Files with the SoftNAS StorageCenter
Buurst's SoftNAS manages Snapshots using standard ZFS mechanisms within the SoftNAS Storage Center Appliance. They can be found within the UI by selecting Volumes and LUNS from the Storage Administration pane. Under the Snapshots tab, you can manage your snapshots, delete them, schedule them and more. However, many of our technically inclined users prefer a command line approach, and may wish to manually copy or backup their Snapshot files directly.
To access and manage your snapshots via command line, SSH into your instance.
For guidance on how to connect to your Linux instance, click here.
For Guidance on how to connect to your Windows Instance, click here.
Once logged in, change directory to:
/<Storage_Pool_Name>/<Volume_Name>/.zfs/snapshot
![]()