/
VMware Getting Started - Deploy and Access SoftNAS Instances
VMware Getting Started - Deploy and Access SoftNAS Instances
- Former user (Deleted)
- Sean Hastert
- Tom Sheffield (Unlicensed)
Owned by Former user (Deleted)
OVA File
- Save the SoftNAS® for VMware vSphere OVA from the email received after product registration. This version of SoftNAS® is delivered as an OVA virtual machine appliance file for VMware vSphere related virtual machine environments. This OVA has been tested and certified for use with VMware vSphere.
- Connect to ESXi host via VMware vSphere Client, either directly to the host or using vCenter, as appropriate.
Example Deployment
It's important to remember that the deployment shown below is just an example. It is meant to display the general steps of deployment through VMware vSphere. Steps might differ slightly and you should always select the best options for YOUR deployment.
Connect Using vSphere Client
VMware ESXi
Deploy the SoftNAS™ Virtual Storage Appliance on hosts that are running ESXi version 6.7 or later. Then access the OVF files from vSphere Client.
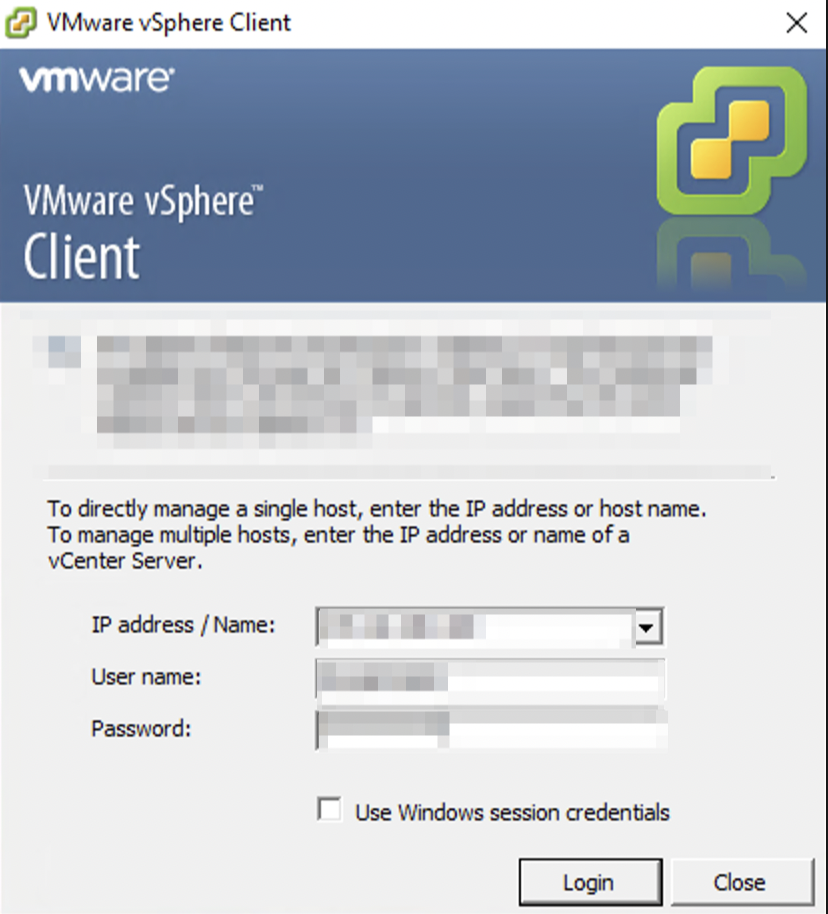
- Start your vSphere Client.
- Login by providing your vSphere IP address / Name, User name, and Password.
Create SoftNAS Instance
- Select File > Deploy OVF Template
 .
.
- Click the Browse button and select the OVA file.
- Once selected, click the Next button.

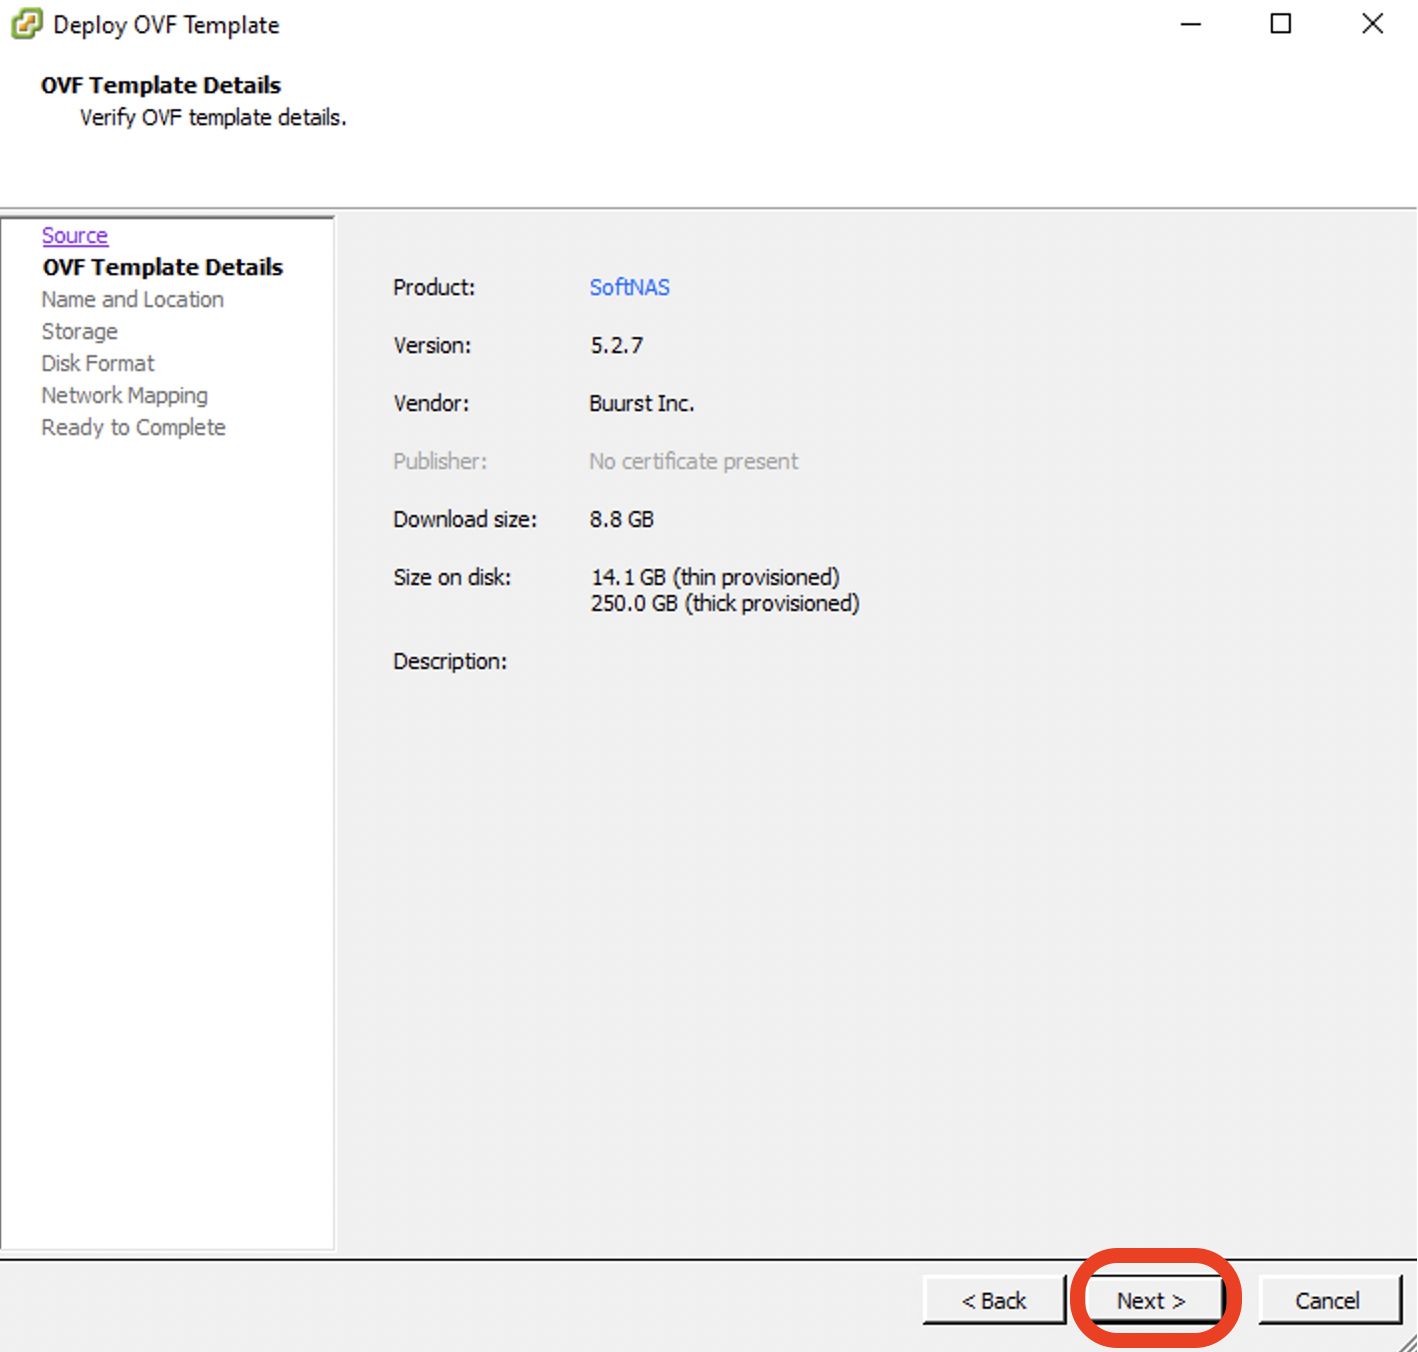
- On the OVF Template Details page, click the Next button.
- Type the name of your instance in the Name field.
- Select the Inventory Location for the deployed template. In this example, we are placing it in QA_Folder.
- Once done, click the Next button.

- Select the Destination Storage for the virtual machine files. In this example, we select QA_Datastores.
- Once done, click the Next button.

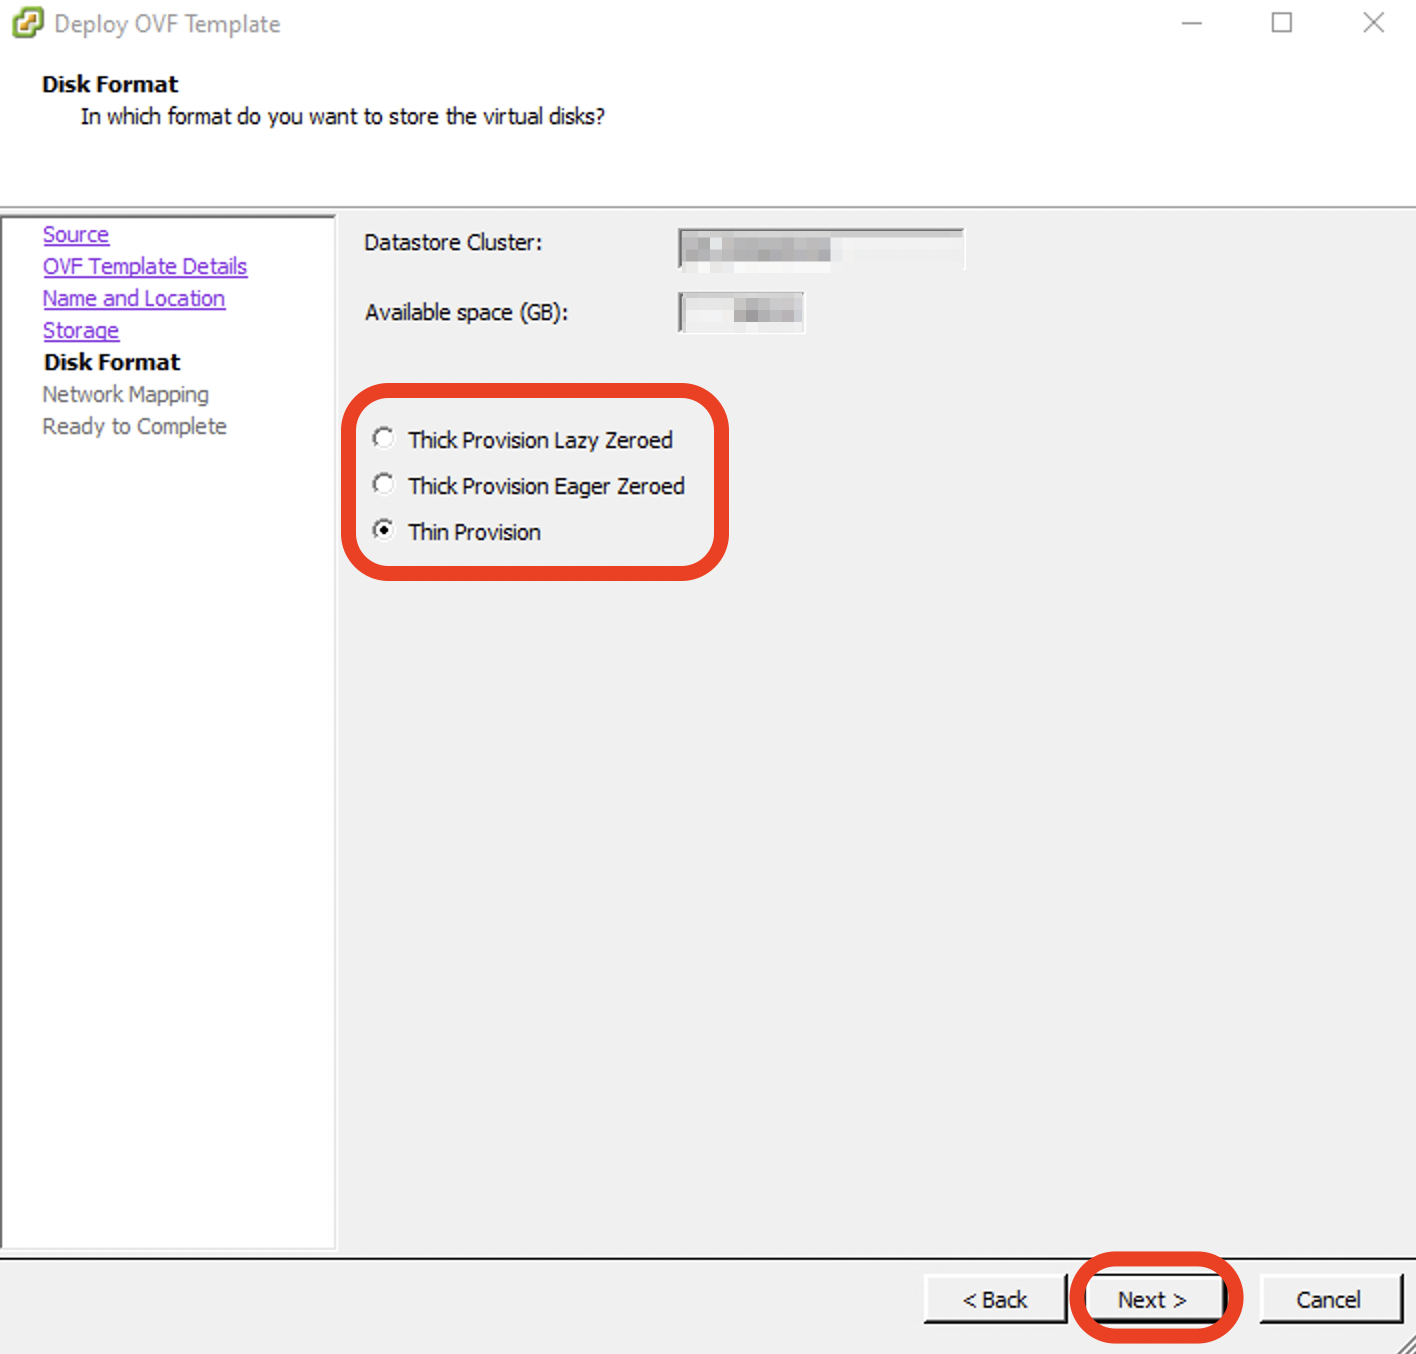
- Ensure that the Datastore Cluster is correct and that the Available space (GB) is sufficient for your deployment.
- Select the type of provisioning that is best suited for your deployment. In this example, we selected Thin Provision.
- Once done, click the Next button.
- Select your networks that will be used in this OVF template. In this example, we select VM NETWORK.
- Once done, click the Next button.

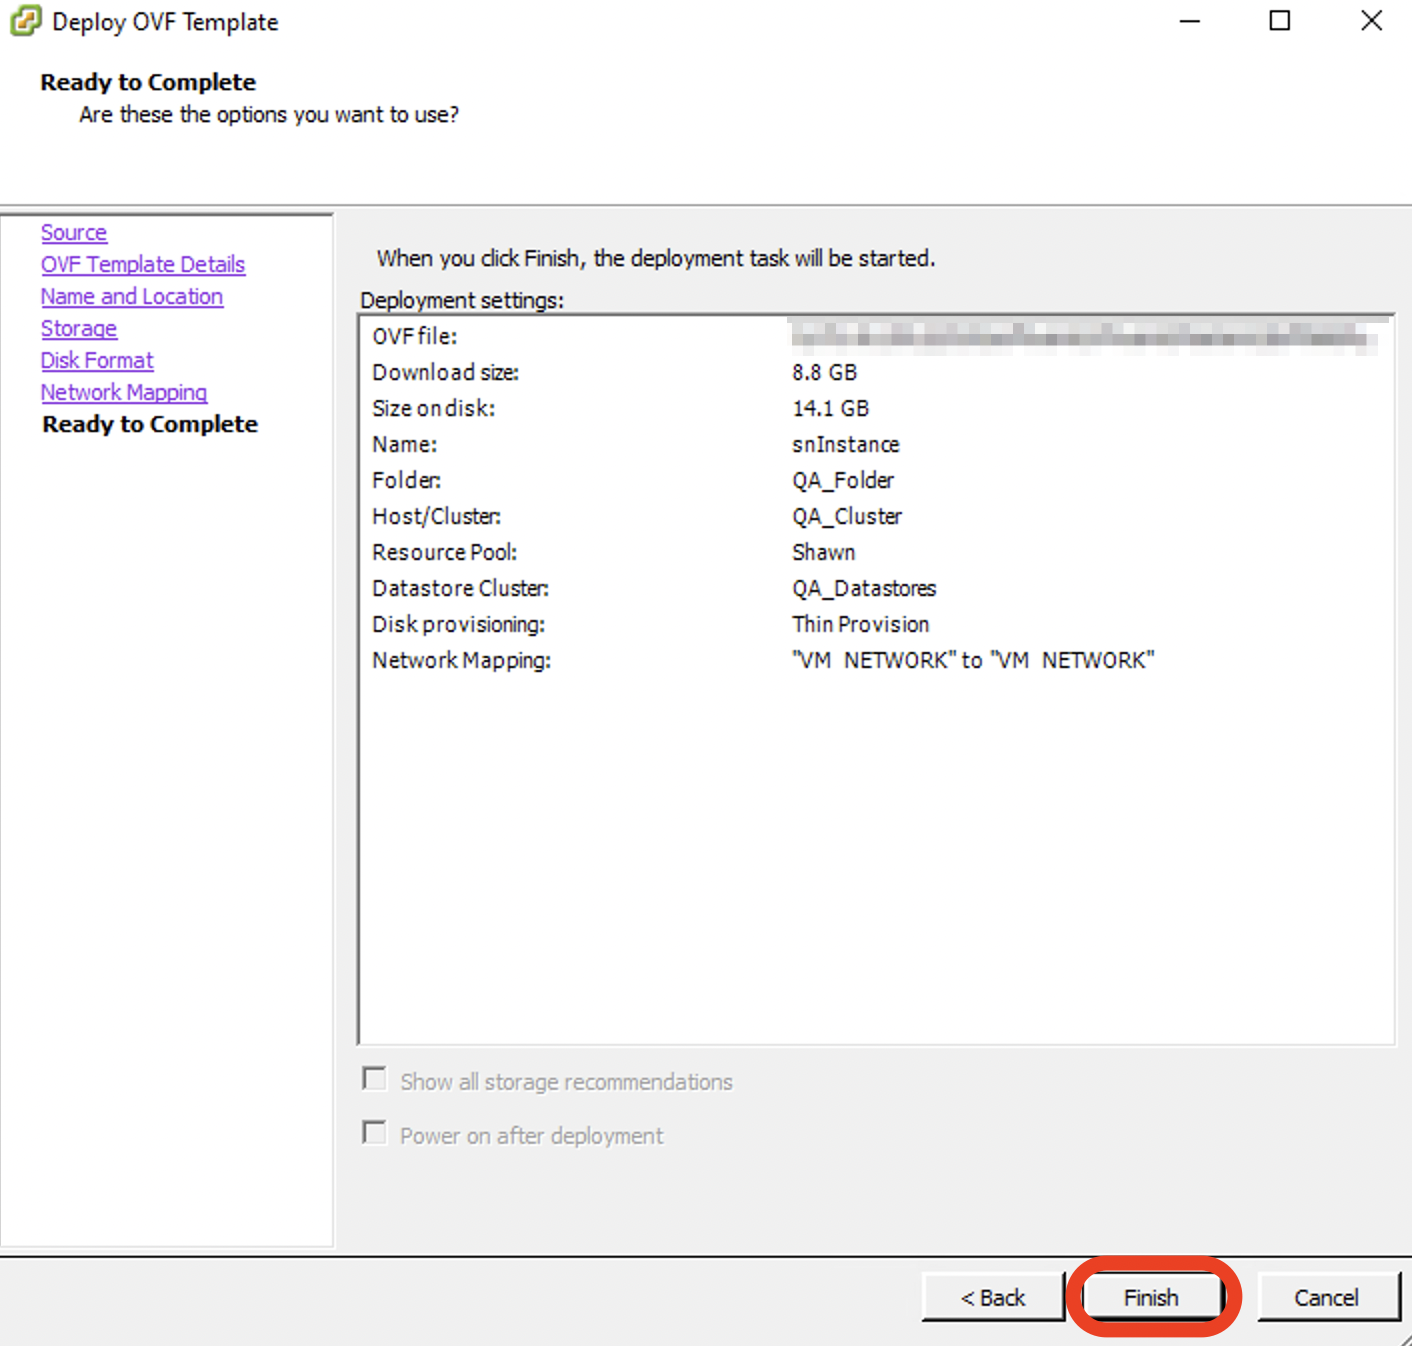
- On the Ready to Complete screen, review all information to ensure that it is correct.
- Once done, click the Finish button.
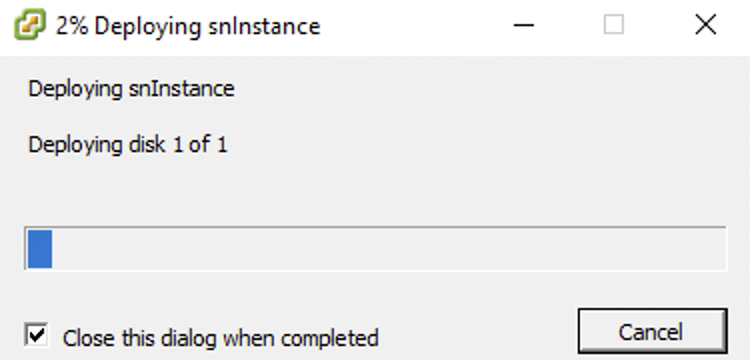
- A dialog will then appear, stating that deployment is in progress. Wait for this to complete.
Power on SoftNAS Instance
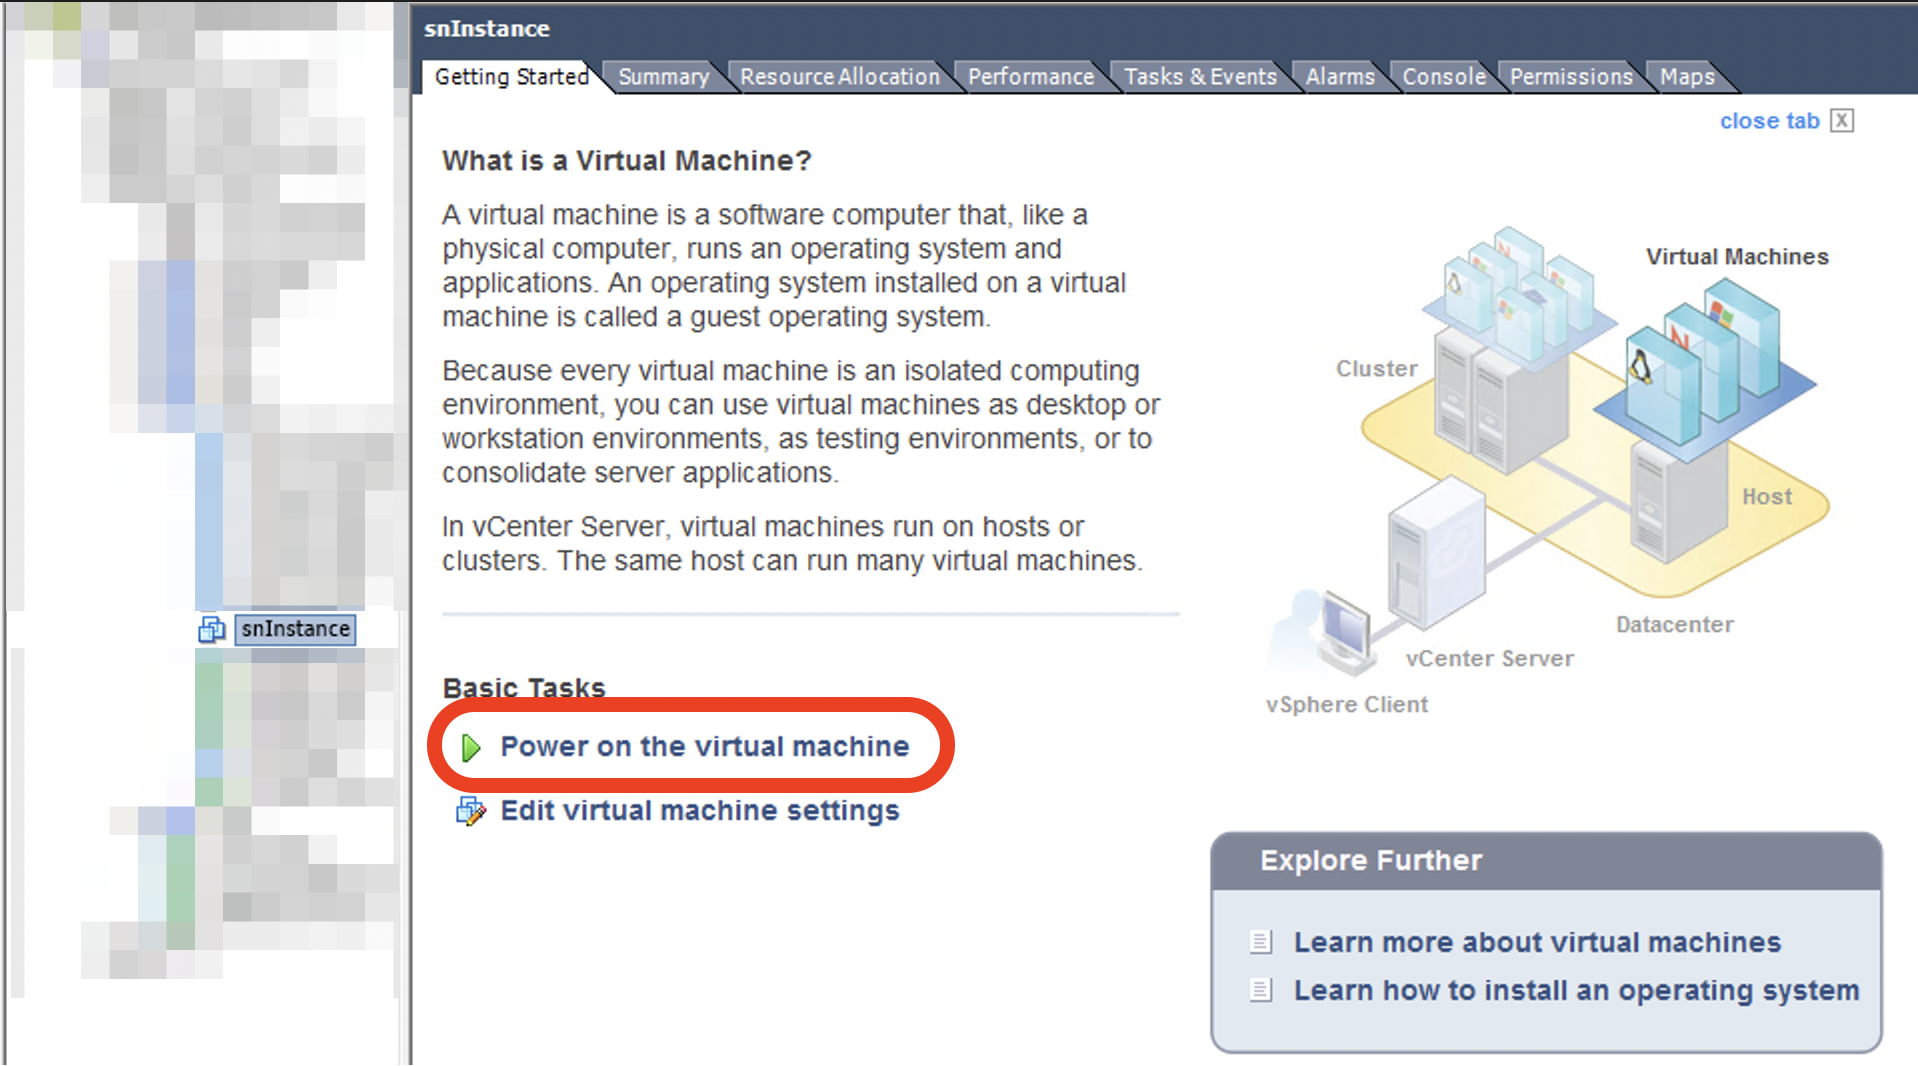
- Select your newly created instance and under the Getting Started tab, click Power on the virtual machine.
HA Environment
If creating an HA environment, you will need to create a total of three VMs. Two instances act as pair nodes while one will act as the HA Controller.
Connect to Instance
- There are three ways to access your instance.
- Web Platform
- Open Console
- SSH
Web Platform
- Obtain the IP address assigned to your SoftNAS instance.
Navigate to your preferred web browser and enter the following:
- https://<your-softnas-instance-ip>
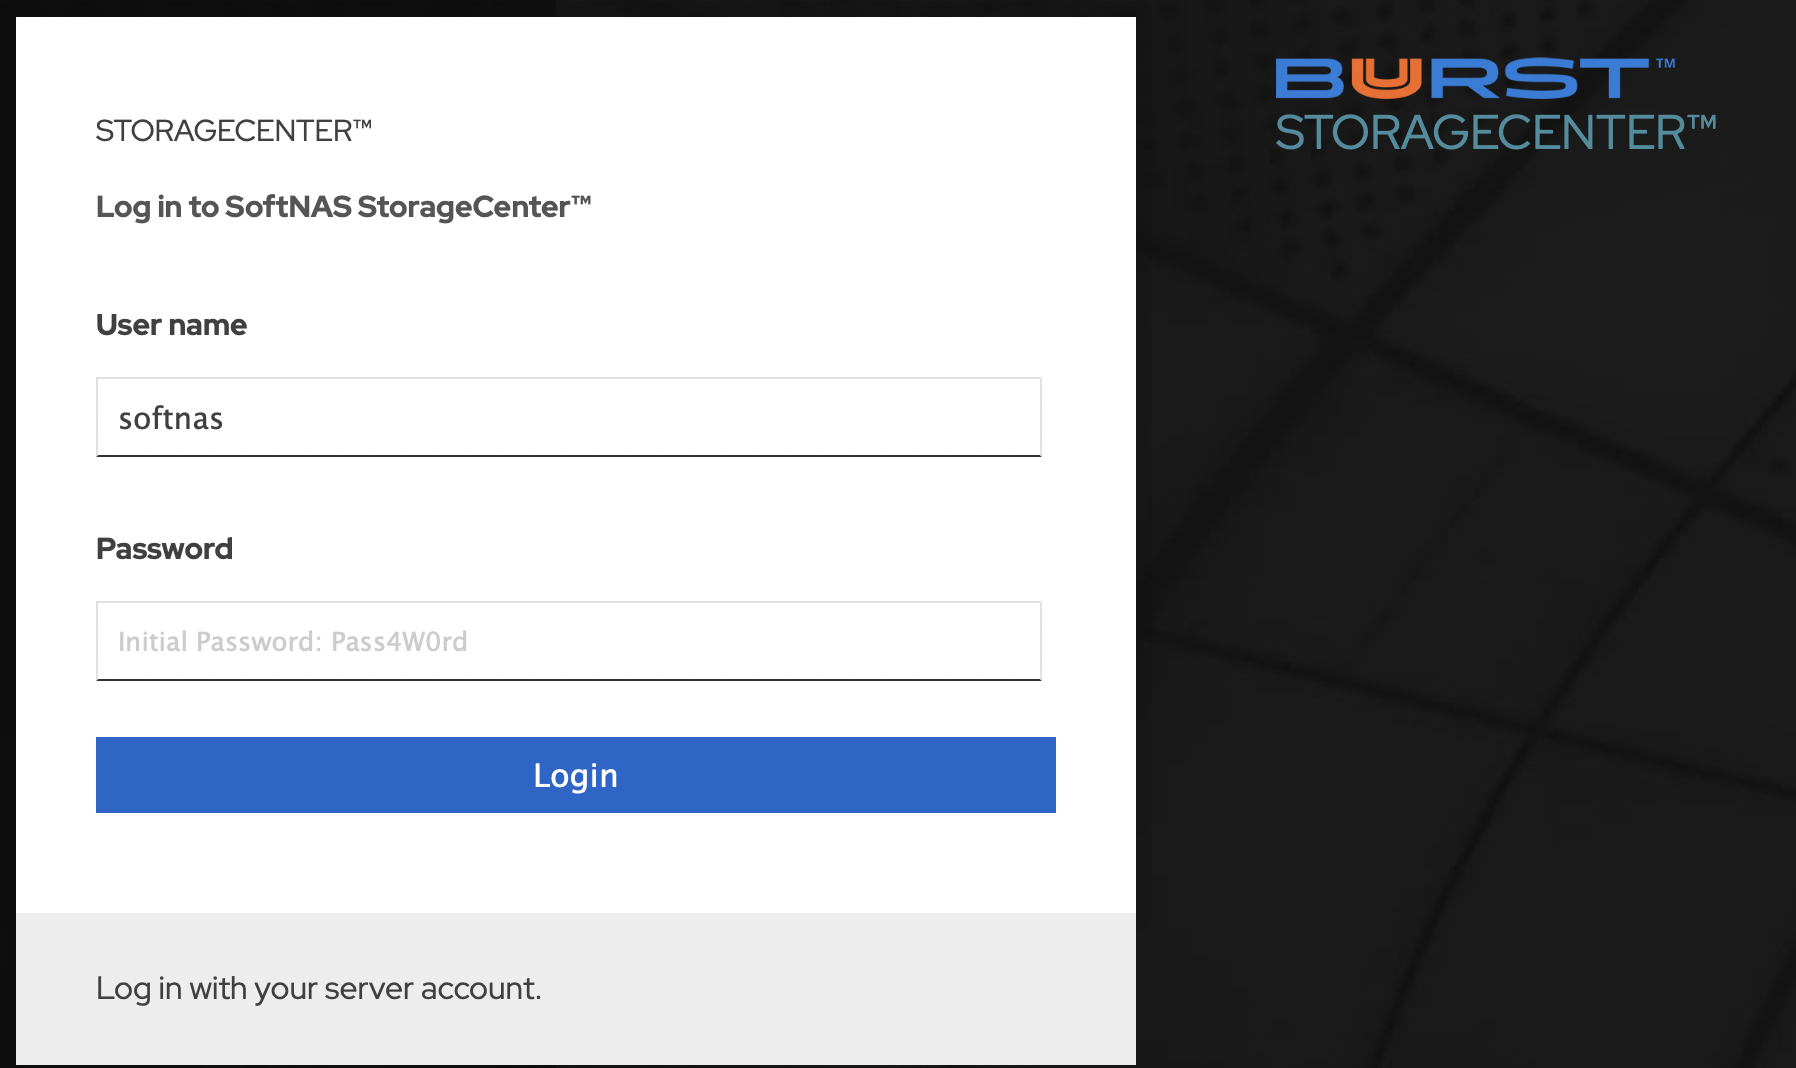
- Log in to the platform using the following default credentials:
- Username: softnas
- Password: Pass4W0rd
Open Console
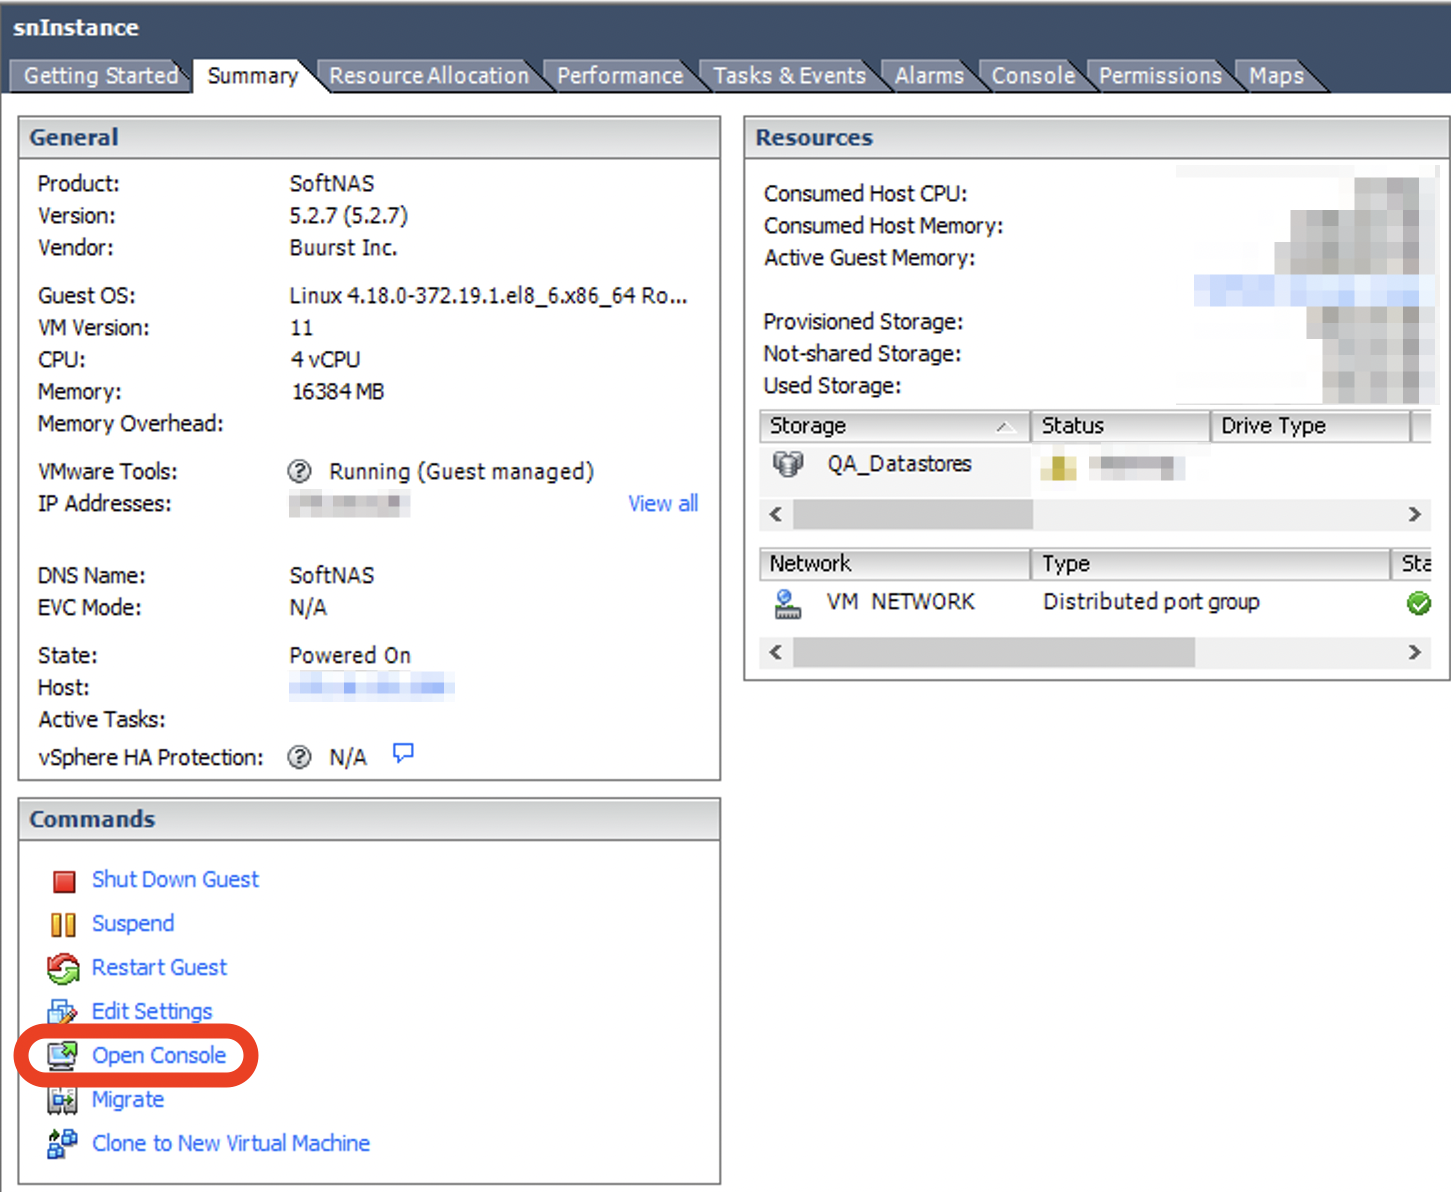
- Under your instances Summary tab, click Open Console
- Once the Console opens, you will be prompted to login.
- Default credentials are as follows:
- Username: softnas
- Password: Pass4W0rd

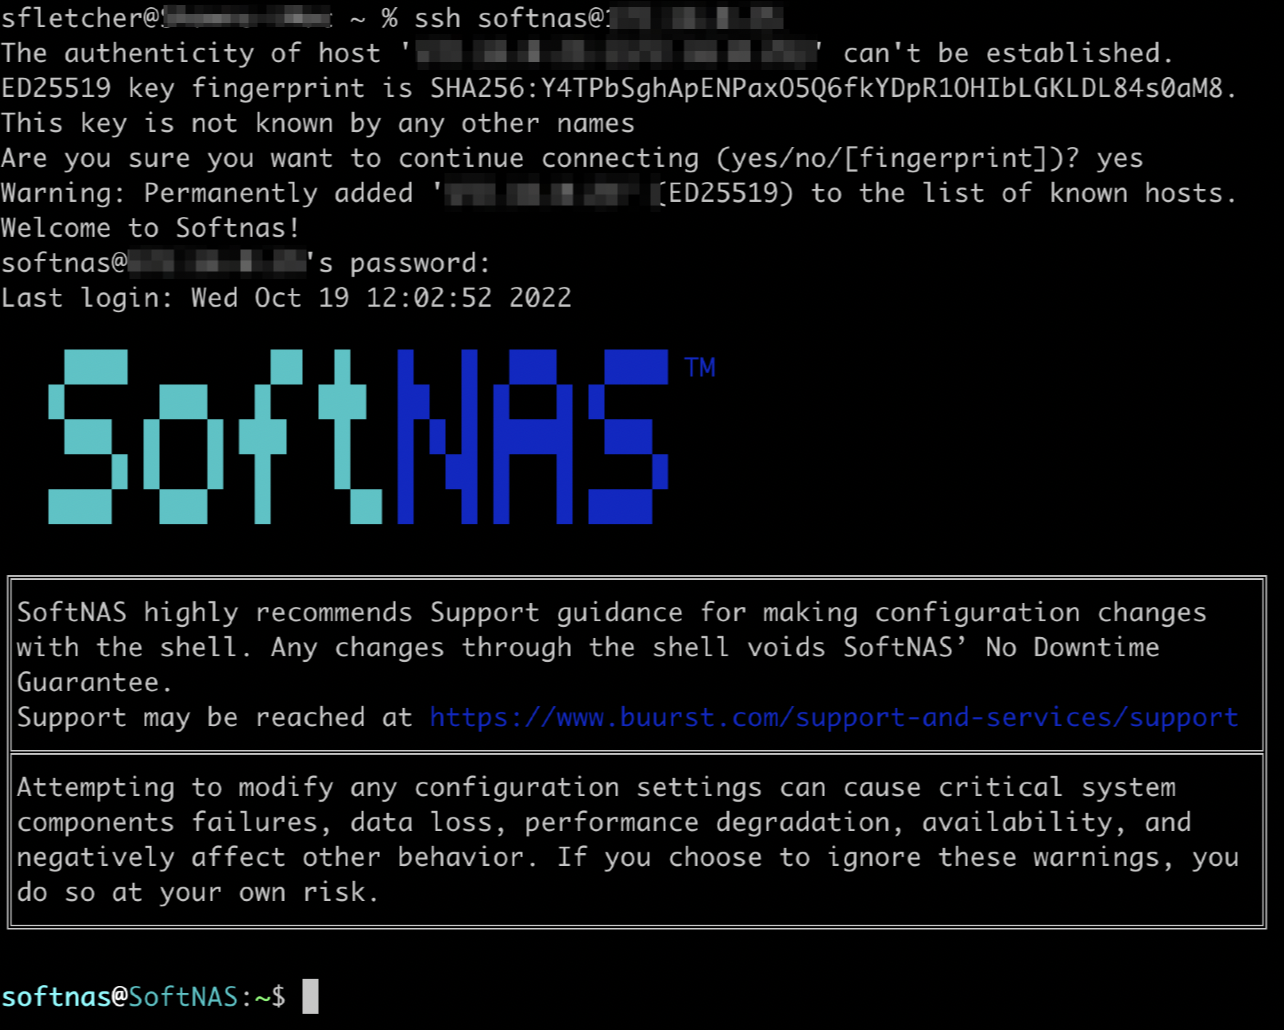
SSH
- Obtain the IP address assigned to your SoftNAS instance.
Open your preferred terminal and enter the following command, following onscreen instructions:
SSH to SoftNASssh softnas@<instance.ip.address>
- Default credentials are as follows:
- Username: softnas
- Password: Pass4W0rd
, multiple selections available,
Related content
VMware: Getting Started with SoftNAS
VMware: Getting Started with SoftNAS
More like this
VMware Getting Started - Deploying SoftNAS Virtual Machines
VMware Getting Started - Deploying SoftNAS Virtual Machines
More like this
VMware Getting Started - Configuring VM Settings
VMware Getting Started - Configuring VM Settings
More like this
Configuring the Network Using SoftNAS Console
Configuring the Network Using SoftNAS Console
More like this
Allocating Disk Storage Devices
Allocating Disk Storage Devices
More like this
VMware Getting Started - Virtual Machine Configuration Considerations
VMware Getting Started - Virtual Machine Configuration Considerations
More like this