How to Associating and Disassociating an Address on AWS
- Former user (Deleted)
- Tom Sheffield (Unlicensed)
Associate or dissociate an elastic IP address with an instance.
Associating a newly created address
If you just created an Elastic IP and selected Associate this Elastic IP Address from the newly created address prompt, you will be immediately taken to associate this particular address.
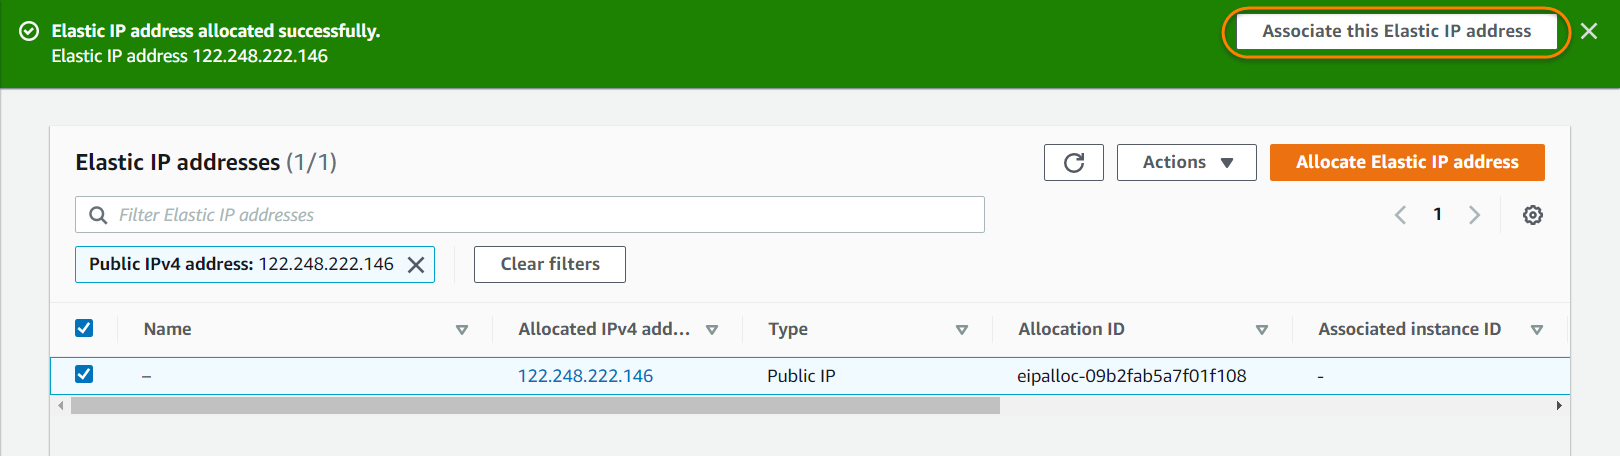
In the Associate Elastic IP screen, you will select the resource type you wish to associate the IP address with. We strongly suggest associating with one of the network interfaces for your instance (unless you are creating a standalone SoftNAS instance, and do not plan to make it highly available).
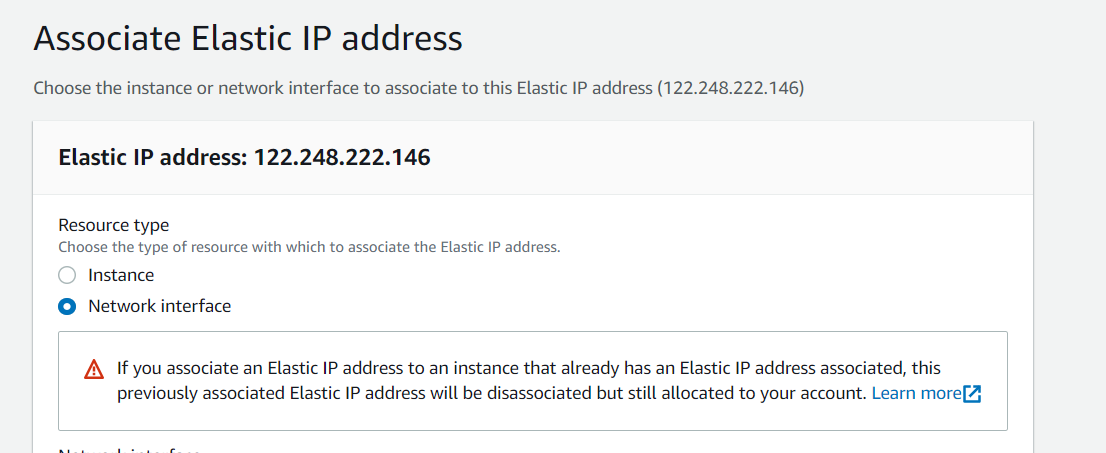
In the Associate Elastic IP screen, you will select the resource type you wish to associate the IP address with. We strongly suggest associating with one of the network interfaces for your instance (unless you are creating a standalone SoftNAS instance, and do not plan to make it highly available).
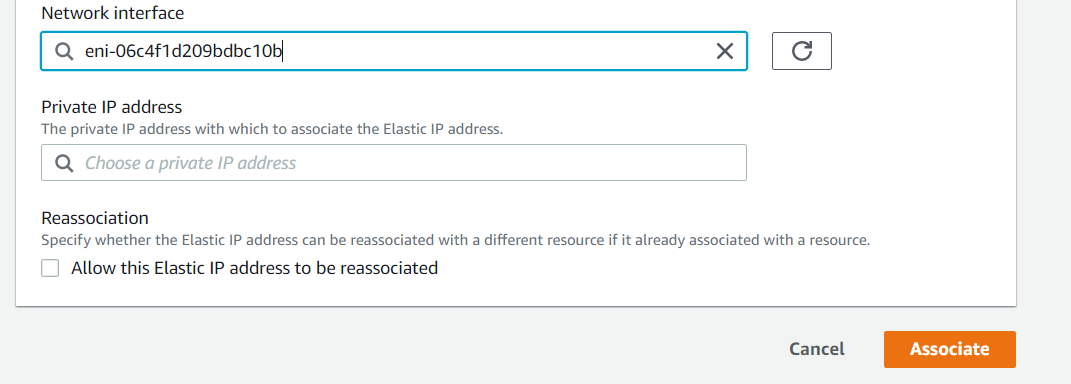
Once the Network Interface is selected, click Associate.

Associating an existing Address
If selecting an already created Elastic IP, use the following instructions.
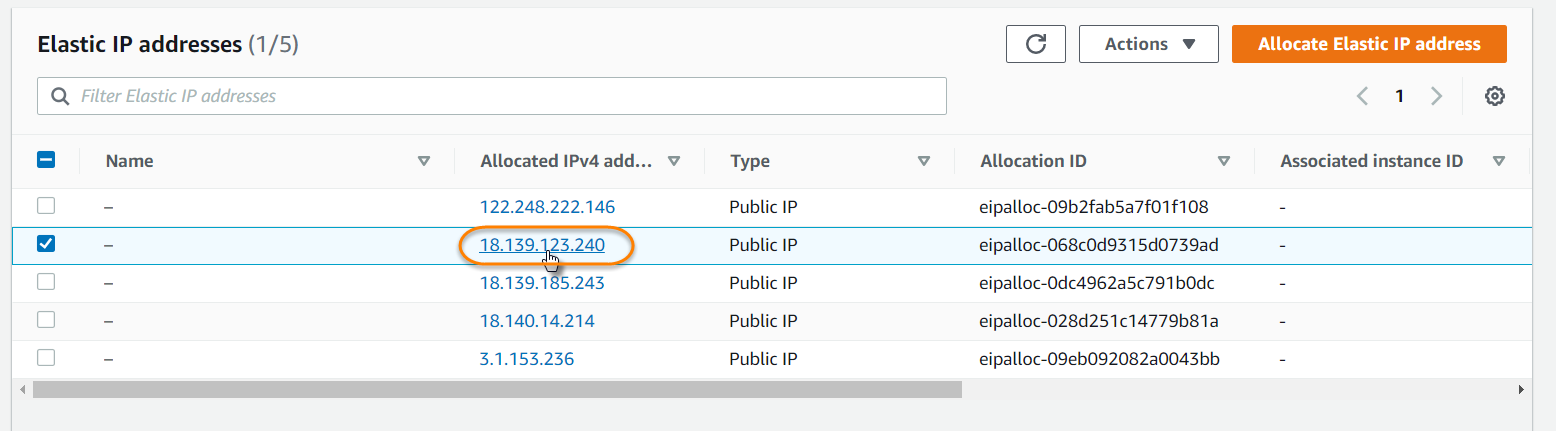
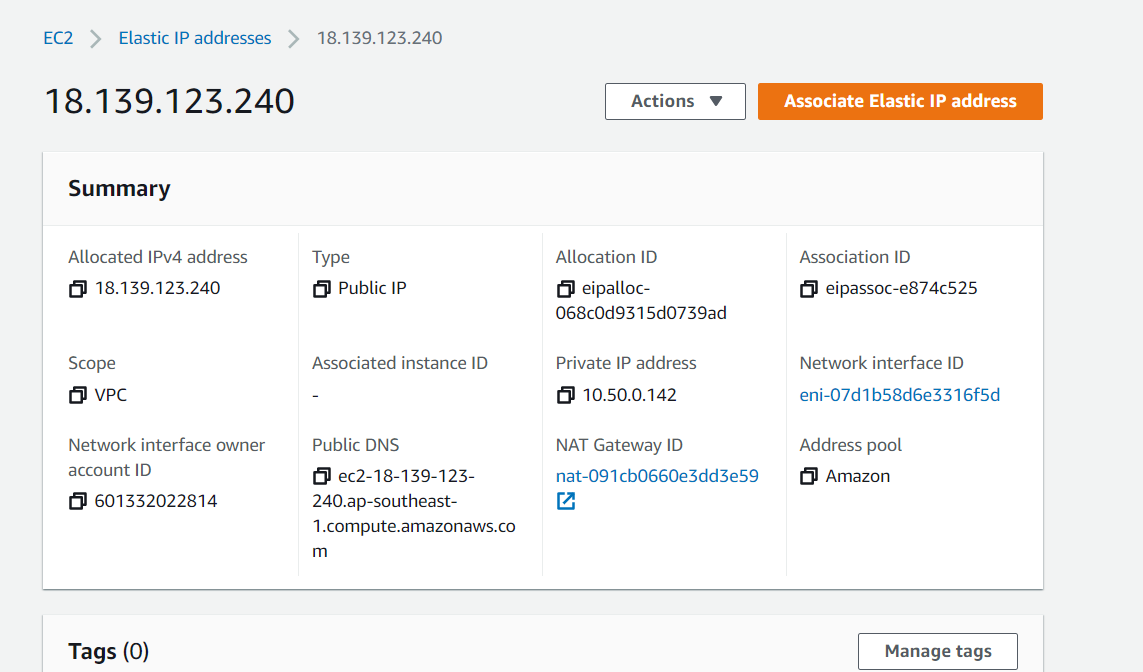
- On the Elastic IP addresses page, select the address to be associated with an instance.
- Under Actions, click Associate Elastic IP Address.
- The Associate Address dialog will be displayed.
- Select the network interface.
- Click Associate.
The elastic IP address is now associated with your SoftNAS® VMs.

Disassociate Address
Similarly, it is possible to dissociate an address from the associated instance.
- Select the elastic IP address to be dissociated from the instance.
- Click Dissociate Address.
The Dissociate Address message box asking for confirmation of the dissociation of address with the specific instance will be displayed. - Click Yes, Disassociate.
The selected address will be dissociated from the instance.