Migrate SoftNAS on AWS from VPC to VPC within a Region
- Former user (Deleted)
- Sean Hastert
Symptoms
You have an existing SoftNAS instance set up, but you need to migrate it to another VPC in the same region. Reasons for this may include:
- Your current version of SoftNAS is out-of-date, and cannot be upgraded without migration (your instance is a version of SoftNAS older than 3.3.3)
- You are creating a new production environment from a staging environment.
Purpose
This knowlege base article covers the basic steps and key considerations when migrating a SoftNAS VPC to another VPC within the same region.
Resolution
Planning Stage:
Before you begin the migration process, you must be sure to collect the following information, in order to be sure the migration succeeds, and so that you can adjust the new VPC's settings to more closely match the original. In this portion, we will provide both the GUI and the Shell commands to obtain the desired information.
All shell commands should be considered root.
Because of this, it is suggested to run the following command so that you do not have to run the subsequent commands with the sudo prefix.
sudo -i
- Collect the licensing information.
- Licensing can be found in the Storage Administration pane by navigating to Settings > Licensing.
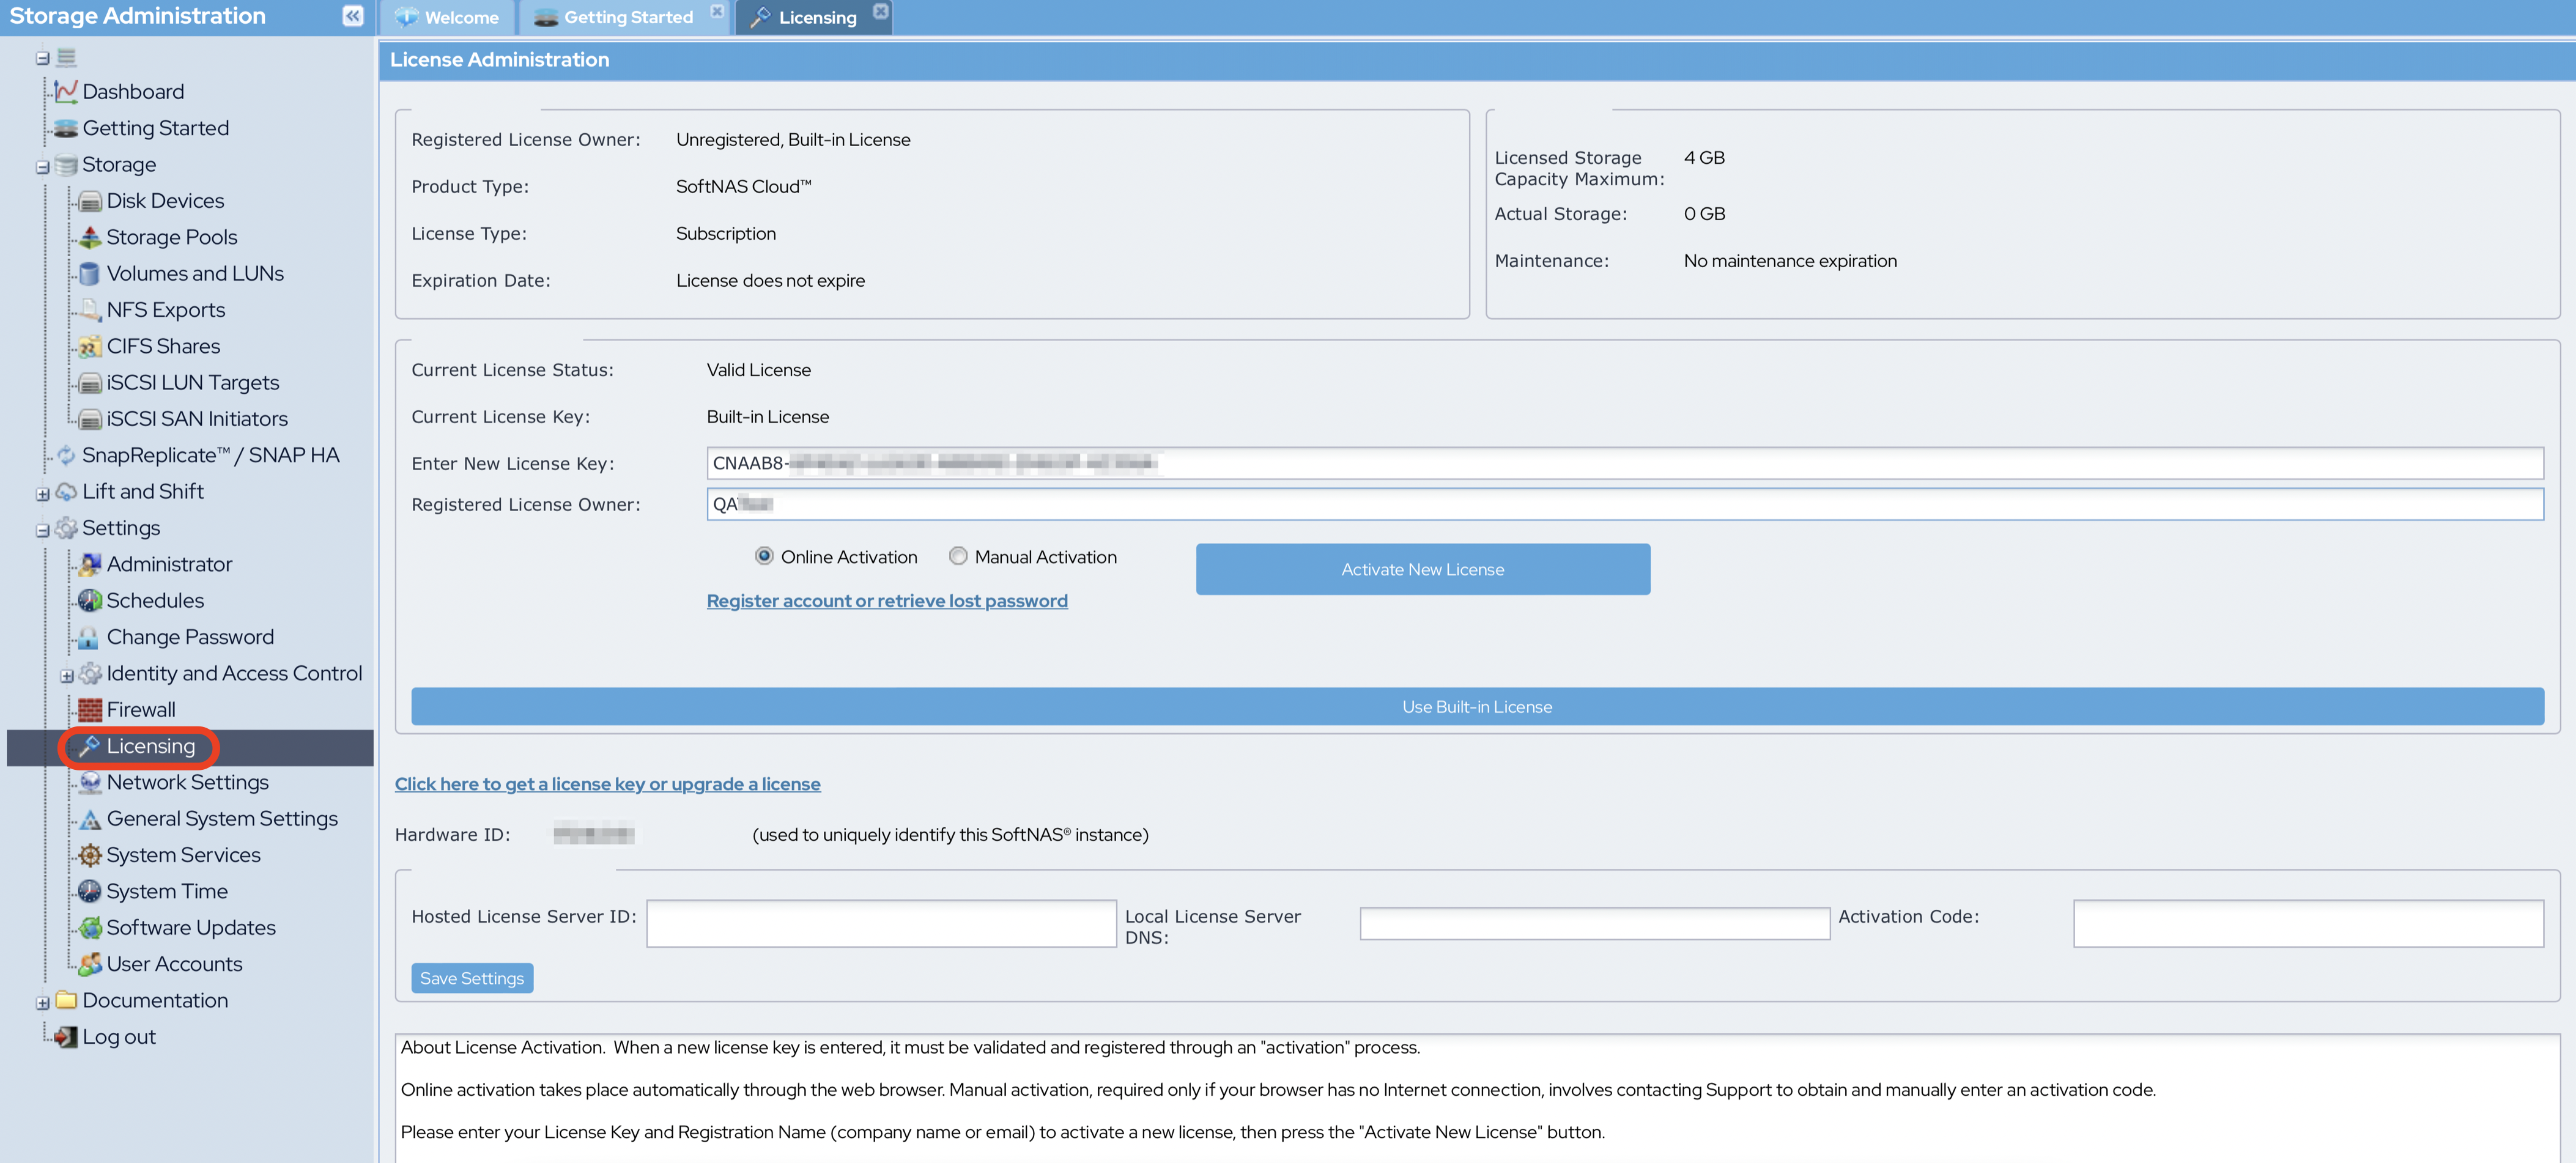
- Collect the following information:
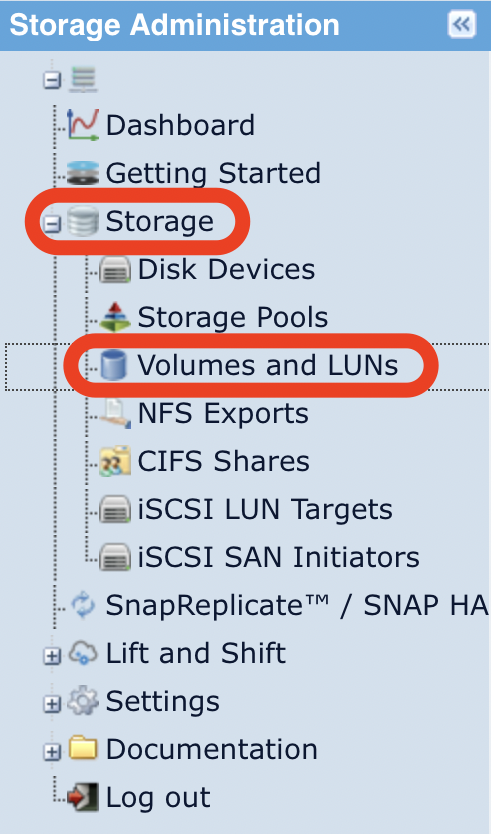
- Size of each volume.
- Name of each volume.
- Name of pool in which volume belongs.
- This can be found by navigating to Storage > Volumes and LUNs in the Storage Administration pane.
You can also run the following command to obtain the information:
zfs list
- Collect the following information:
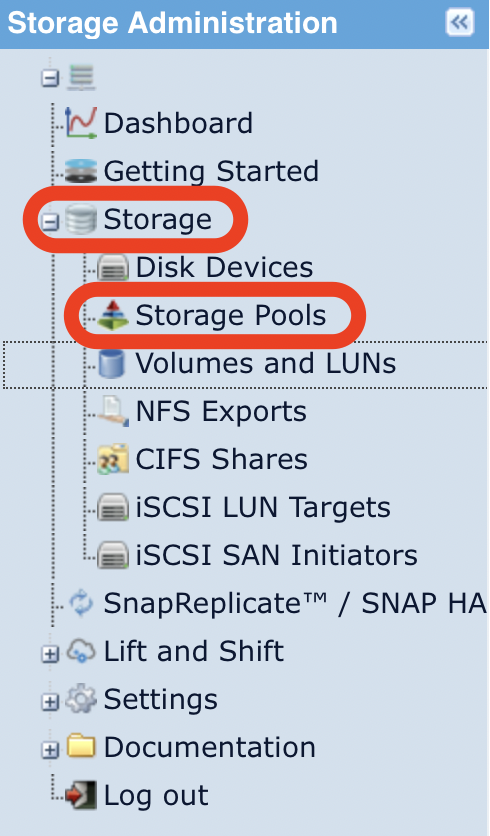
- Name of each SoftNAS pool name
- Name of the disk devices in the pool
- This can be found by navigating to Storage > Storage Pools in the Storage Administration pane.
You can also run the following command to obtain the information
zpool list
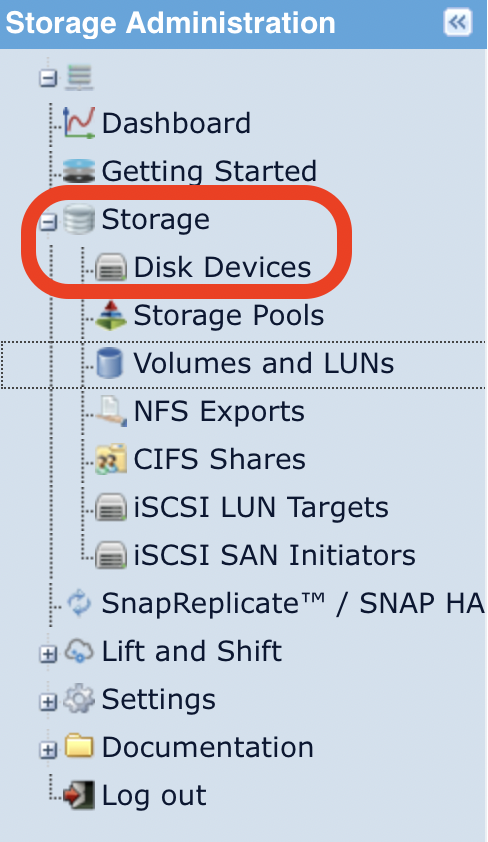
- Navigate to Storage > Disk Devices under the Storage Administration pane and collect the following information:
- If the disk is S3:
- S3 Bucket name
- Dev name
- Region
- Size
- If the disk is EBS:
- Name (/dev/sdX)
- Size
- Volume ID
Run the following commands to obtain the information:
mount
lsblk -l
df -h
- If you have an NFS, CIFS, or iSCSI shares on your VPC, you will need to copy the associated information.
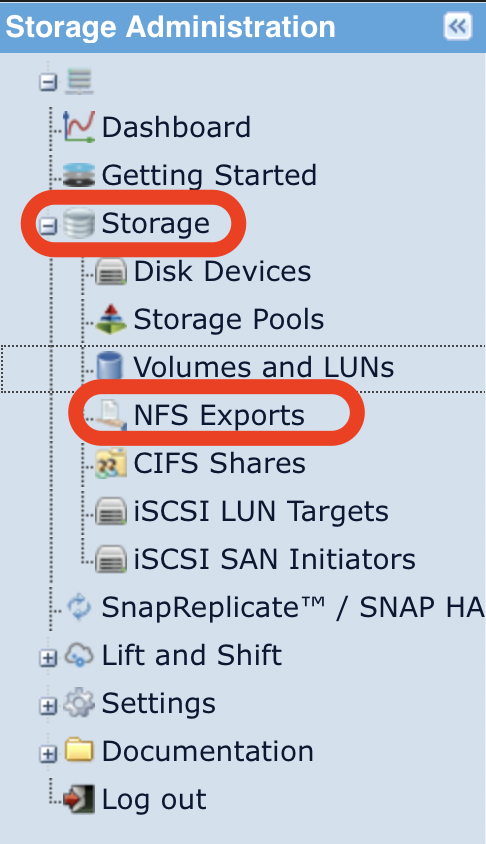
- To copy NFS data, navigate to Storage > NFS Exports under the Storage Administration pane.
Run the following command to obtain the information:
cat /etc/exports
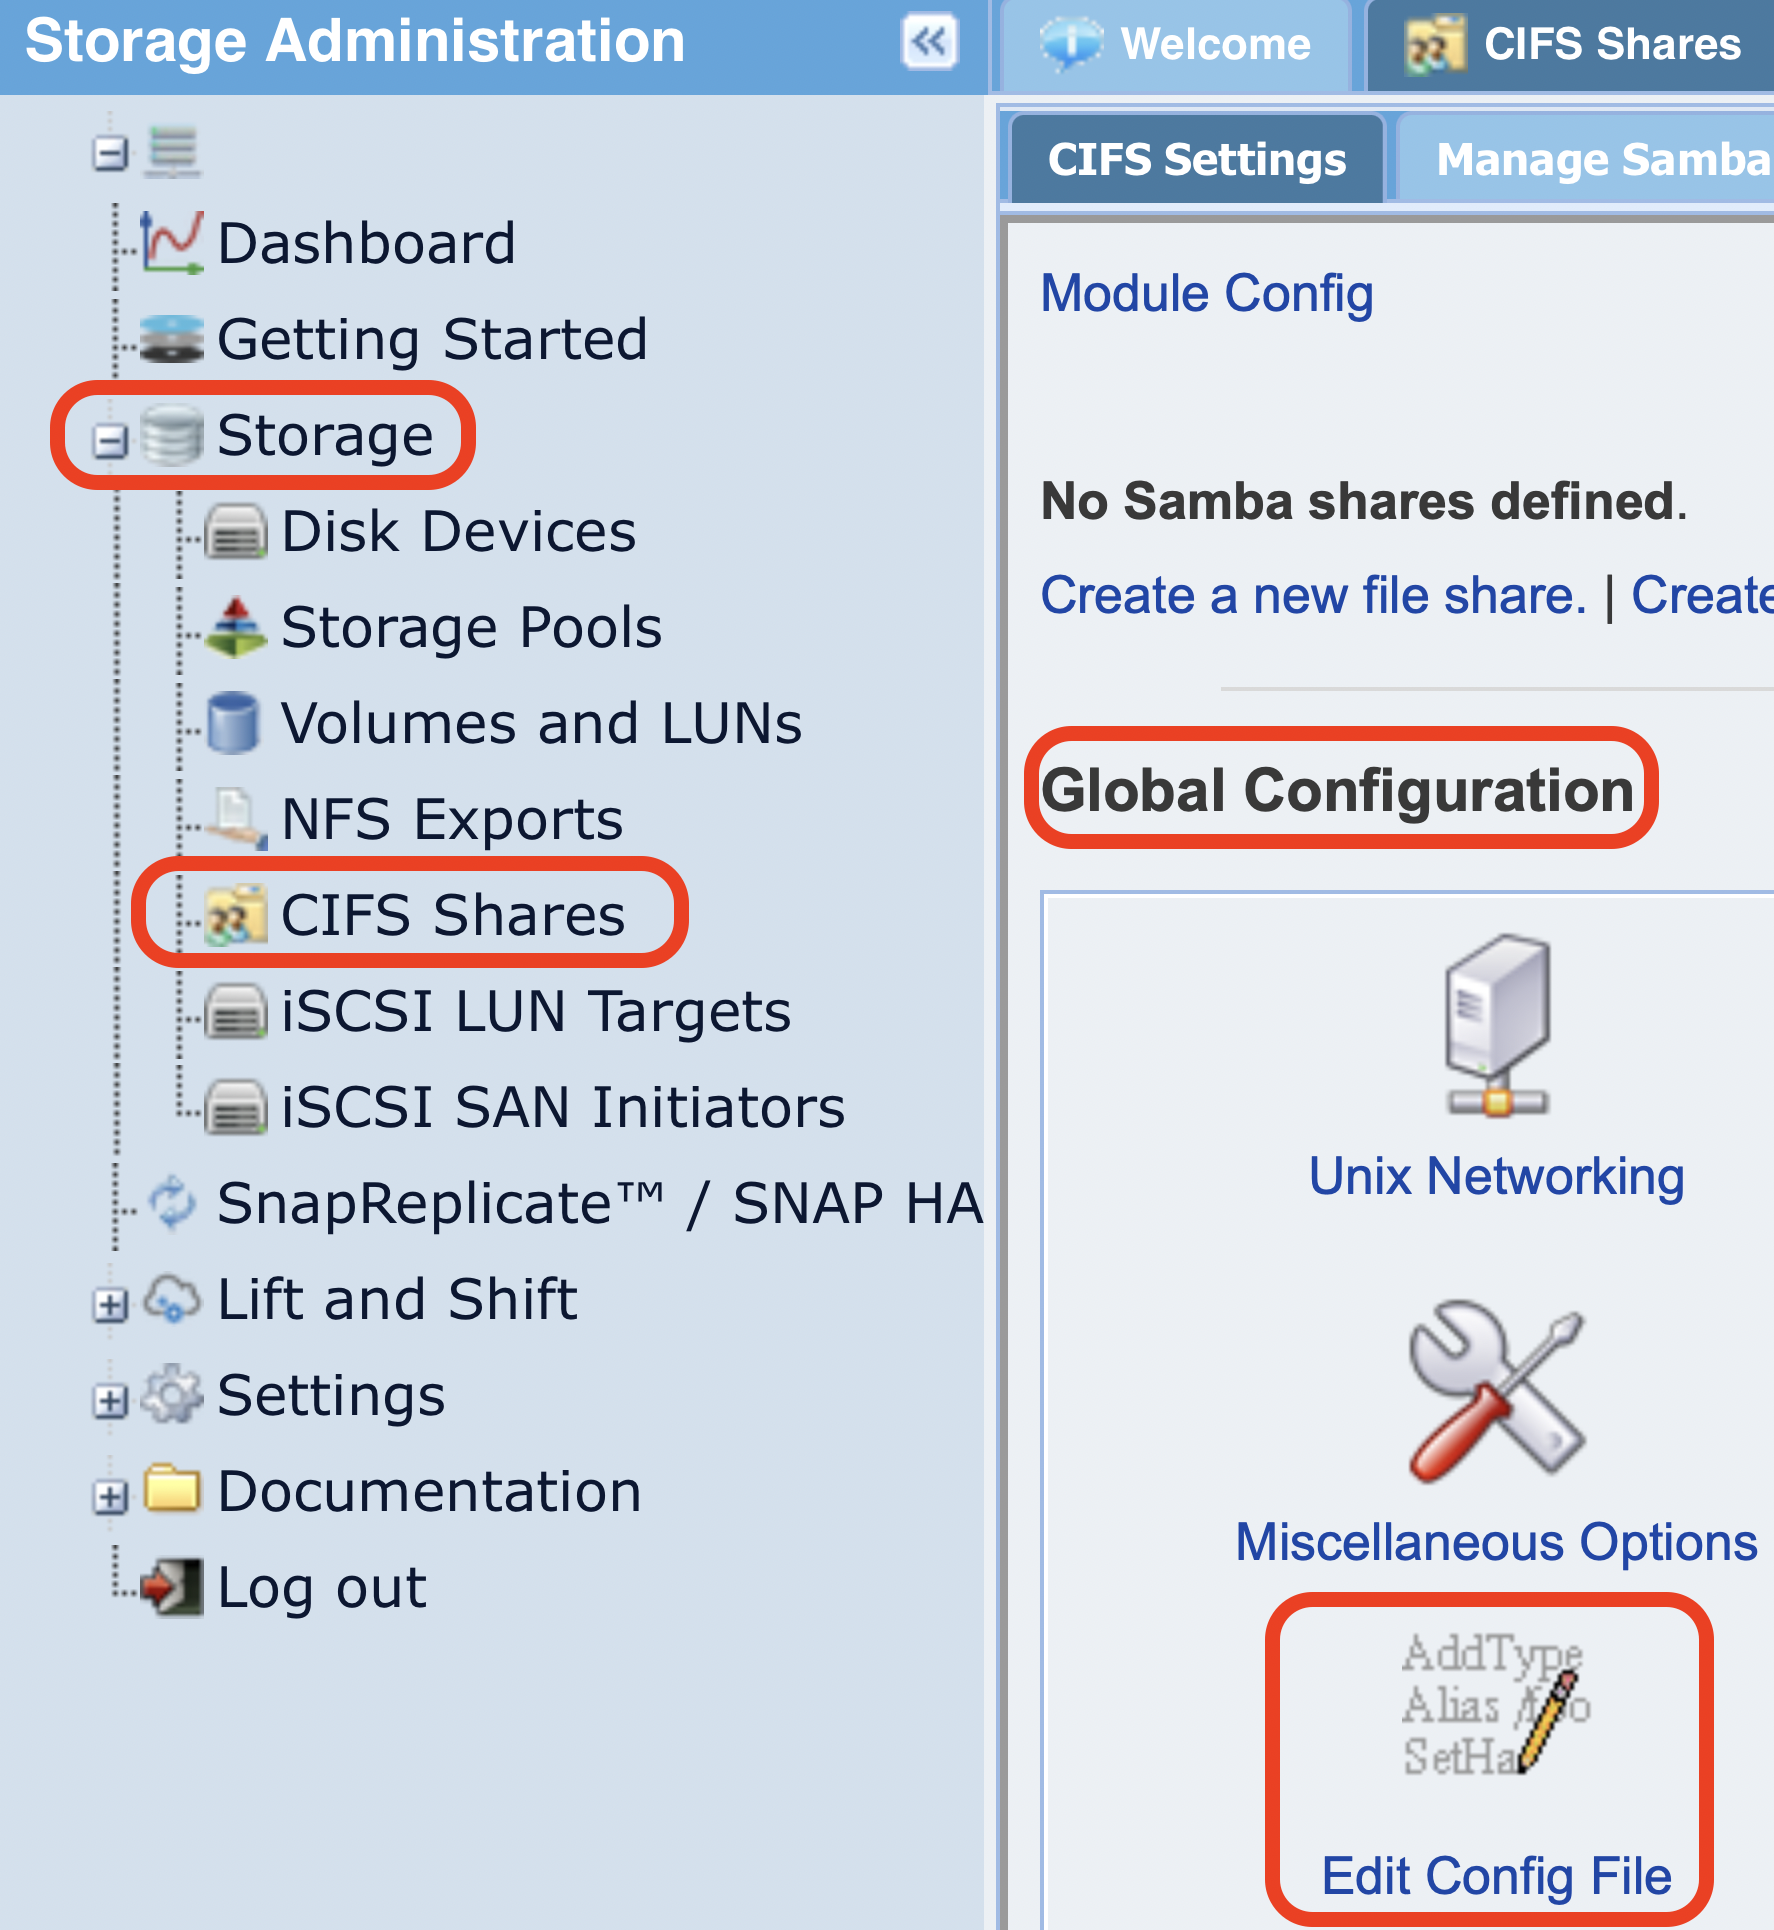
- To copy CIFS/SAMBA configuration settings, navigate to Storage > CIFS Shares under the Storage Administration pane.
- Under Global Configuration in the CIFS Shares module, click Edit Config.
Run the following command to obtain the information:
cat /etc/samba/smb.conf
Run the following command to copy the data:
scp /etc/target/saveconfig.json
Save it to the desired location. For example, if you want to save it to the local server, you would use the following argument:
<local-server-ip>:/file/dir/save/
Run the following commands to save to a local machine
cp /etc/target/saveconfig.json /tmp
chown <ec2-user> /tmp/saveconfig.json
scp -I <key.pem> <ec2-user>@<softnas-IP>:/tmp/saveconfig.json
Performing the Migration via the SoftNAS Console
- Ensure that there are no active NFS/CIFS/AFP/iSCSI Read/Write operations being performed on the SoftNAS VPC.
- Stop the instance via the AWS Console. This will ensure proper handling of EBS volumes.
Once stopped, launch a new SoftNAS instance with the same size, settings, and VPC configurations as your current VPC
For guidance on launching a new SoftNAS instance, see Create and Configure an instance in AWS.
You will NOT need to add new EBS disks!
- Navigate to Storage > Volumes and LUNs and select all of the attached volumes from the original SoftNAS Instance.
Detach the volumes and attach them to the new SoftNAS instance.
For guidance on this process, see Managing Volumes.
- Log into the new SoftNAS instance and navigate to Storage > Storage Pools under the Storage Administration pane.
Select the Import wizard.
Be sure to provide the storage pool the same name as the original SoftNAS instance.
Be sure to check the Force Import check-box. Otherwise you will see an error.
Performing the Migration using the Command Shell
Be sure to unmount all client connections to the source SoftNAS instance prior to the planned downtime.
- Launch the new target SoftNAS Instance from the Marketplace with the appropriate license size.
SSH into the new target SoftNAS Instance
For guidance on how to connect to your Linux instance, click here.
For Guidance on how to connect to your Windows Instance, click here.Edit the sshd_config file using the following command:
sudo <text-editor> /etc/ssh/sshd_config
Find the line that says PasswordAuthentication no and change it to PasswordAuthentication yes.
This will allow password authentication to the node. This setting should be changed back to no once done.
- Save the file.
Restart the sshd service using the following command:
sudo service sshd restart
- Log in to the new SoftNAS Instance UI using the IP Address and navigate to Settings > Software Update under the Storage Administration pane. If an update is available, install it.
SSH into your current SoftNAS Instance and stop all share services using the following commands:
service nfs stop
service sernet-samba-smbd stop
service sernet-samba-nmbd stop
service sernet-samba-winbindd stop
service fcoe-target stop
Generate a list of all current pools using the following command and copy the output as reference:
zpool list
Generate a list of all current volumes using the following command and copy the output as reference:
zfs list
Run the following command to export pools:
zpool export <pools name(s) from step 10>
Copy NFS/CIFS/SAMBA/iSCSI configuration files to the target instance using the following commands:
scp /etc/exports softnas@<new-instance-ip>:~
scp /etc/target/saveconfig.json softnas@<new-instance-ip>:~
scp /etc/samba/smb.conf softnas@<new-instance-ip>:~
scp /var/lib/samba/*.tdb softnas@<new-instance-ip>:~
SSH into the target instance and run the following commands as the Default SoftNAS User:
sudo cp ~/exports /etc/exports
sudo cp ~/saveconfig.json /etc/target/saveconfig.json
sudo cp ~/smb.conf /etc/samba/smb.conf
sudo cp ~/*.tdb /var/lib/samba
- Stop both SoftNAS nodes.
- In the AWS EC2 Console, select the source SoftNAS instance and copy the Instance ID.
- In the AWS EC2 Console, select the Volumes console from the left hand menu and search for the current Instance ID in the TAGS search bar
Name the volumes, excluding the root volume, according to the listed /dev/sdX name.
sdX is the drive name
ie. /dev/sdf or /dev/sdg etc..
- Once name and confirmed, detach the volumes from the current node by selecting the Volumes > Right-Click > Select Detach Volume.
Once detached, attach each volume to the new SoftNAS node.
Be careful to attach to the /dev/sdX that the volume is named after
- Once the volumes have been re-attached to the new node, start the new SoftNAS node.
SSH into the new target SoftNAS node and run the following command:
zpool import
Run the following command to import each pool:
zpool import <pool-name>
Run the following command to check the volumes associated:
zpool list
zfs list
ZFS will need to be updated to the current version. Run the following commands to view the volumes requiring an update:
zfs upgrade
zfs upgrade <pool-name>
Run the following commands to start the services on the new SoftNAS node:
service sernet-samba-smbd start
service sernet-samba-nmbd start
service sernet-samba-winbindd start
service fcoe-target restart
service nfs start
Optionally, run the following commands to copy over the original instance's snapshots and snapshot schedules in order to ensure continuity:
scp /var/www/softnas/config/snapshots.ini
scp /var/www/softnas/config/schedules.ini
Copy them to the same location on the target instance.
NFSv4 Update Instructions
SSH into the new target SoftNAS instance and run the following commands:
sudo cp ./exports /etc/exports
sudo <text-editor> /etc/exports
Insert the following line into the /etc/exports file:
/export *(ro, fsid=0)
- The '*' in the above line can be changed to an IP of each server for more security. Add a line for each IP in place of '*'.
- For each /<pool>/<vol> entry, copy the line and append /exports.
- The '*' in the above line can be changed to an IP of each server for more security. Add a line for each IP in place of '*'.
Run the following command to start editing the /etc/fstab file:
sudo <text-editor> /etc/fstab
Insert the following line into the /etc/fstab file and save:
/<pool>/<vol> /exports/<pool>/<vol> bind bind 0 0
For each of the /exports/<pool>/<vol> in the /etc/exports, add a line like the one shown above.
Run the following command to add the correct directories:
sudo mkdir -p /exports/<pool>/<vol>
For each NFSv4 export used in the above steps, add a directory the command shown above.
On the new SoftNAS instance, run the following commands to allow for both NFSv3 and NFSv4:
sudo mount -av
sudo service nfsd restart
Run the following command to mount the directories
sudo mount -o nfsvers=<needed-nfs-version>
If applicable, rebuild Snap Replicate/HA.
Additional guidance can be found by visiting the below links
Additional Information
- Create and Configure an instance in AWS
- Managing Volumes
- Setting Up Snap Replicate and SNAP HA
- High-Availability Guide
- Migrate a SoftNAS VPC on AWS to another Region
- Migrate SoftNAS on VMware vSphere
- Migrate Microsoft Azure SoftNAS Instances
- How to Migrate from an AWS Marketplace-based instance to a BYOL licensing model instance