[SoftNAS KB]: Enabling Azure Accelerated Networking for SoftNAS 4.0.3/4.1
- Admin
- Former user (Deleted)
Supported versions:
SoftNAS 4.0.3
SoftNAS 4.1
Introduction
Accelerated Networking is supported D/DSv2 and F/Fs series instance sizes with 2 or more vCPUs.
Instances that support hyperthreading, D/DSv3, E/ESv3, Fsv2, and Ms/Mms, require 4 or more vCPUs.
Further details, including links to technical overviews of AAN, can be found here:
*If the Softnas instance was created in an availability set ALL VMs in that Availability set will be required to be shutdown.
**This will require 2 restarts of the SoftNAS VM
This document is intended for readers with a basic level of experience with the Azure CLI. In this example the Azure CLI power shell plugin is used.
If you have running SoftNAS 4.0.3 or 4.1
With the release of SoftNAS OS Version 4.2 Azure Accelerated Networking (AAN) is now supported.
This document describes the recommended steps to enable Azure’s Accelerated Networking (AAN) on a SoftNAS VM instances after contacting SoftNAS Support.
This document is intended for readers that are familiar with the Azure CLI and its basic usage. The included examples were performed using Windows PowerShell and the Azure CLI plug-in.
Important Info
- The SoftNAS VM will require two restarts.
- If the SoftNAS instance was created in an availability set ALL VMs in that Availability set will be required to be shutdown. This does not apply to Availability Zones.
Contact SoftNAS Support for instructions to support the needed drivers
Contact SoftNAS support for instructions to add the needed drivers for Azure Accelerated Networking to you SoftNAS 4.0.x or SoftNAS 4.1.
Email support@softnas.com to open a ticket asking for details about enabling Azure Accelerated Networking.
Enable Azure Accelerated Networking
- Perform the update process as directed by SoftNAS Support.
*If this has been done this step as well as step 2 can be skipped.
2. Once the reboot has completed verify the instance state ensuring the upgrade was successful.
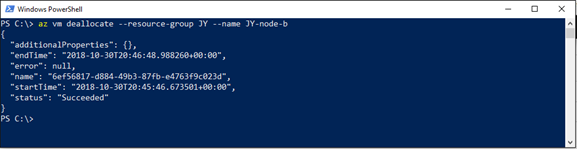
3. Shutdown the SoftNAS VM
If the SoftNAS instance was created in an availability shutdown all VMs in that set.
az vm deallocate --resource-group <rg of the VM> -- name <name of VM>
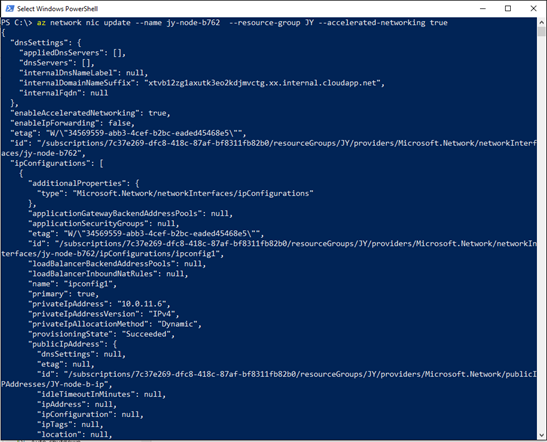
4. Issue the following CLI command
az network nic update --name <nic name of VM> --resource-group <rg of VM> --accelerated-networking true
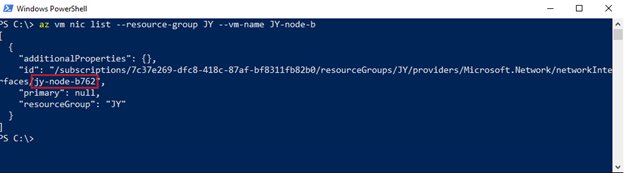
The NIC name can be found using the following CLI command:
az vm nic list --resource-group <rg of the VM> --vm-name <name of VM>
The name is marked in the image below.
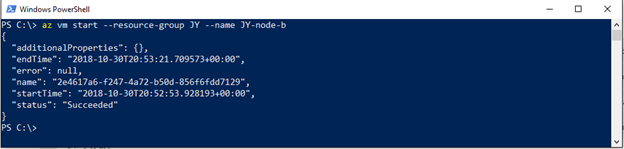
5. Once the operation completes start the SoftNAS VM.
VMs in the same availability set that were shut down can also be started.
az vm start --resource-group <rg of the VM> --name <name of VM>
Verify Azure Accelerated Networking is correctly enabled
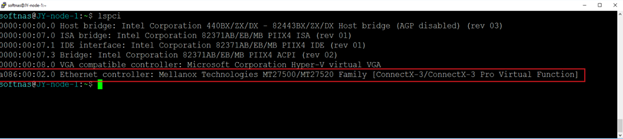
- Establish an SSH connection to the softNAS VM.
- Issue the ‘lspci’ command and ensure that Mellanox Ethernet controller is listed.
3. Verify packets are going over the correct interface by issuing the following: ‘ethtool -S eth0 | grep vf_’. Counters should show values.
