AWS Getting Started - Creating Your AWS Account and Prerequisites
Here you will create your AWS account, and in the pages linked below, configure environmental prerequisites to a high availability SoftNAS® deployment. The steps in the guide below will allow you to create your first instance, ready for high availability, and deployable in a public or private subnet.
You can also watch the video to the right to get insight into what is involved.
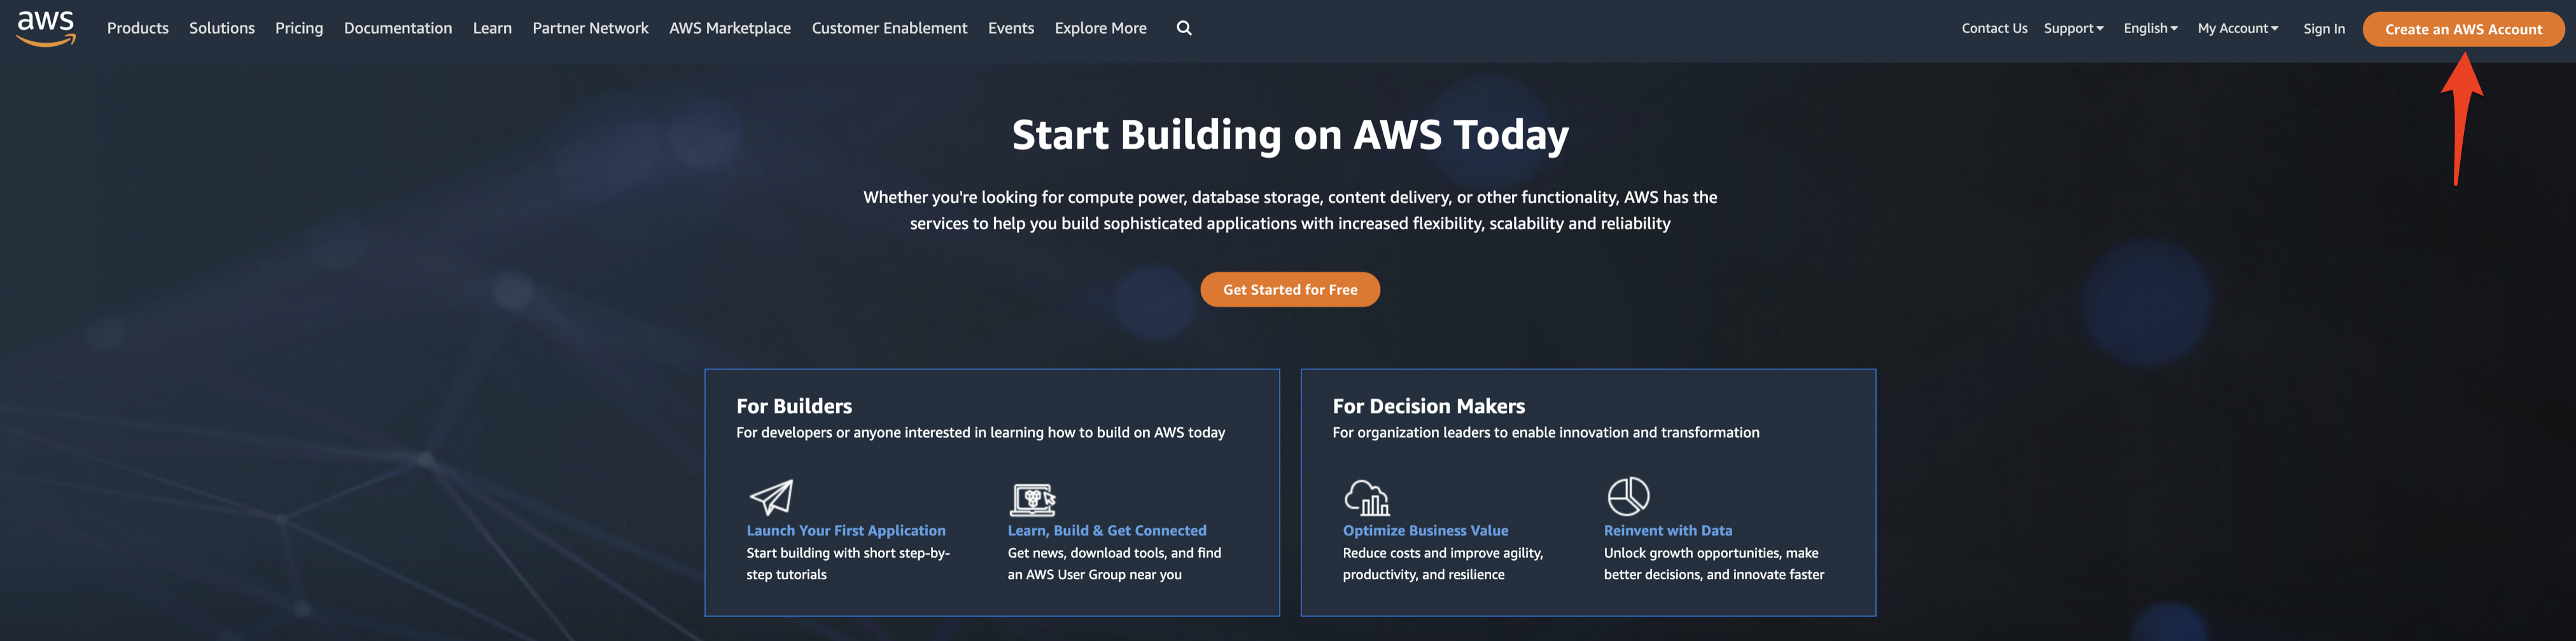
- If you do not yet have an AWS account, navigate to aws.amazon.com and select the Create an AWS Account button in the top right corner.
If you already have an AWS Account, you may skip to the end of this page.
- Enter your email address in the Root user email address text box.
- Enter the account name you would like in the AWS account name text box.
- Once done, click the Verify email address button.

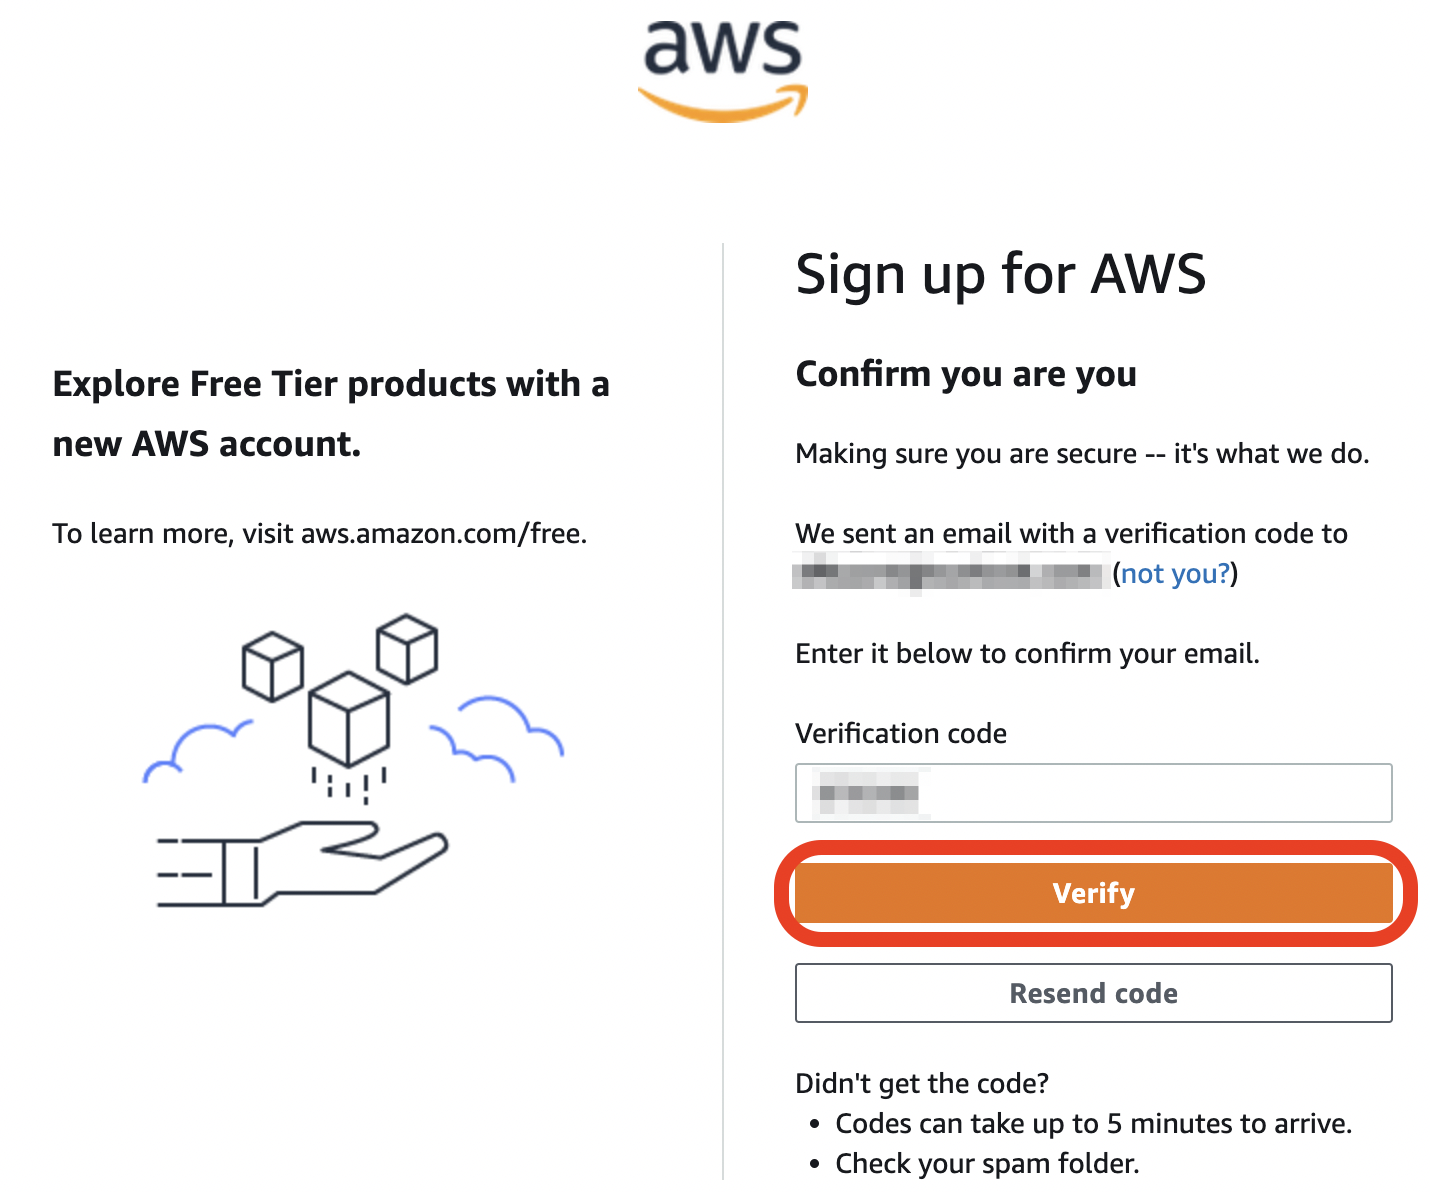
- A verification code will be sent to the e-mail you provided. Retrieve it and enter it into the Verification code text box.
- Once done, click the Verify button.
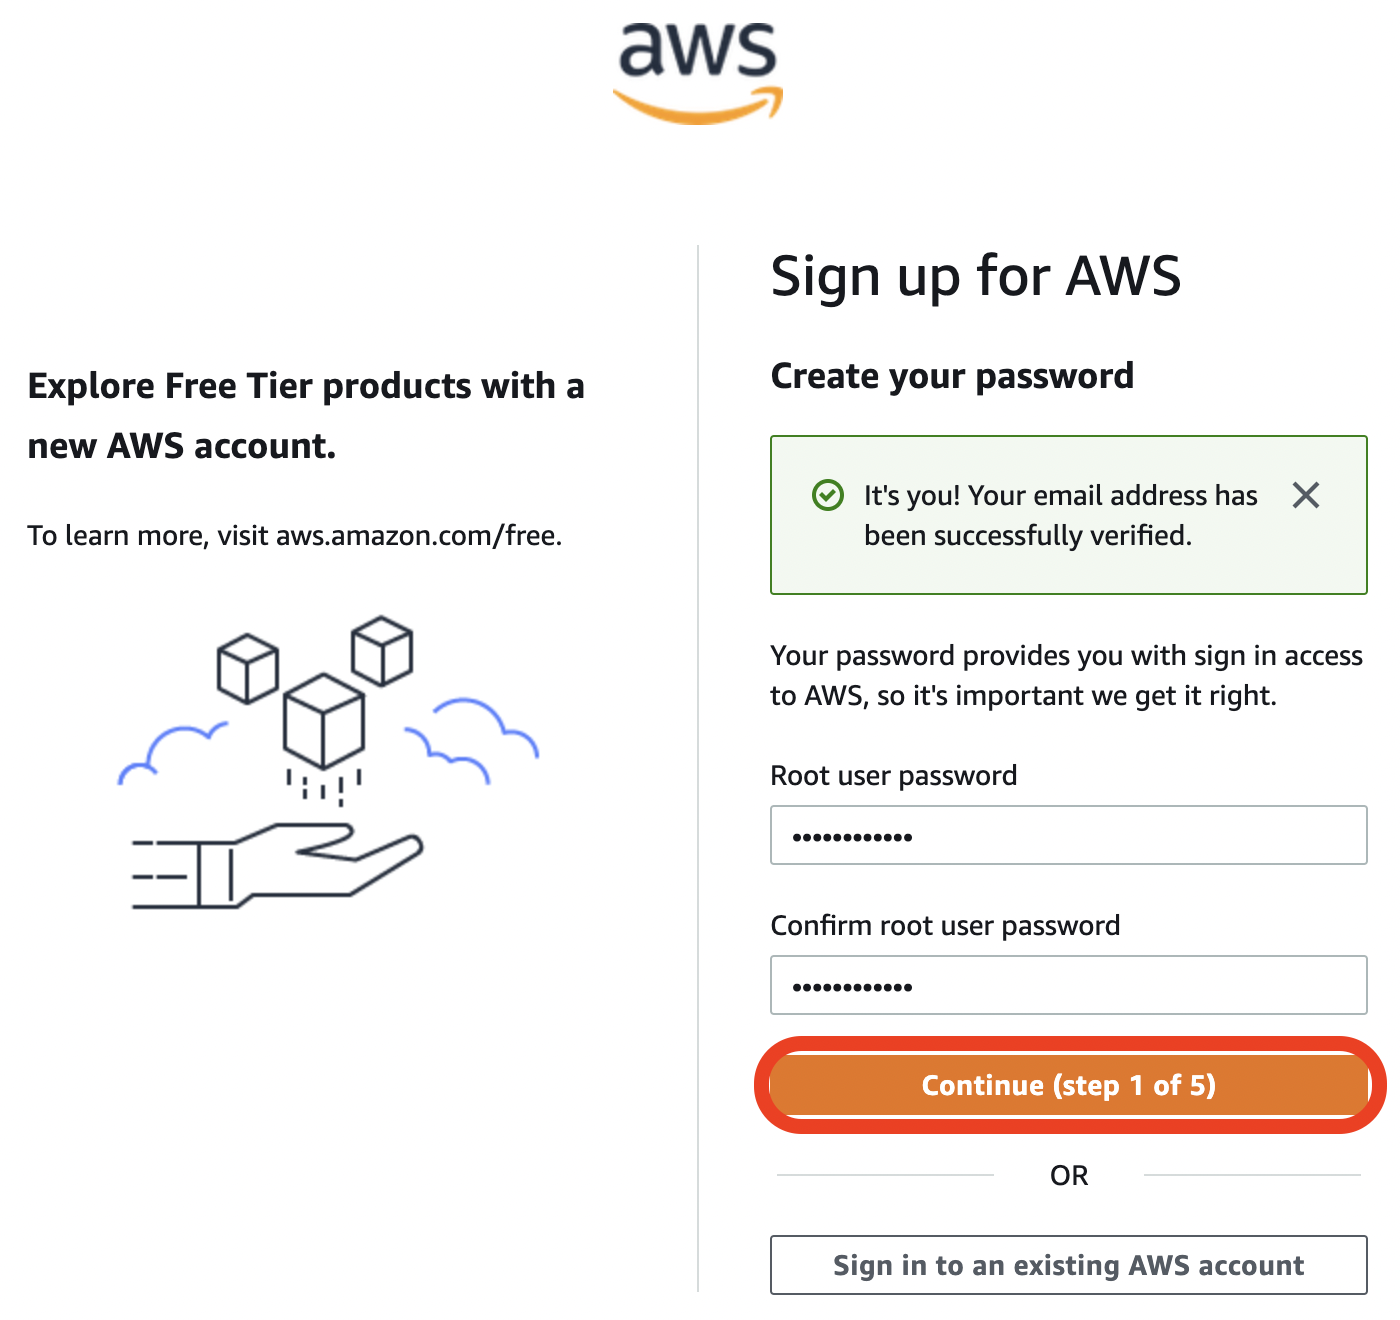
- Enter and confirm the Root User Password in the appropriate text boxes.
- Once done, click the Continue (step 1 of 5) button.
Password Requirements
Passwords must be at least 8 characters long and contain at least 3 of the following:
- Uppercase letters
- Lowercase letters
- Numbers
- Non-alphanumeric characters
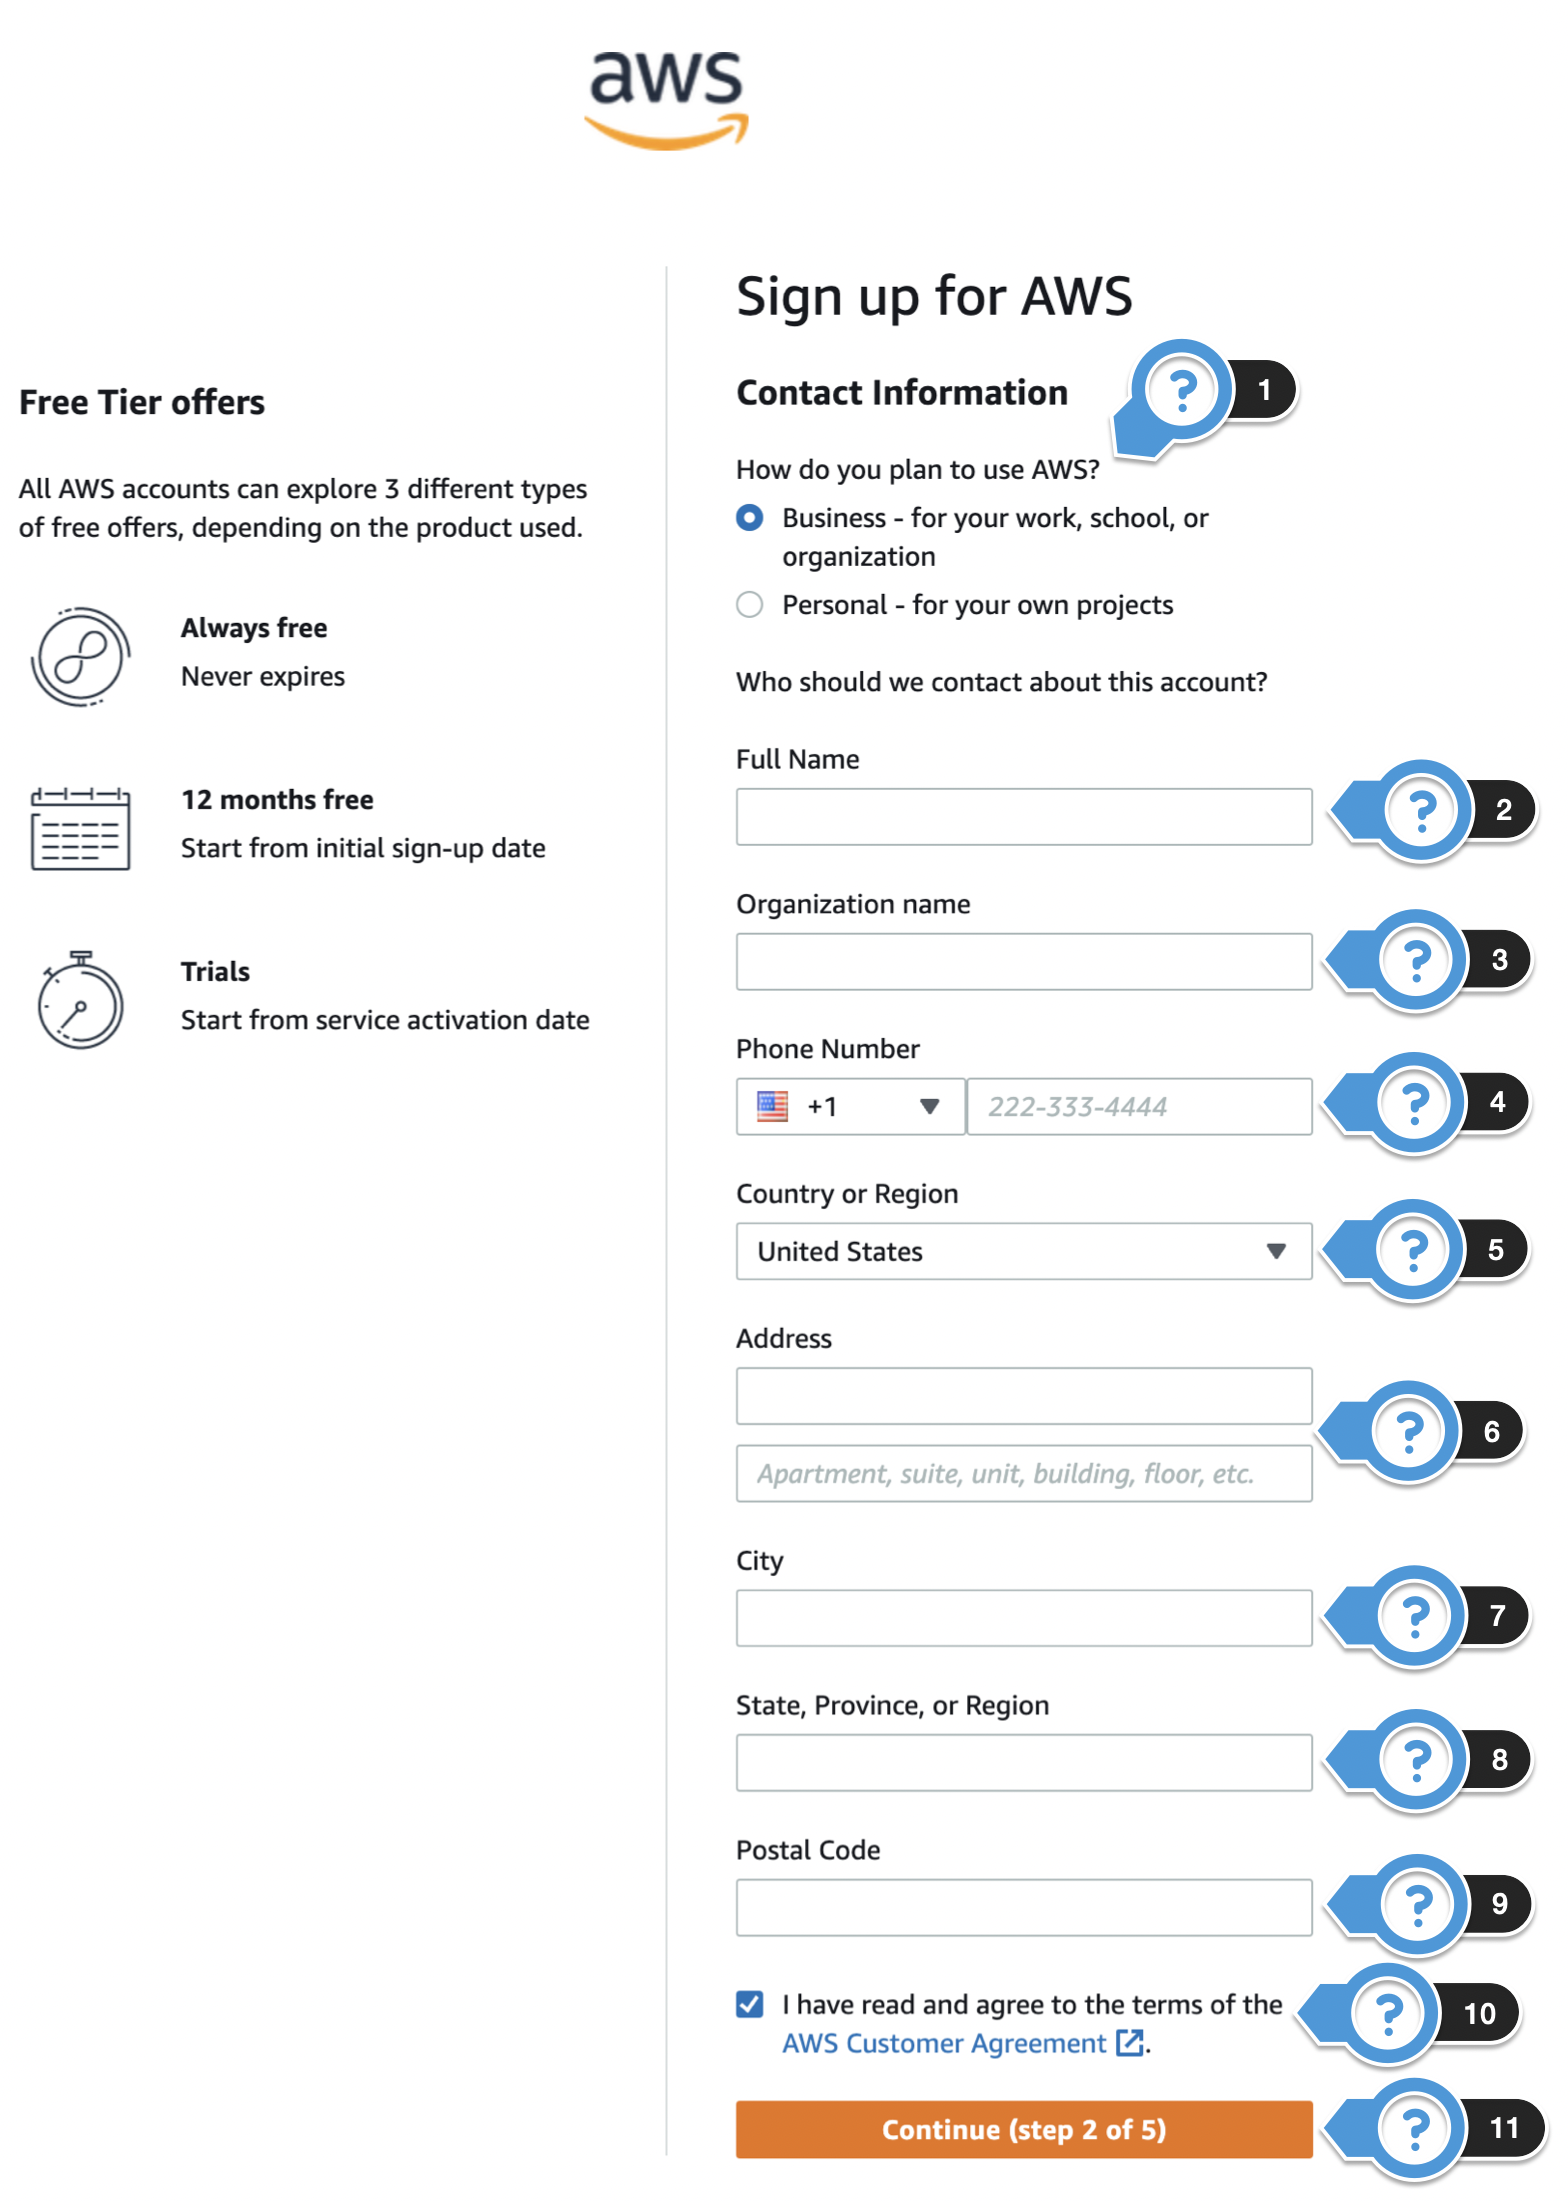
- On the Contact Information page:
- Select how you plan to use AWS appropriately. More than likely this will be Business.
- Enter the full name of the account administrator into the Full Name text box.
- Enter the organization name into the Organization name text box.
- Enter your phone number into the Phone Number text box.
- Select your Country or Region using the drop down.
- Enter your address into the Address text box.
- Enter your city into the City text box.
- Enter your State, Province, or Region into the text box.
- Enter your postal code into the Postal Code text box.
- Check the box to agree to AWS Customer Agreement.
- Once done, click the Continue(step 2 of 5) button.
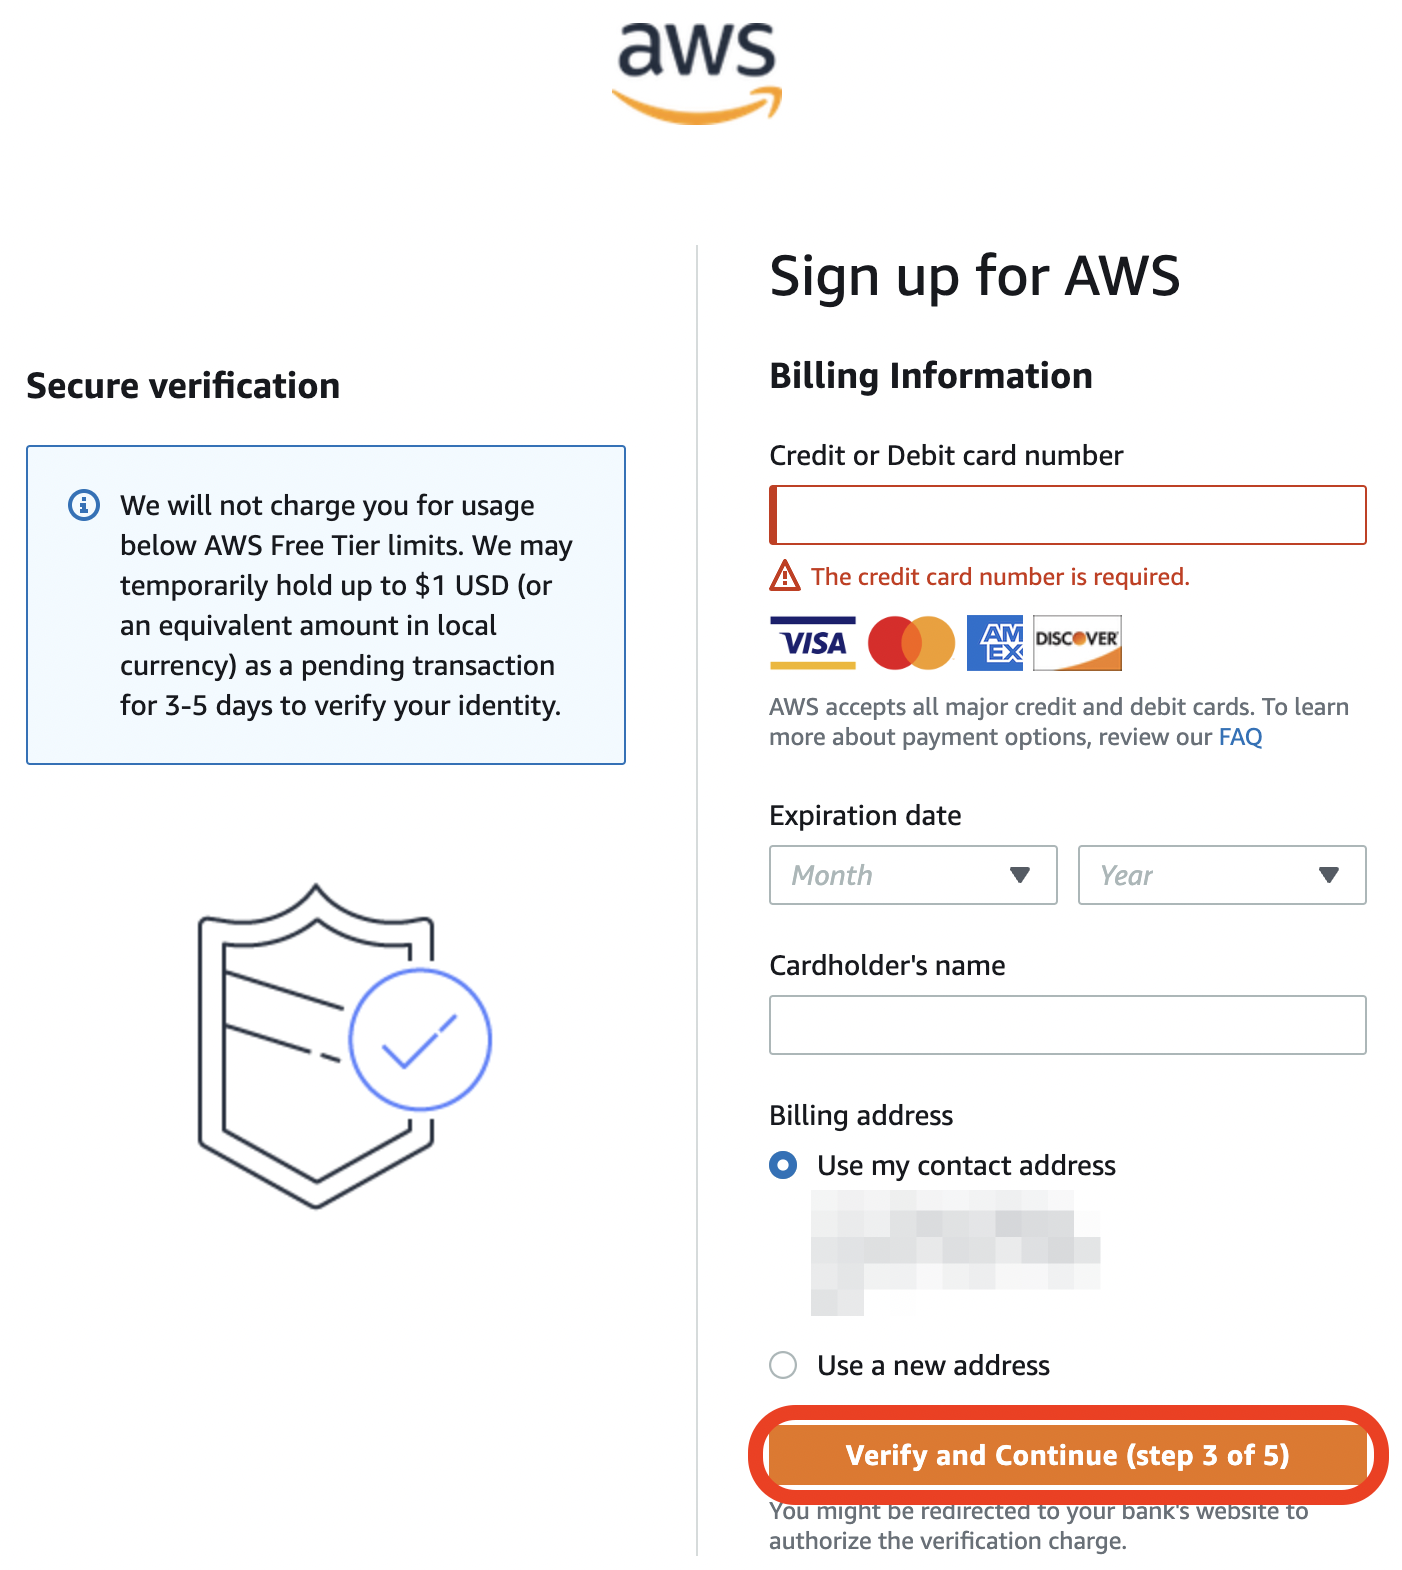
- Enter the card information for which you want to use for your AWS Account. A card is required for creation of an AWS Account.
- Once done, click the Verify and Continue (step 3 of 5) button.
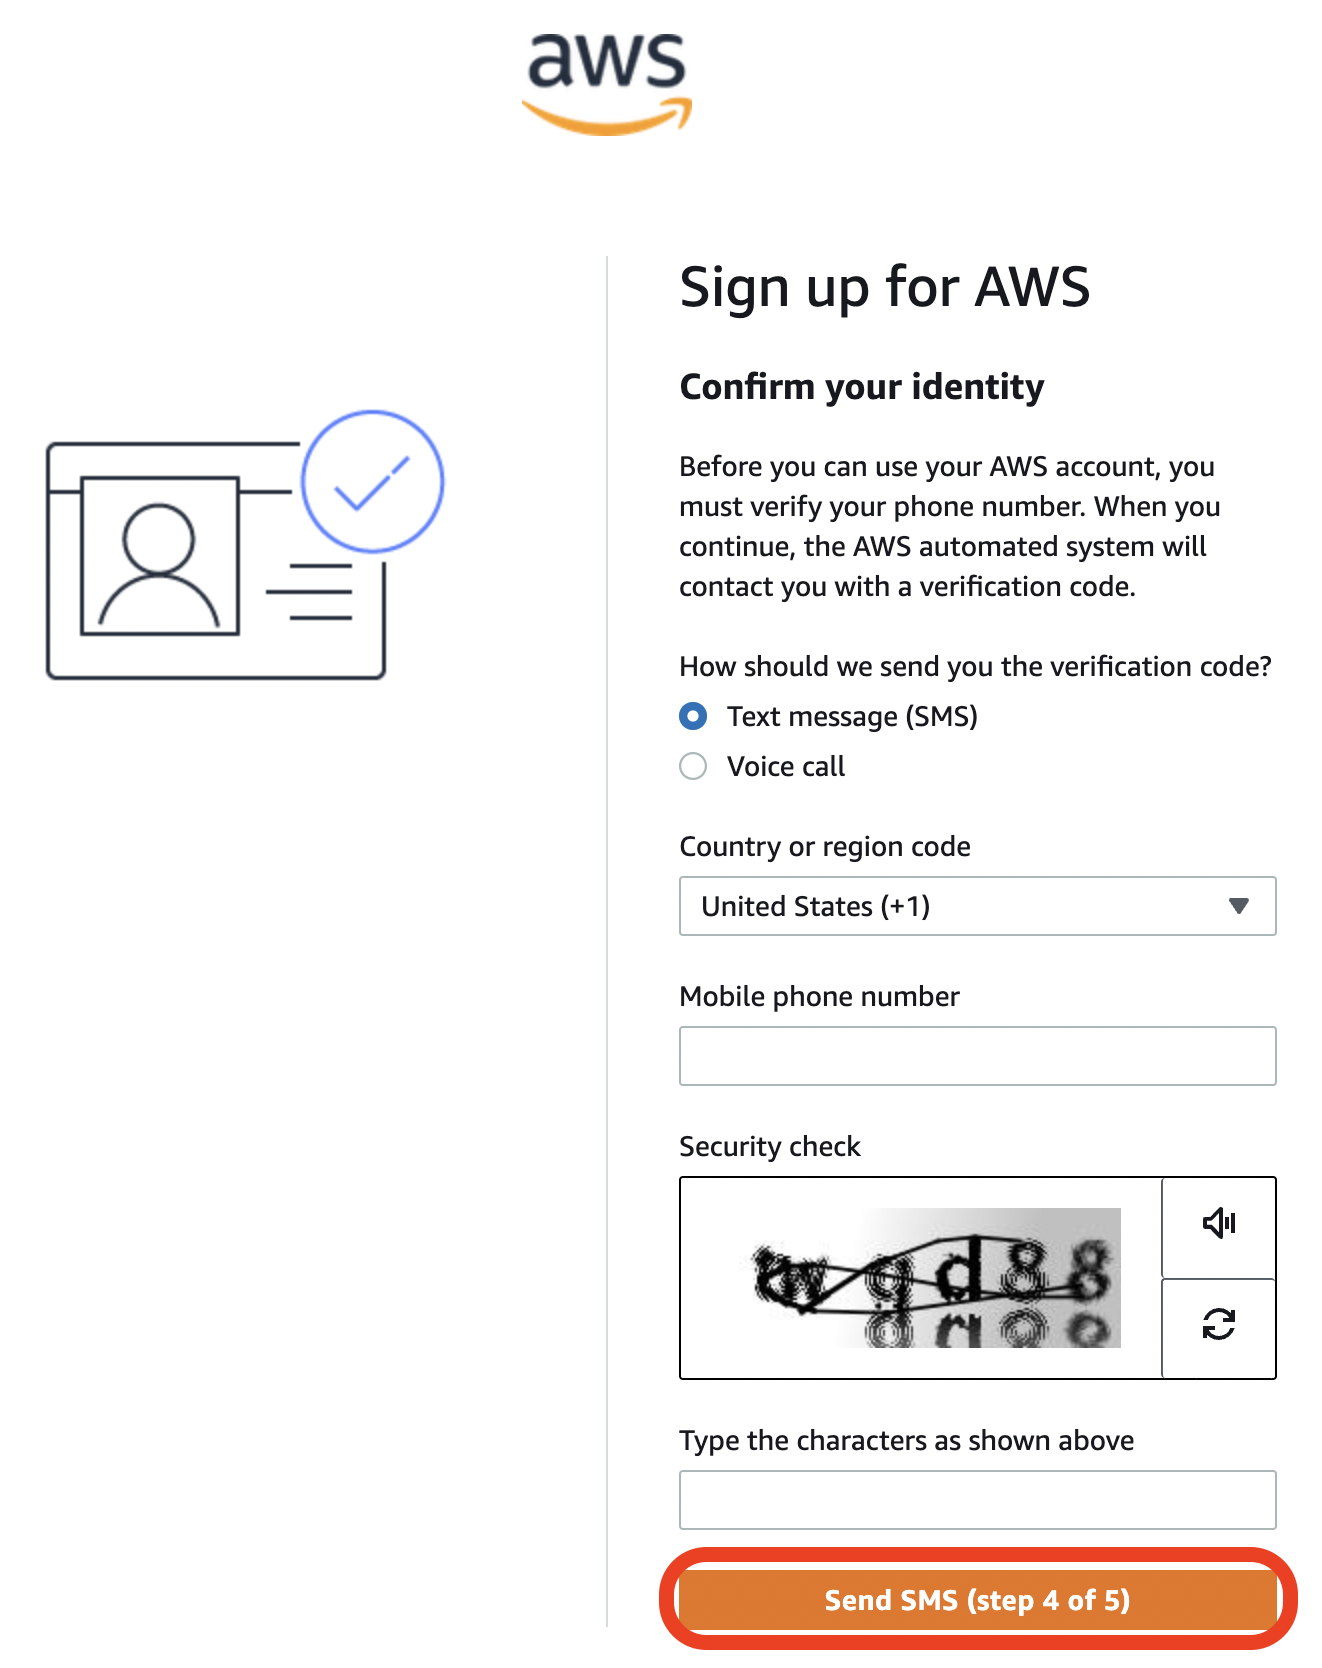
- Select Text message (SMS) or Voice call.
- Enter your phone number.
- Enter the characters displayed in the Security check.
- Once done, click the Send SMS (step 4 of 5) button.
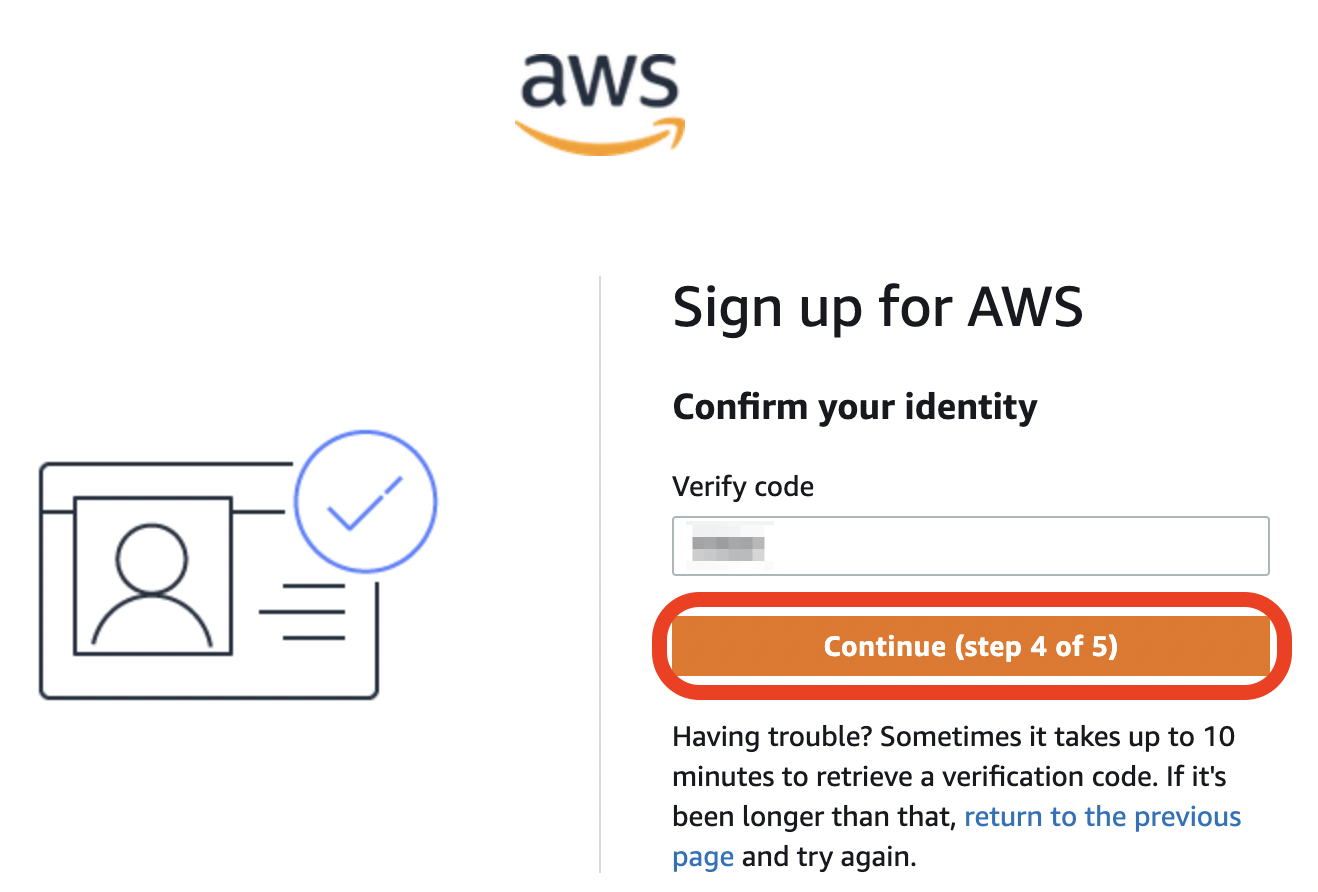
- Enter the code that you receive by either voice call or SMS message.
- Once done, click the Continue (step 4 of 5) button.
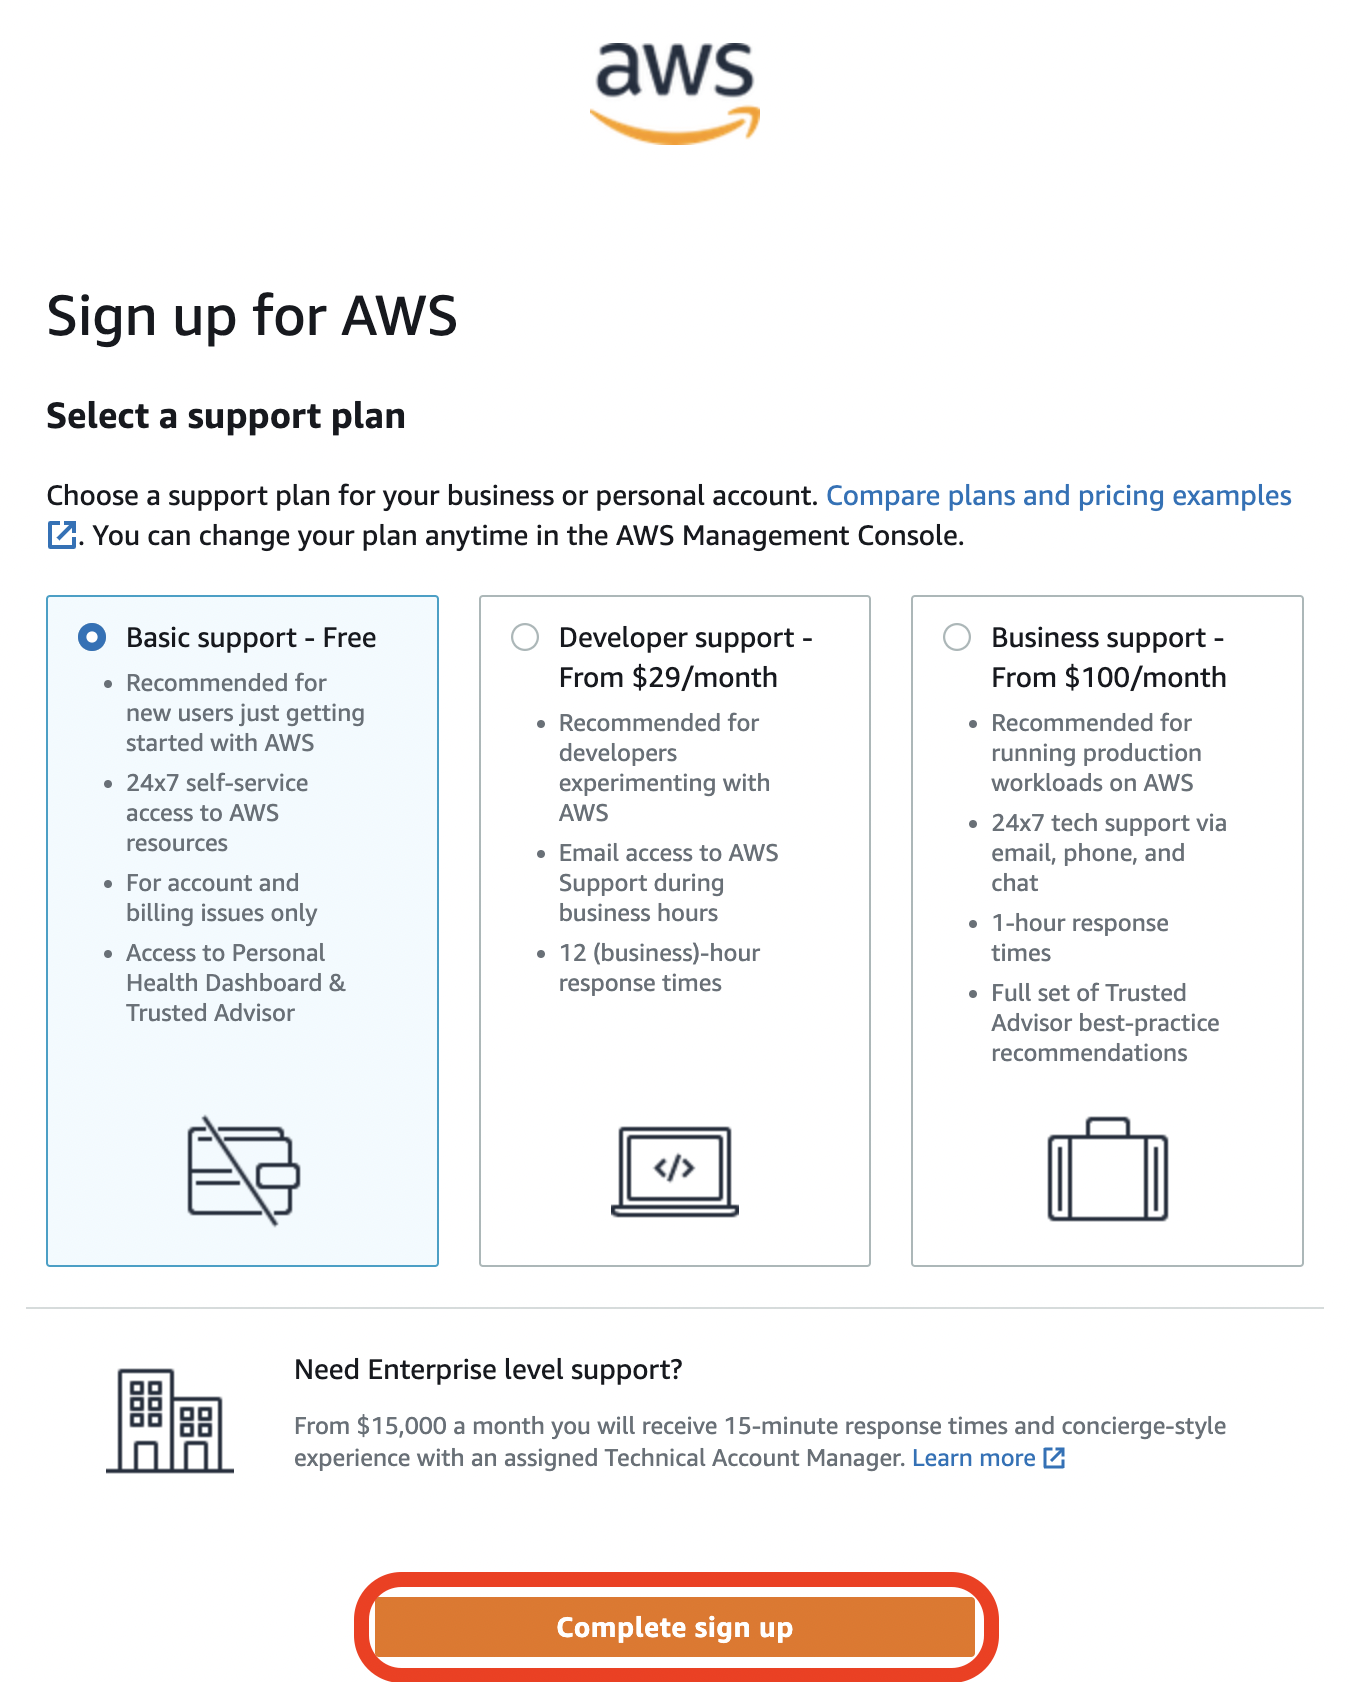
- Select the support plan of your choice (if any). In our example, we choose Basic support - Free.
- Once done, click the Complete sign up button.
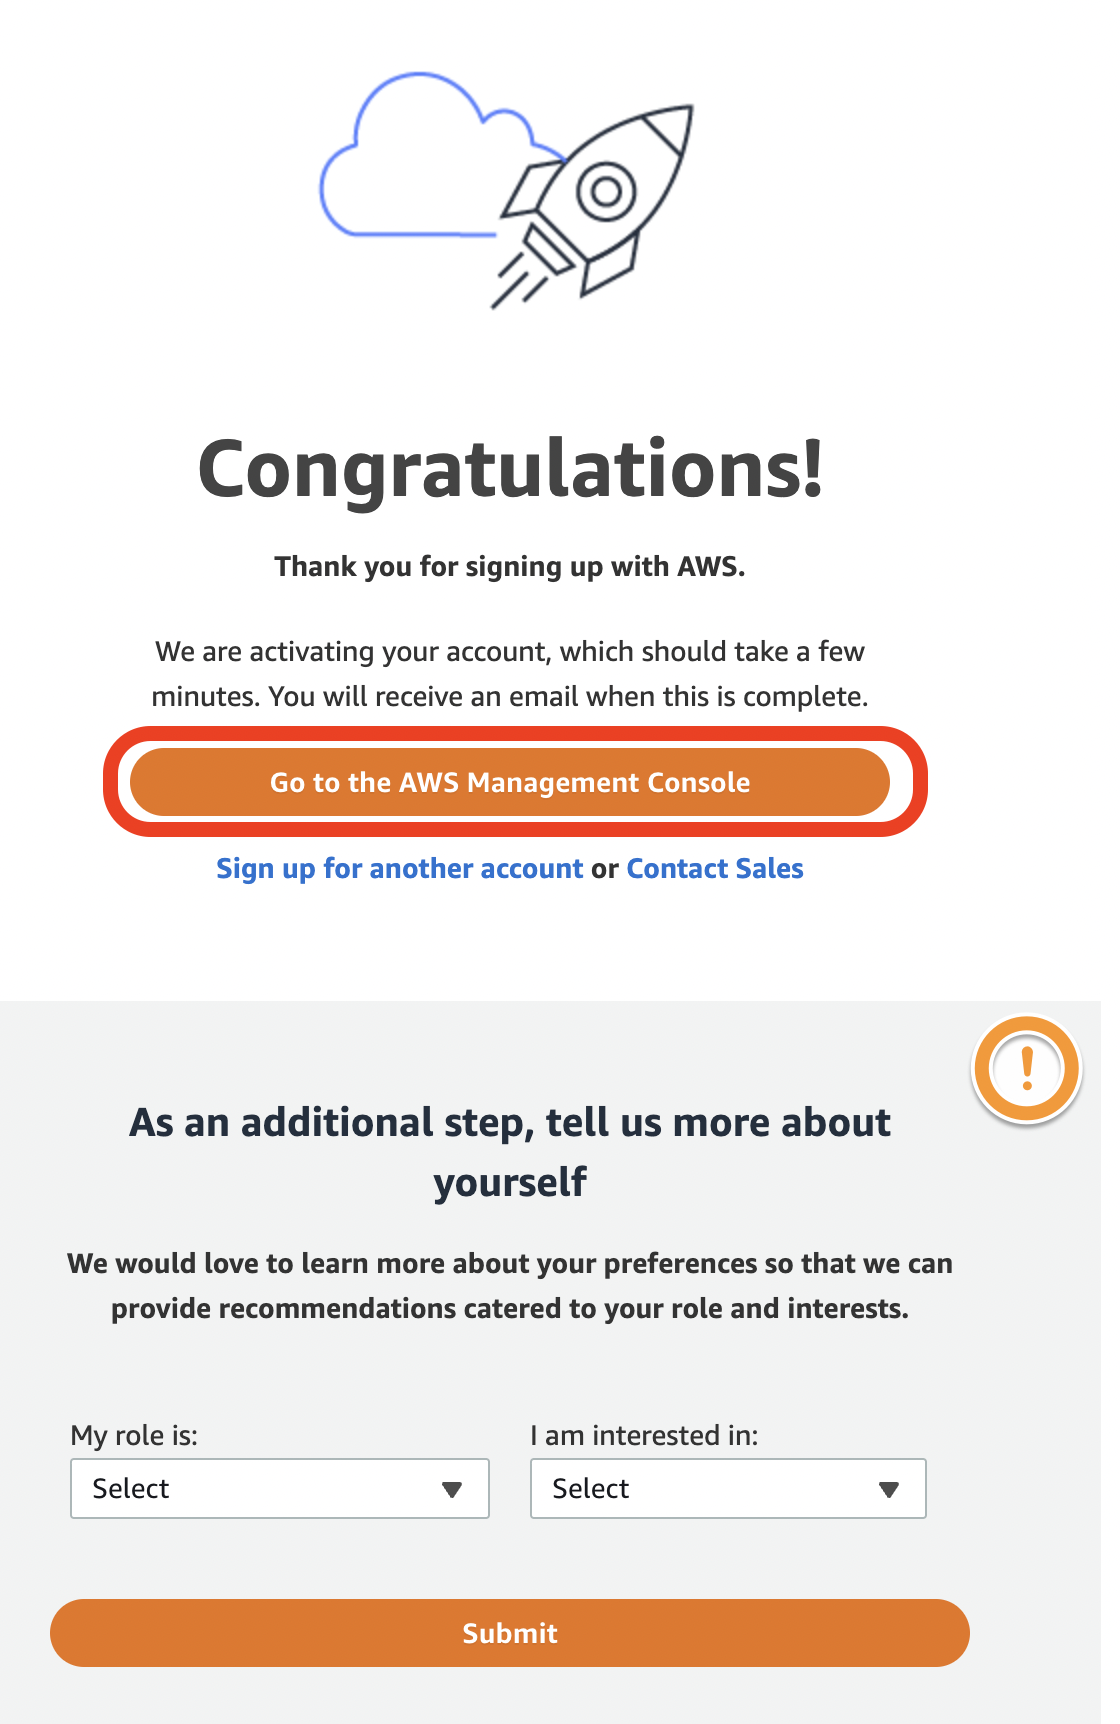
- Click the Go to the AWS Management Console button.
An optional step is to also fill out the tell us more about yourself section and submit the form on this page.
It is advised to not use your organizations root AWS account for deployment or operation of your SoftNAS instance.
Once you have your root account created, it is recommended to create a member account for your organization. Information regarding this can be found here.
Having created your account, you are now able to prepare the environment for your SoftNAS deployment. The following prerequisites should be configured before selecting and creating your instance. Open a second browser tab or window and perform the following tasks:
- AWS Getting Started - Creating Your AWS Access Key and Secret Access Key
- AWS Getting Started - Creating your IAM Role Policy and IAM Role
- AWS Getting Started - Creating your VPC
- AWS Getting Started - Virtual IP Addresses