AWS Getting Started - Creating your IAM Role Policy and IAM Role
About IAM
AWS Identity and Access Management (IAM) enables you to manage access to AWS services and resources securely. Using IAM, you can create and manage AWS users and groups, and use permissions to allow and deny their access to AWS resources.
Buurst recommends use of an Identity and Access Management (IAM) when creating your SoftNAS instance. You will need to create both an IAM Policy and IAM Role for use with your SoftNAS instance.
Creating the IAM Policy for SoftNAS®
To create an IAM Policy for use with SoftNAS you will need to use the AWS IAM Console here, or search for IAM in the AWS services from the AWS Console home.
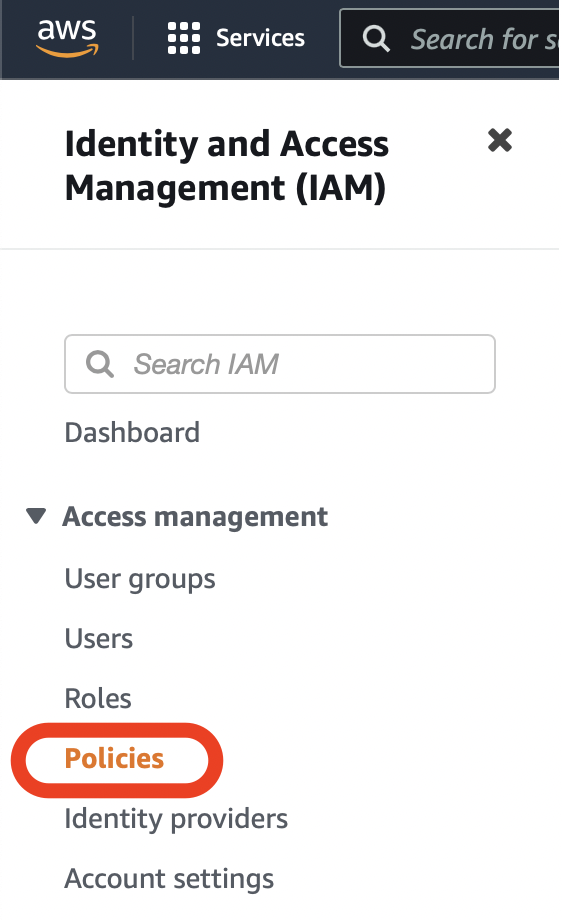
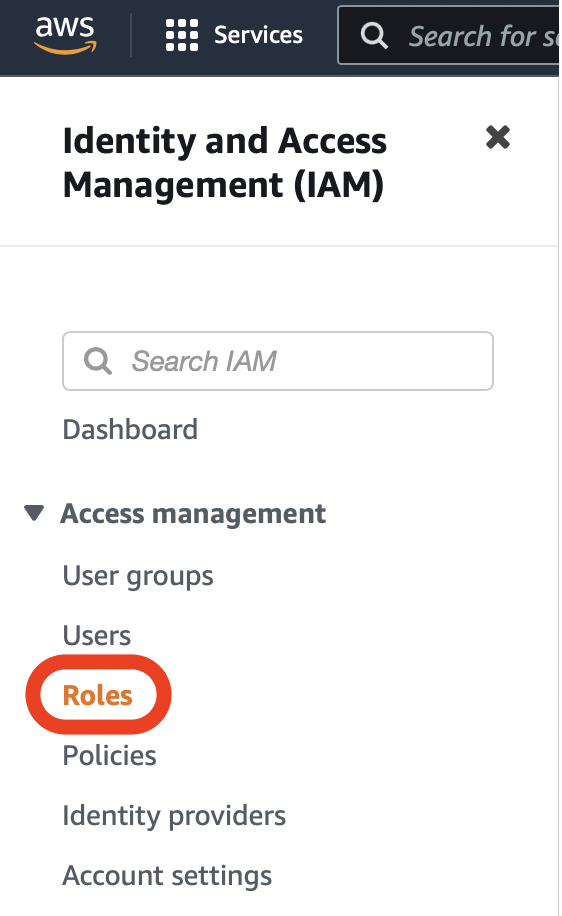
- 1. To create the custom policy, navigate to the Identity and Access Management (IAM) page and click Policies from within the navigation pane.
- Select Create Policy.

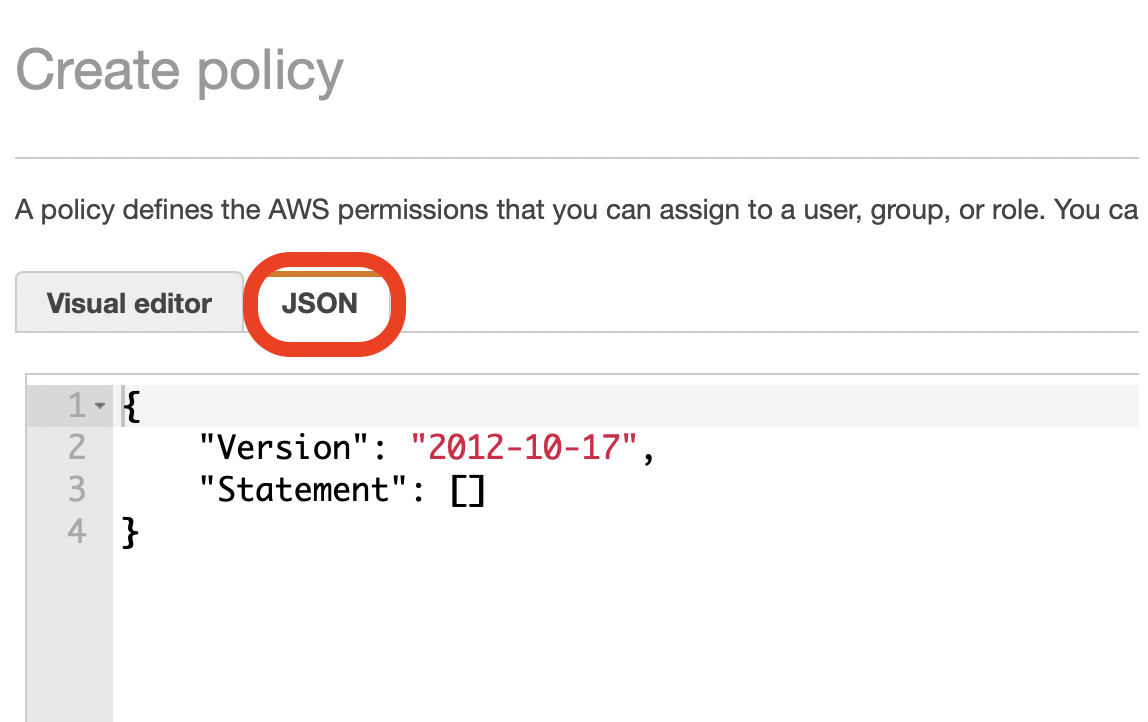
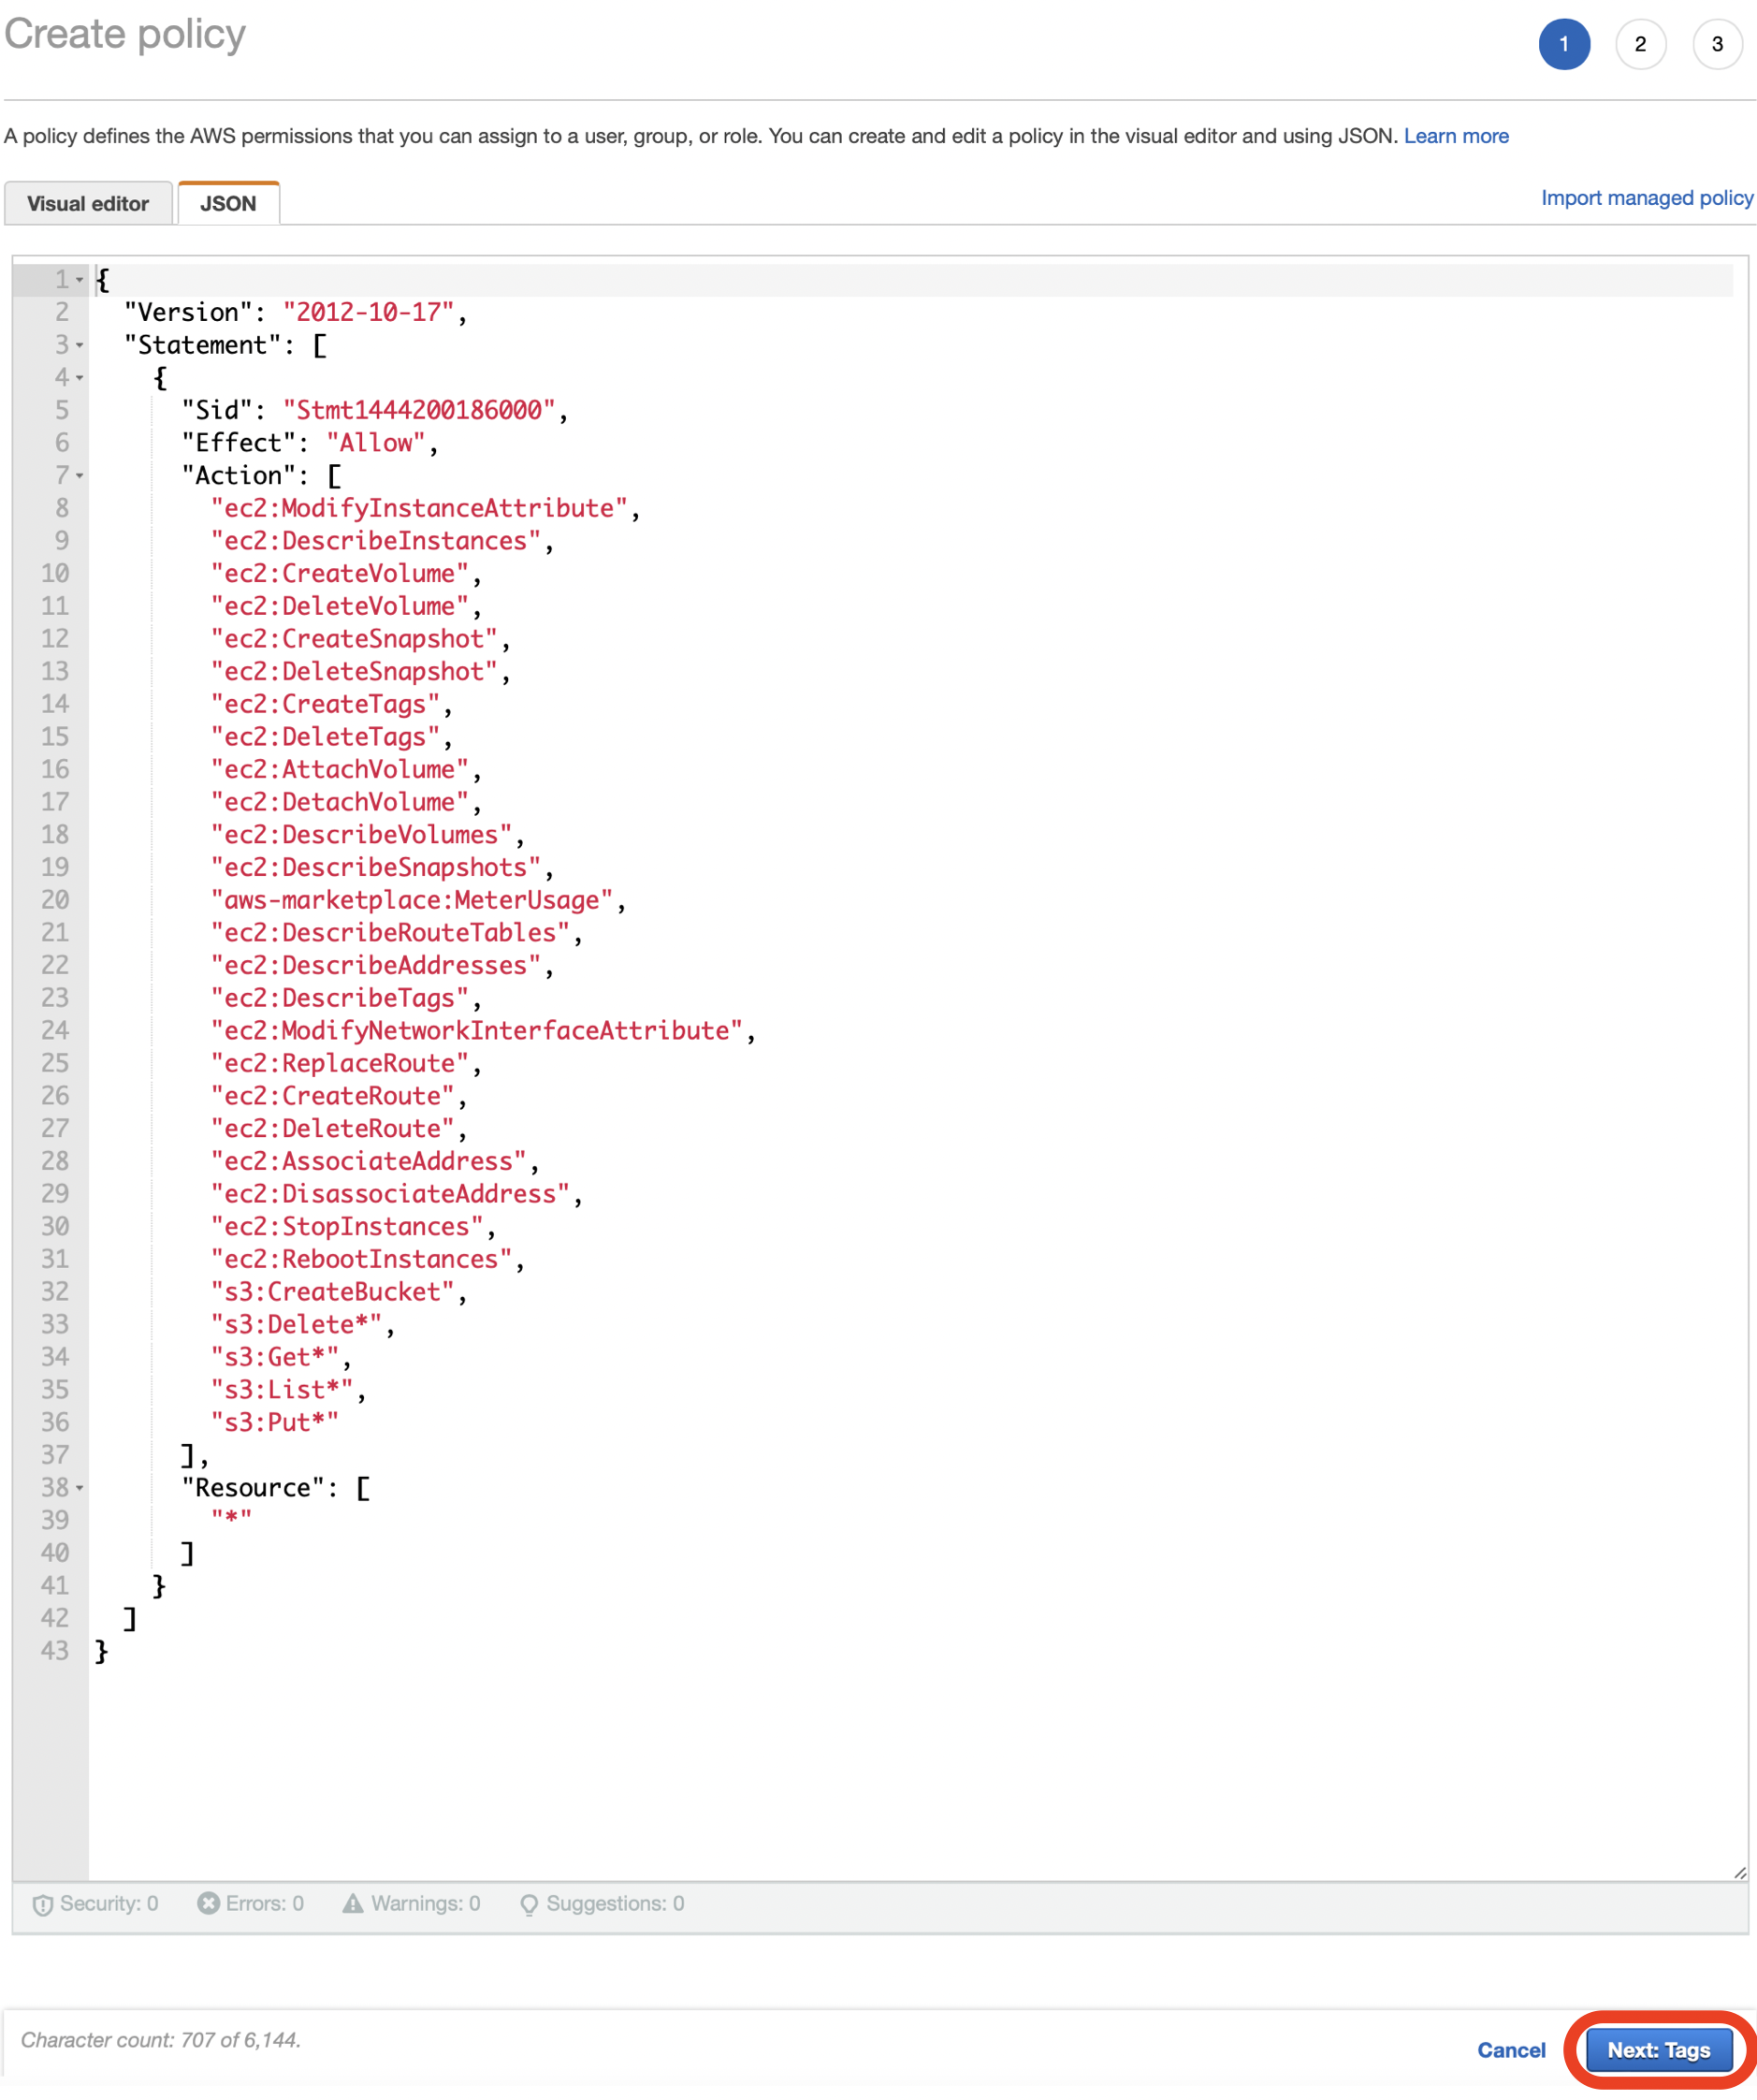
- On the Create Policy screen, click the JSON option.
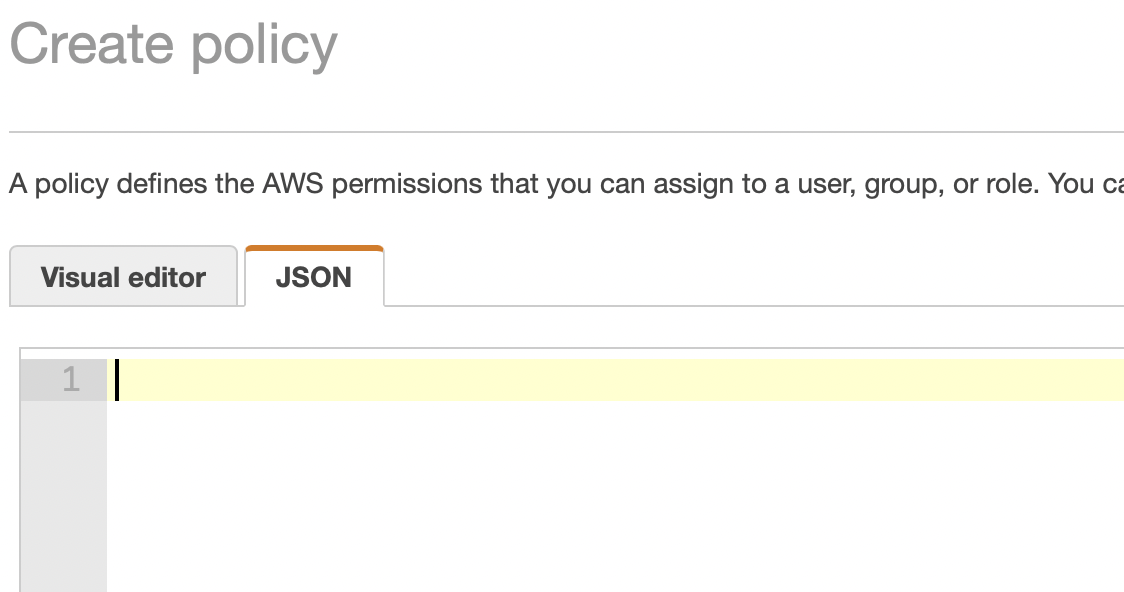
- Delete the text in the JSON Editor.
- Copy the JSON text shown under IAM Role Policy below, and paste it into the AWS JSON editor.
IAM Role Policy
{
  "Version": "2012-10-17",
  "Statement": [
    {
      "Sid": "Stmt1444200186000",
      "Effect": "Allow",
      "Action": [
        "ec2:ModifyInstanceAttribute",
        "ec2:DescribeInstances",
        "ec2:CreateVolume",
        "ec2:DeleteVolume",
        "ec2:CreateSnapshot",
        "ec2:DeleteSnapshot",
        "ec2:CreateTags",
        "ec2:DeleteTags",
        "ec2:AttachVolume",
        "ec2:DetachVolume",
        "ec2:DescribeVolumes",
        "ec2:DescribeSnapshots",
        "aws-marketplace:MeterUsage",
        "ec2:DescribeRouteTables",
        "ec2:DescribeAddresses",
        "ec2:DescribeTags",
        "ec2:ModifyNetworkInterfaceAttribute",
        "ec2:ReplaceRoute",
        "ec2:CreateRoute",
        "ec2:DeleteRoute",
        "ec2:AssociateAddress",
        "ec2:DisassociateAddress",
        "ec2:StopInstances",
        "ec2:RebootInstances",
        "s3:CreateBucket",
        "s3:Delete*",
        "s3:Get*",
        "s3:List*",
        "s3:Put*"
      ],
      "Resource": [
        "*"
      ]
    }
  ]
}
- Click Next: Tags at the bottom of the page.
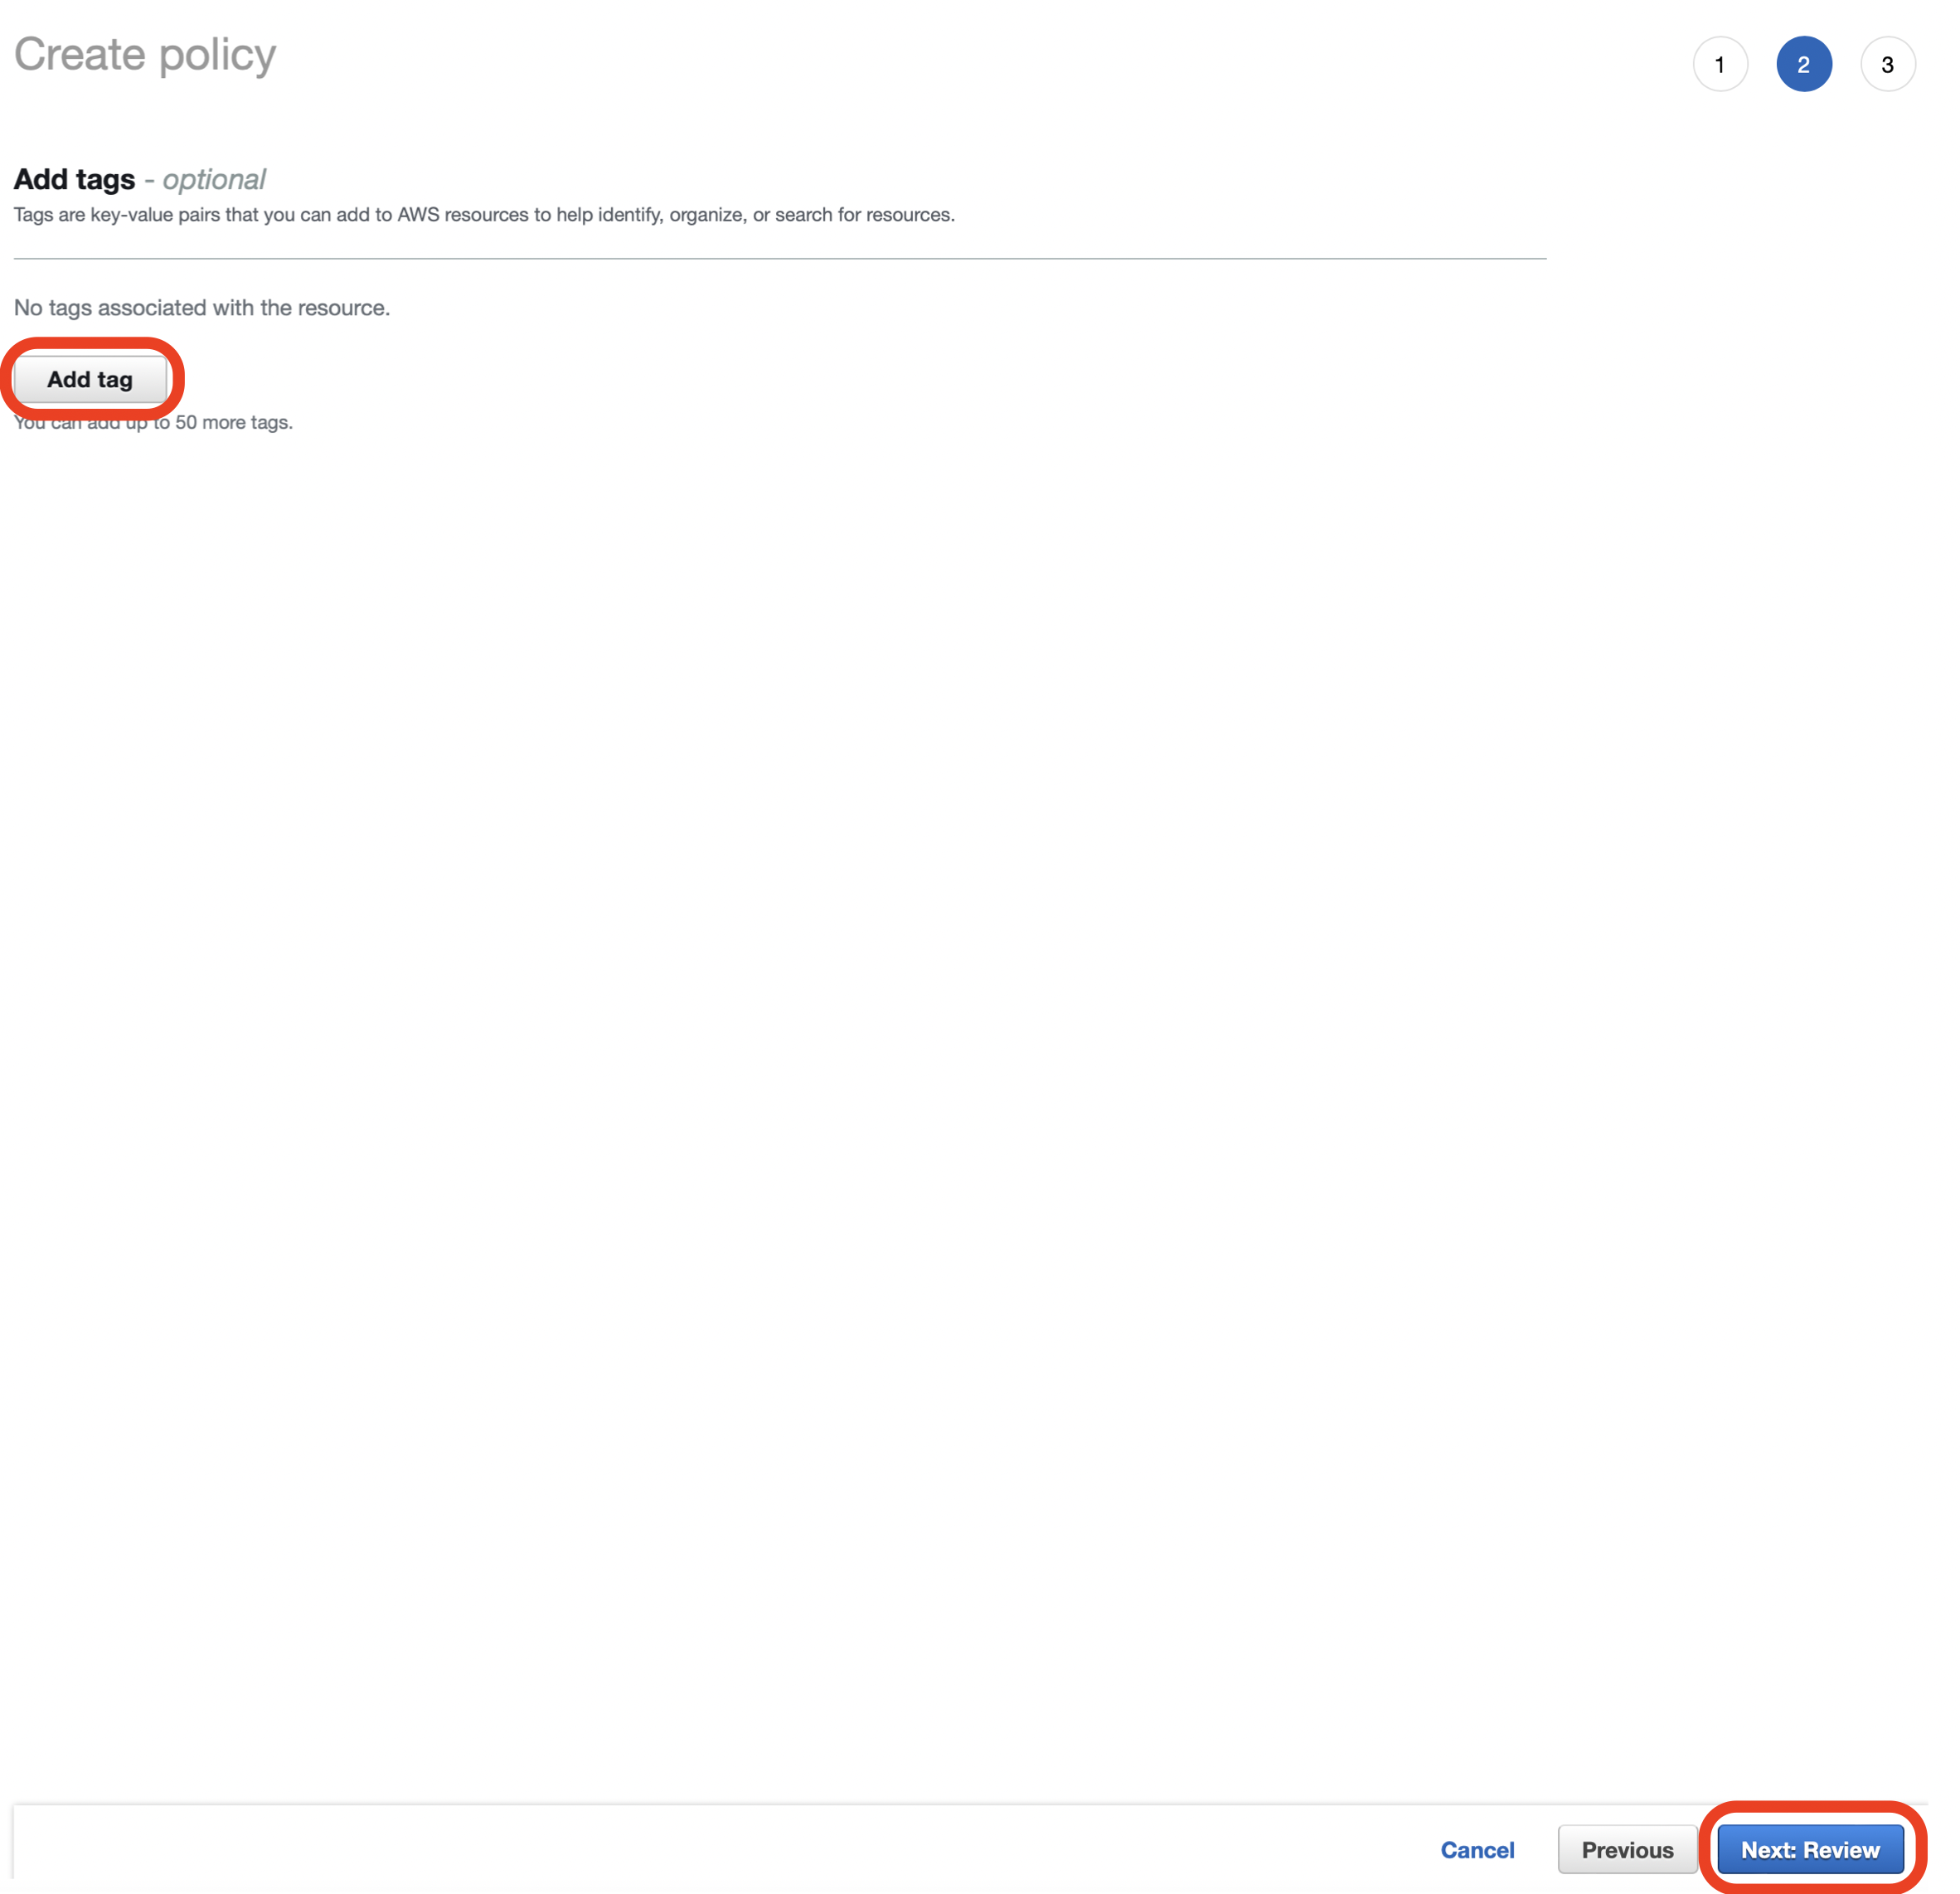
- Click Add tag to assign tags to the IAM Policy. This step is optional and can be skipped.
- Click Next: Review at the bottom of the page.
- Enter a Name and Description for your policy and click Create policy.
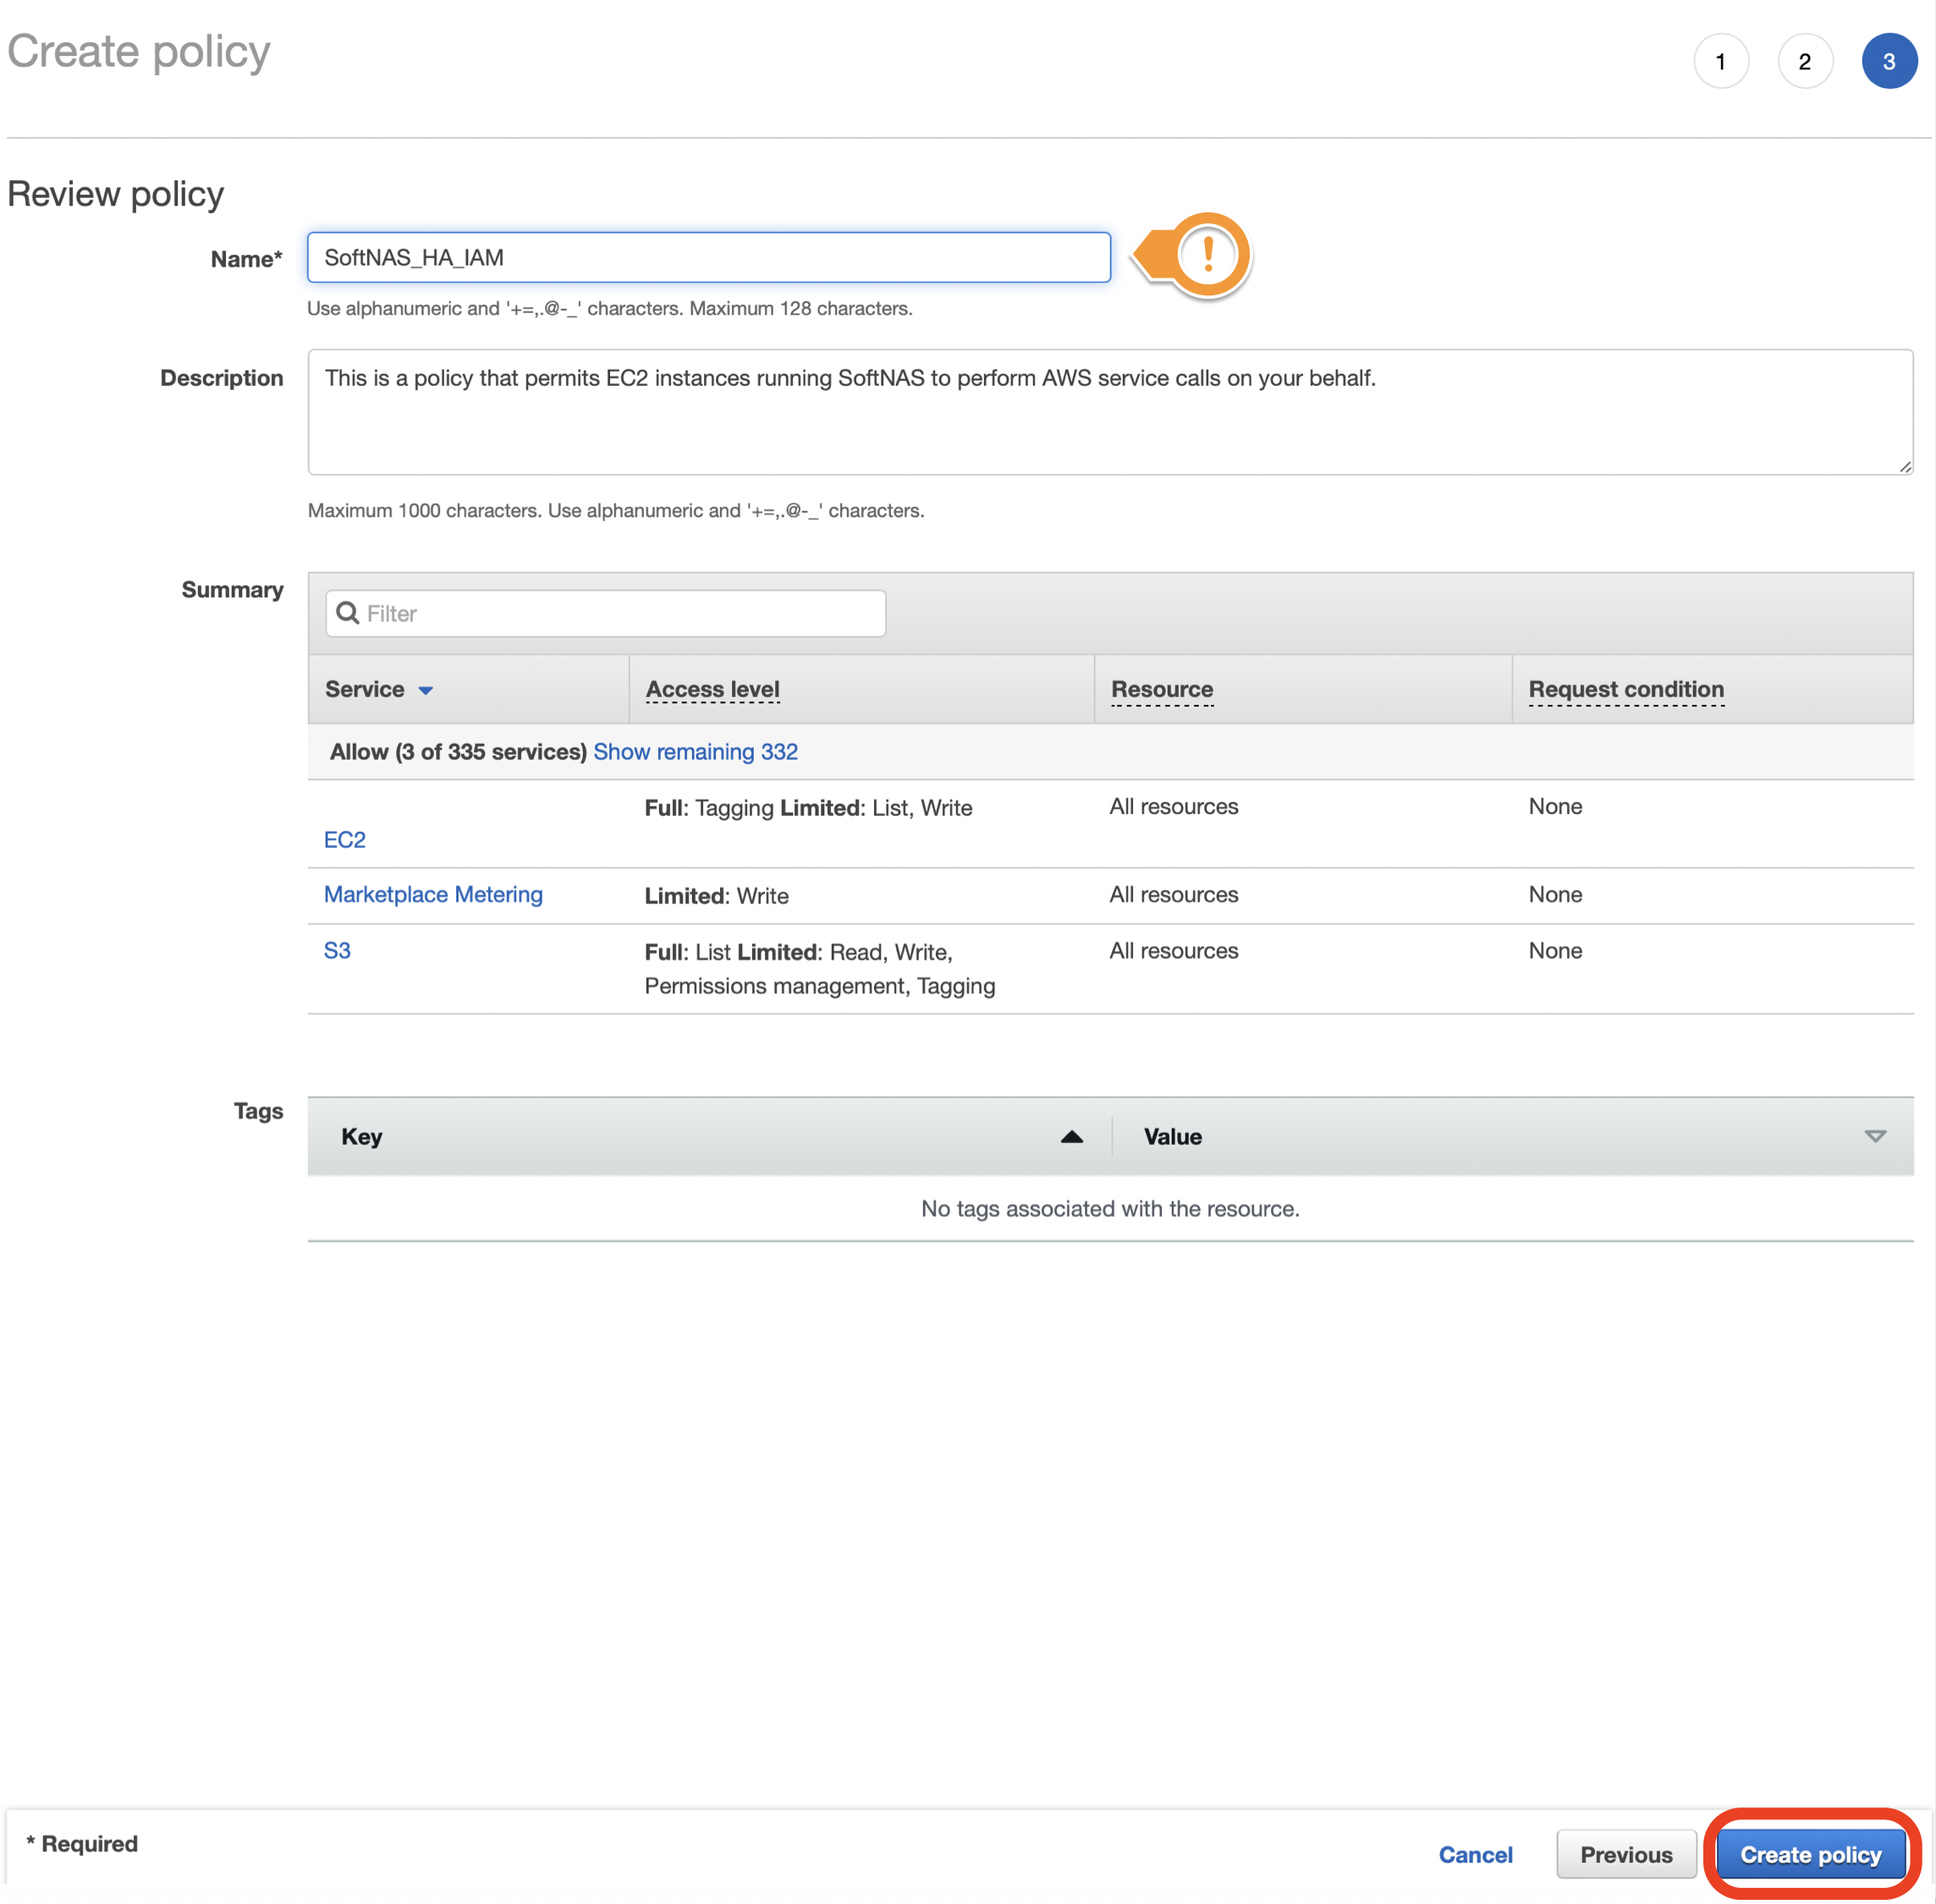
- Your IAM Policy for use with SoftNAS should now be created.
Creating an IAM Role for use with SoftNAS
To create an IAM Role for use with SoftNAS and a previously created IAM Policy, you will need to use the AWS IAM Console here, or search for IAM in the AWS services from the AWS Console home.
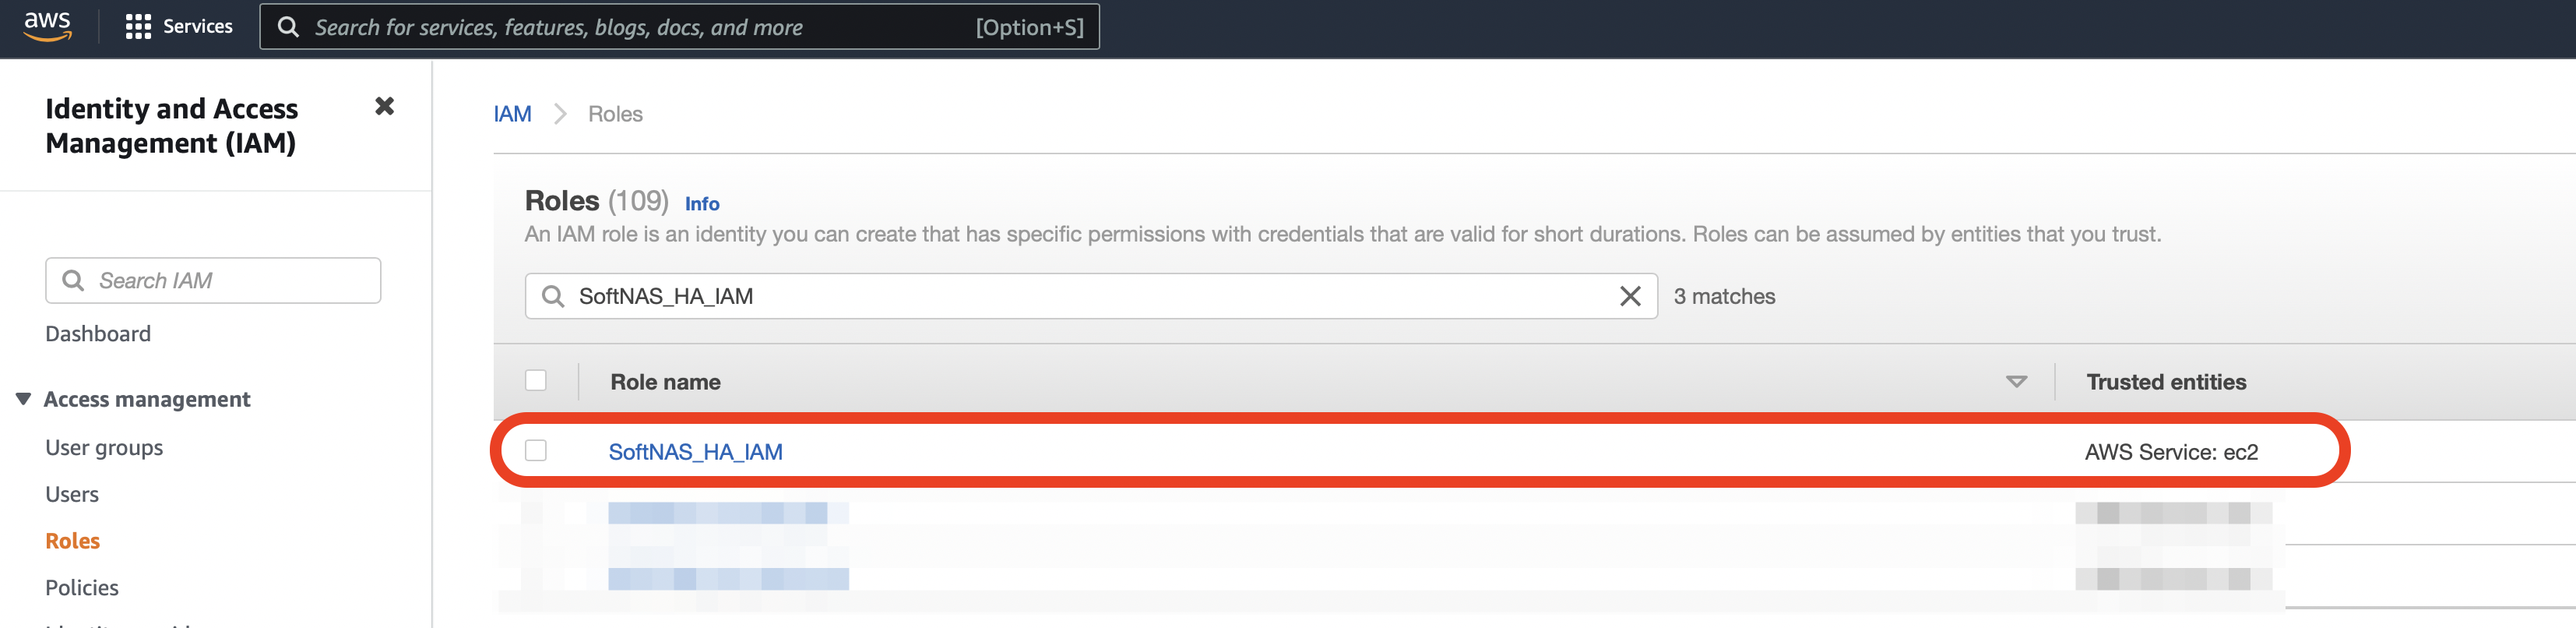
- To create a new role, click Roles from within the navigation pane.
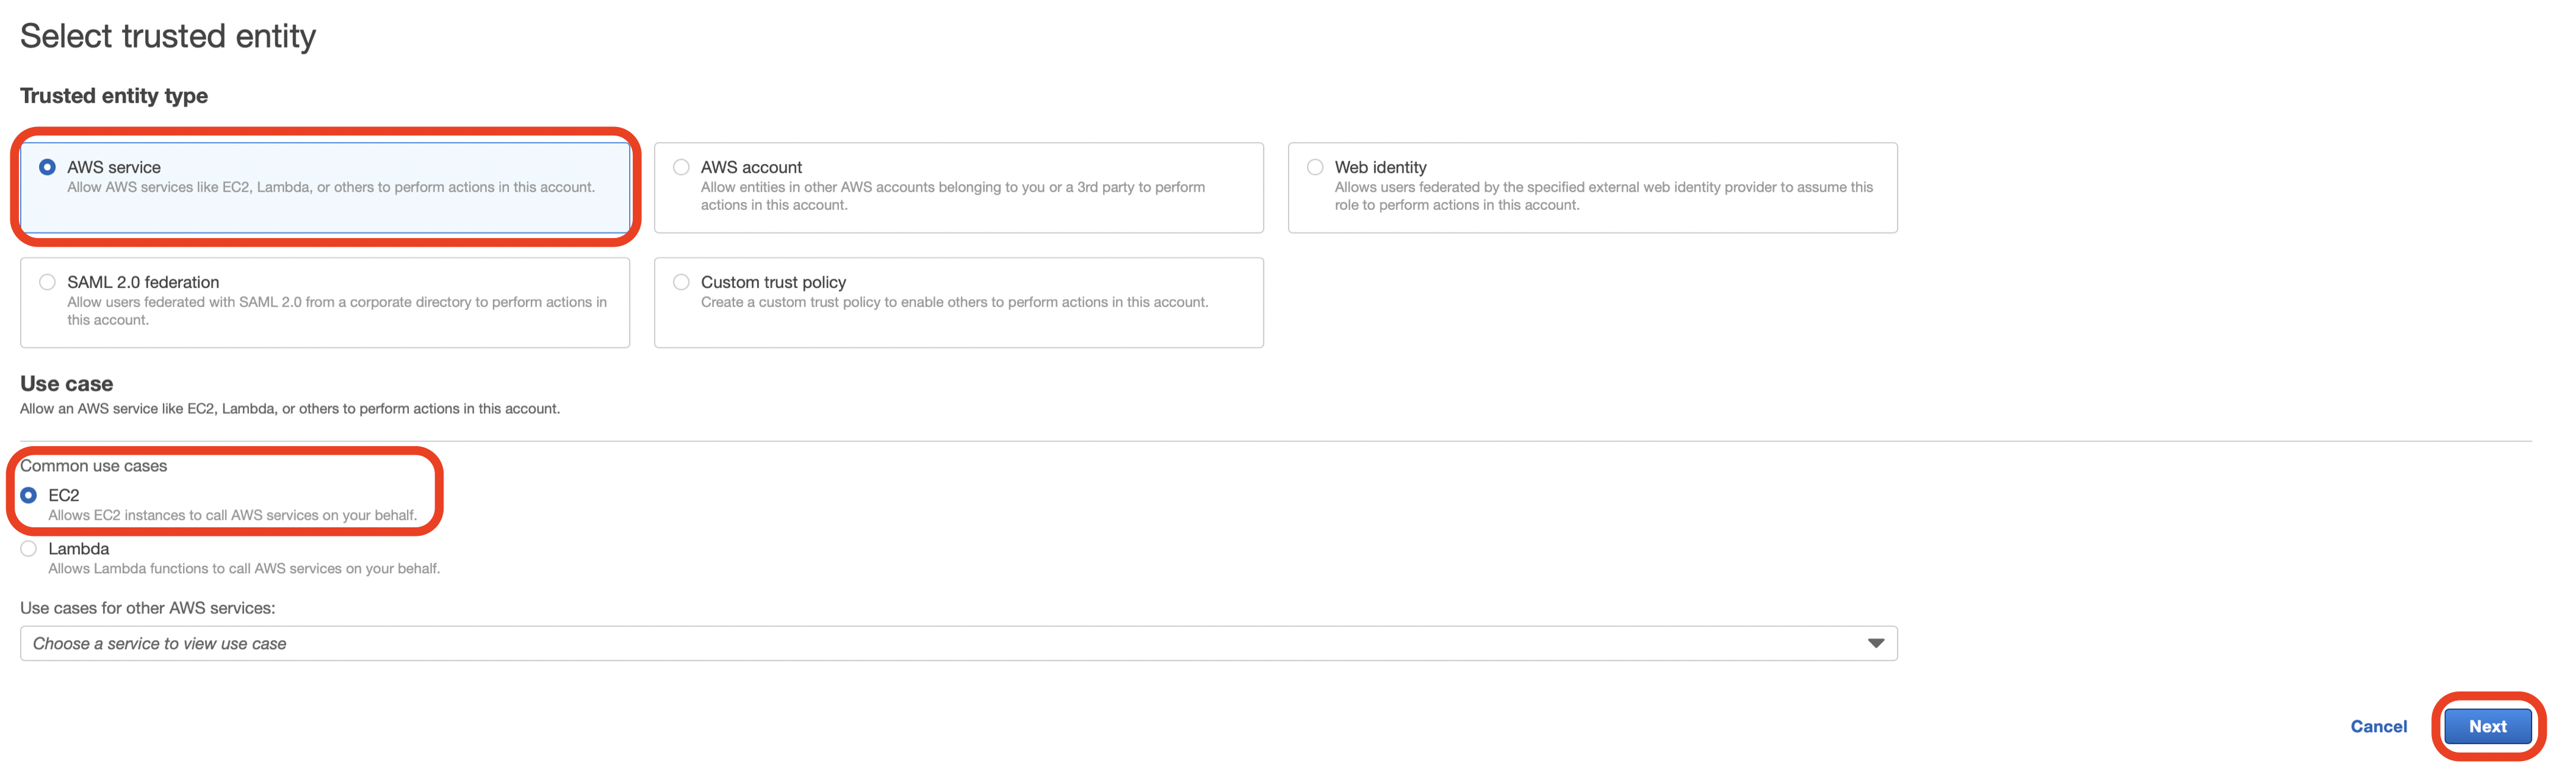
- Select Create role.

- From Trusted entity type select AWS service.
- From Use case select EC2 as the service.
- Click Next.
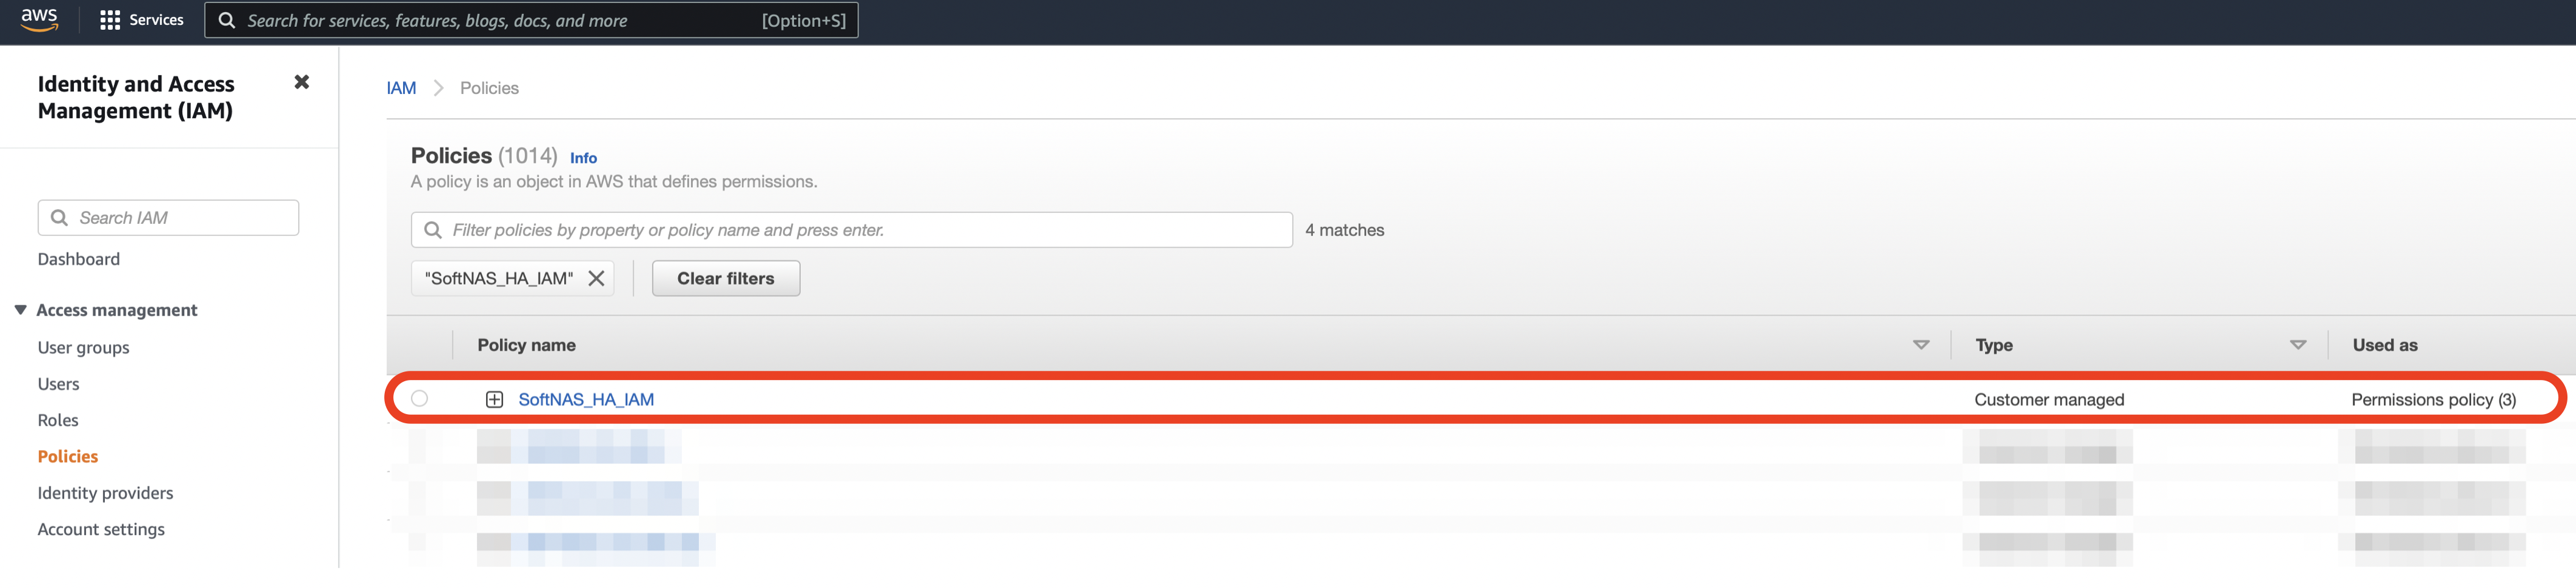
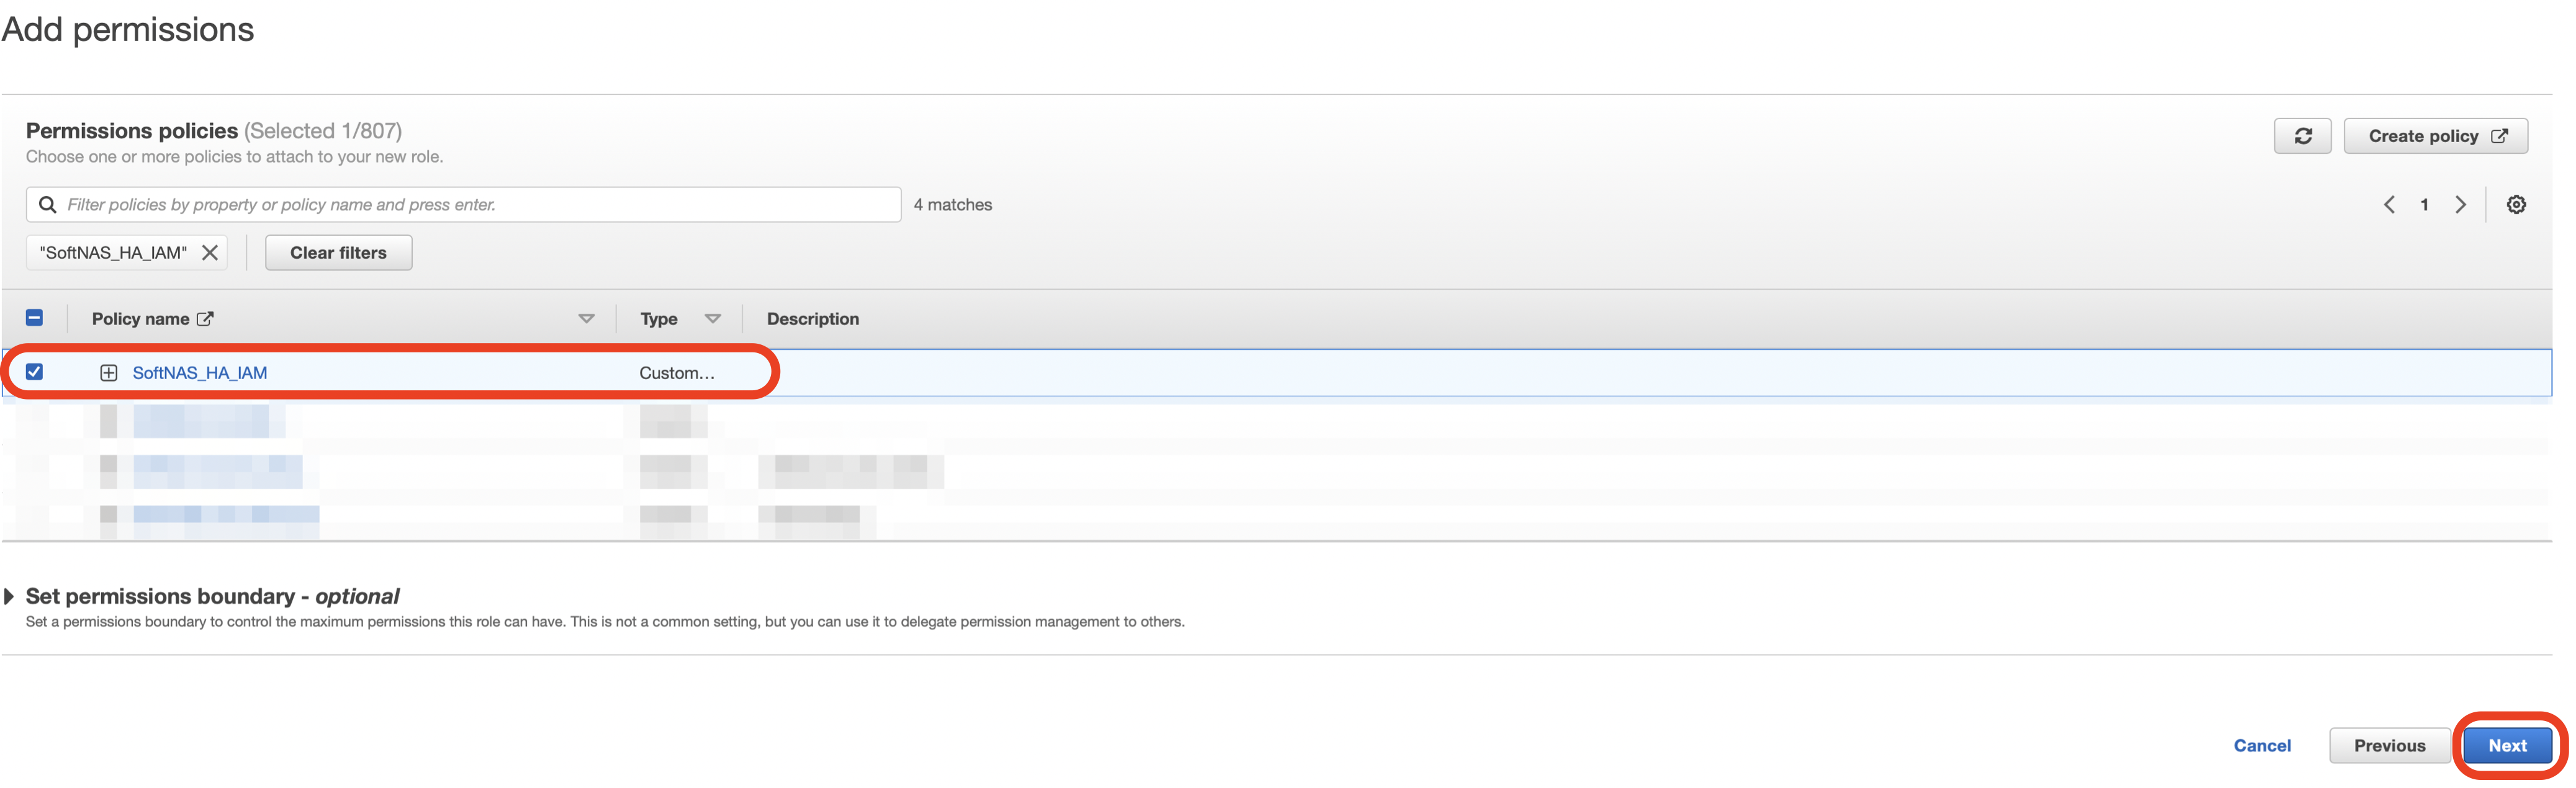
- Attach the permissions policy that you previous created for use with SoftNAS by checking the check box next to that policy, and then click Next.
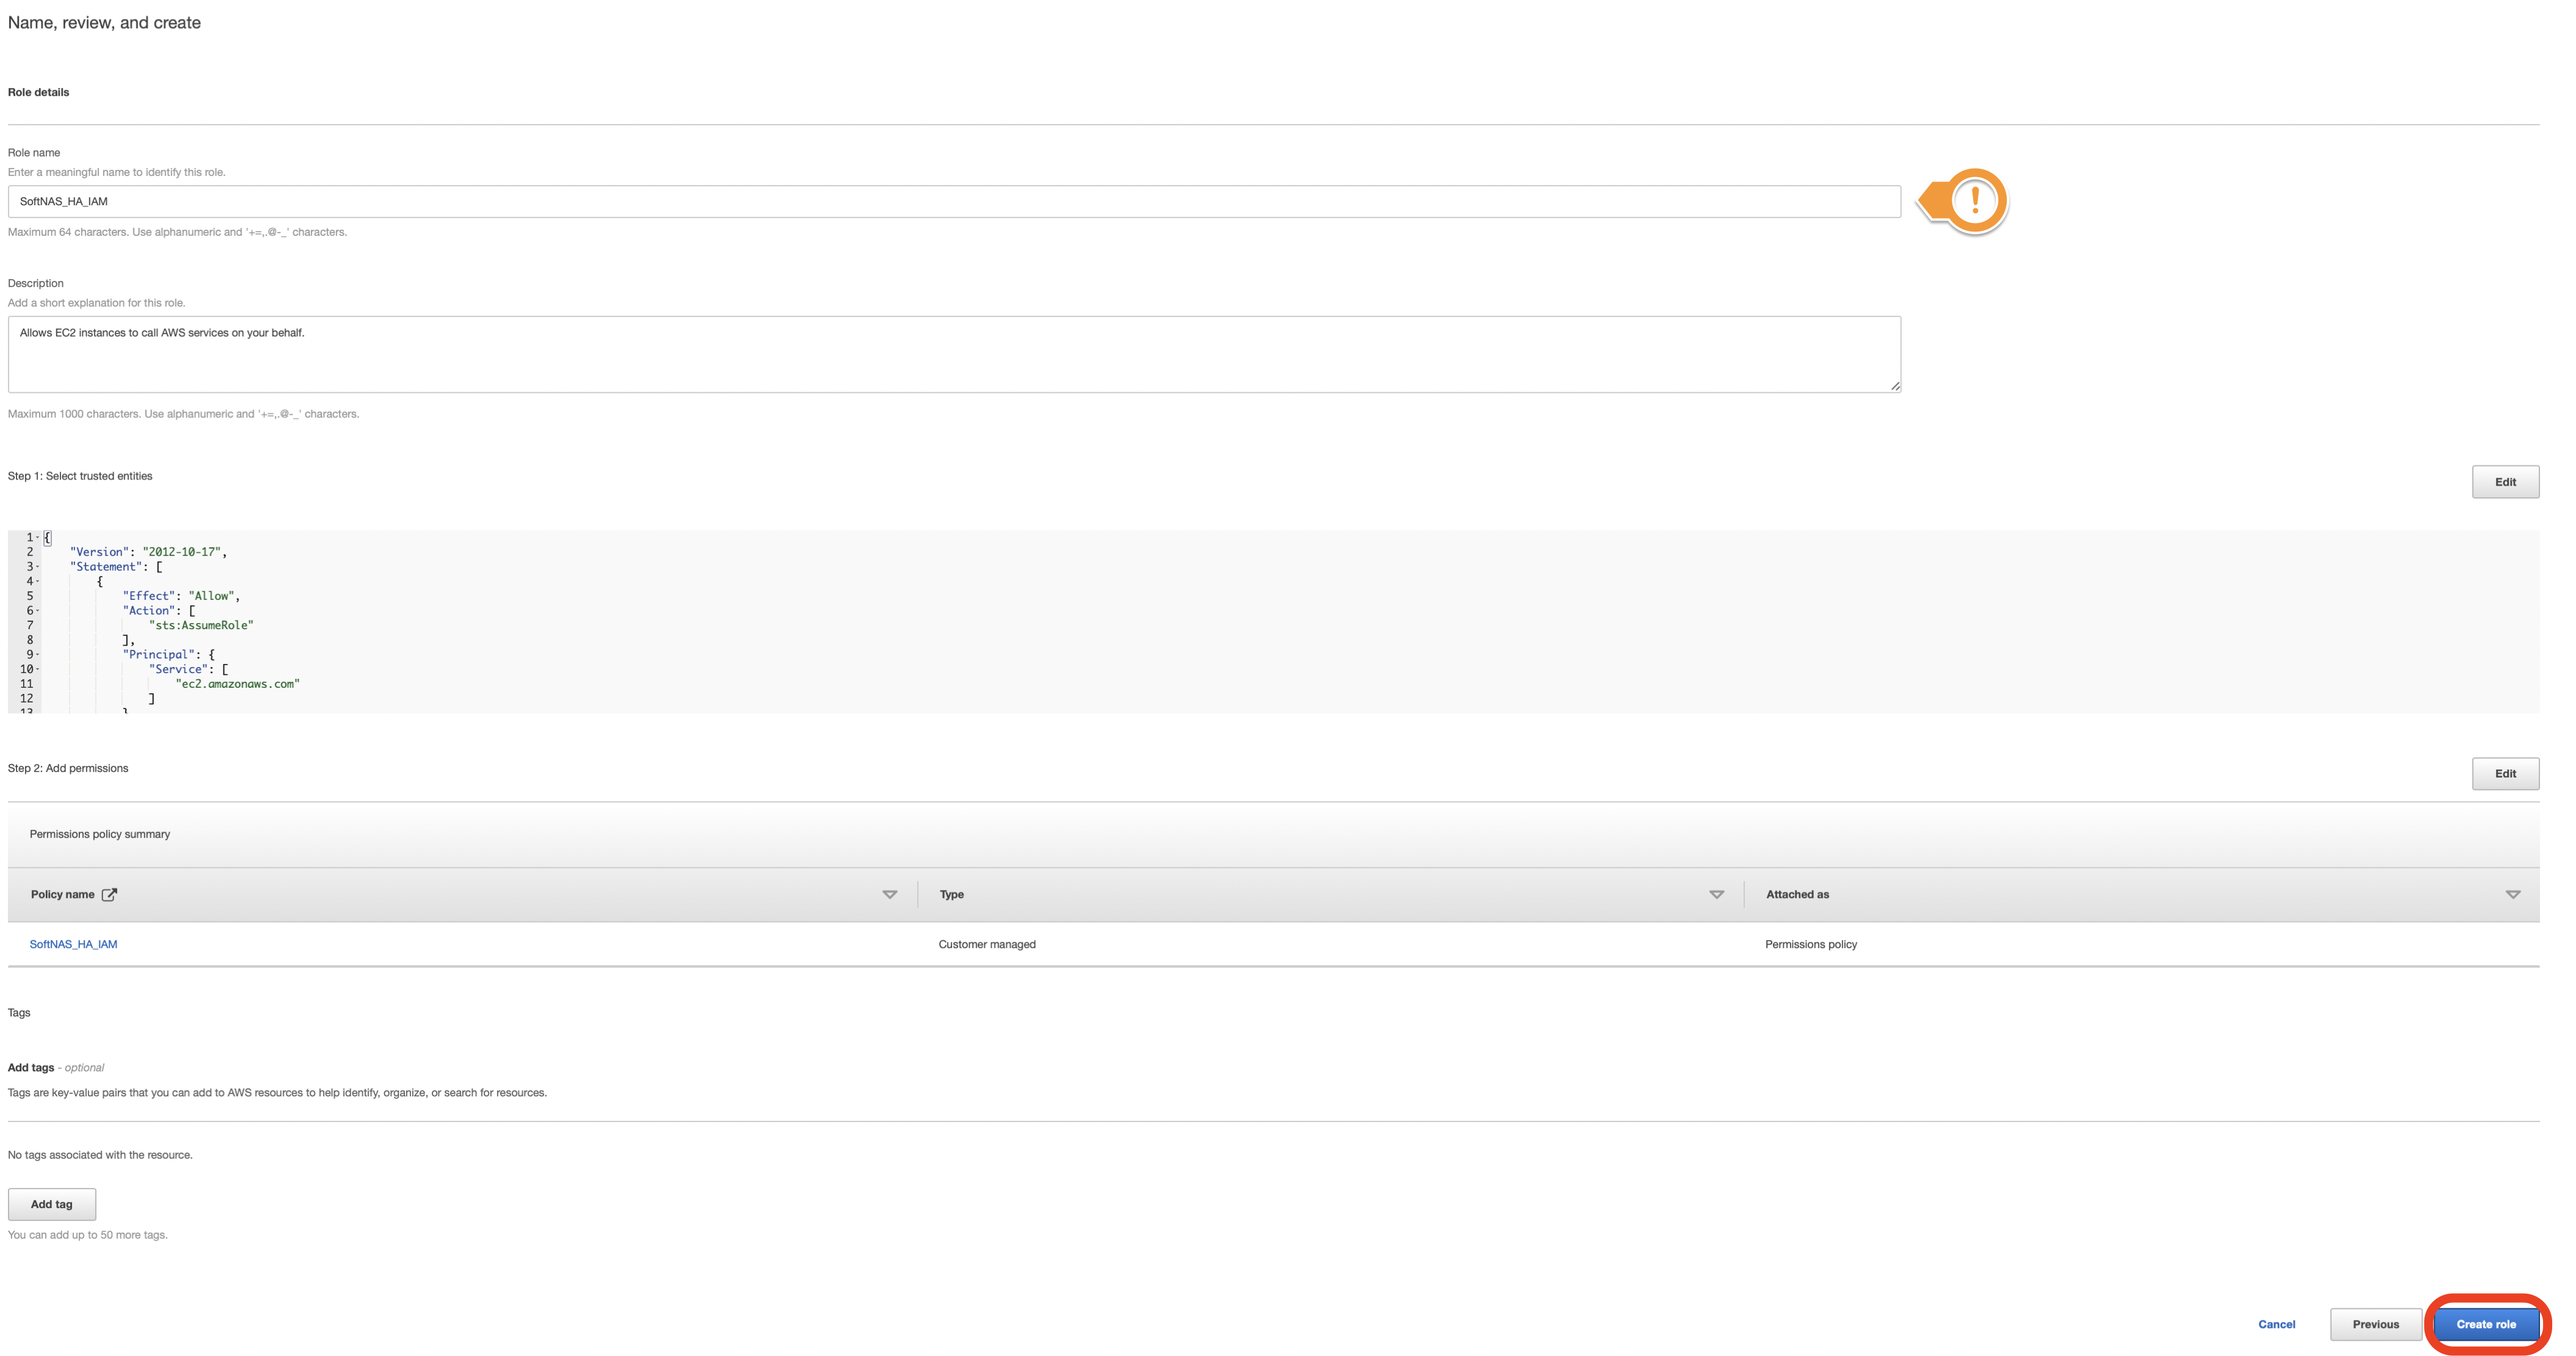
- Give your new role a Role name and Role description and then click Create role.
The role name must be SoftNAS_HA_IAM or SoftNAS_DISK_IAM.
- Your new SoftNAS role should now be created. This role can be used later when launching your SoftNAS AWS instance.