/
Moving From EFS to EBS using Lift and Shift
Moving From EFS to EBS using Lift and Shift
- Former user (Deleted)
- Tom Sheffield (Unlicensed)
Owned by Former user (Deleted)
Process Requirements
- IP address for the target (SoftNAS instance)
- SoftNAS password
- Specific platform credentials (AWS access and secret key or Azure credentials)
EFS source must be NFS mounted on the Source (SoftNAS Migration Agent)
If these requirements are readily available, simply log into your SoftNAS instance or virtual machine and from the storage administration pane, navigate to Lift and Shift.
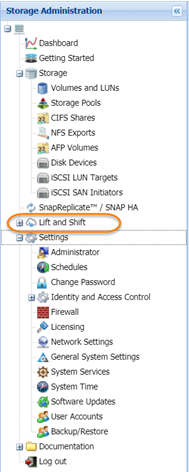
- In Lift and Shift, select Create New.

- Provide a unique name for the dataflow to ensure that it can be found easily, and will not be confused with later operations.
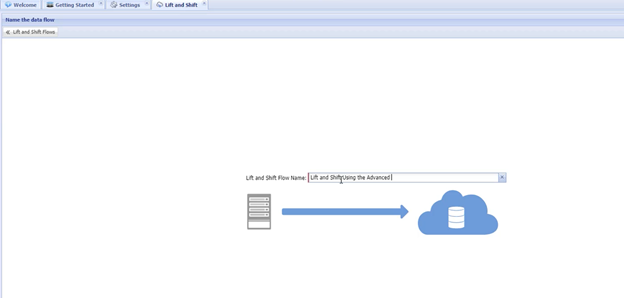
- Next, select the platform you wish to use.

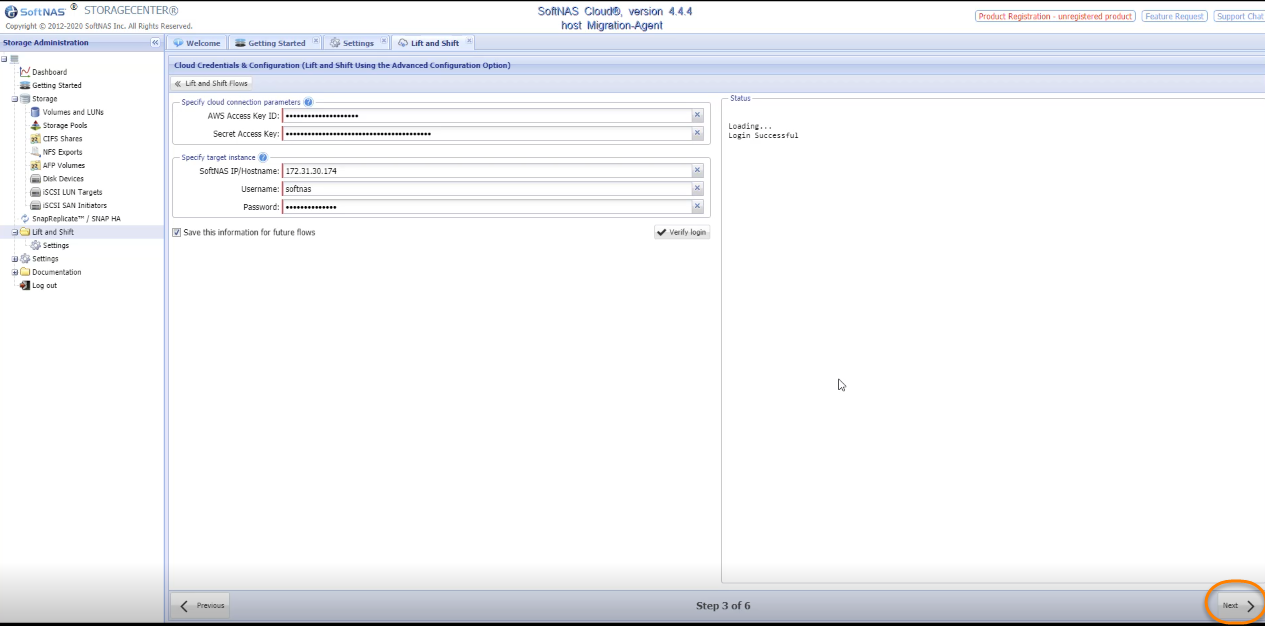
- Next you will need to provide the credentials for the platform selected. In this example we selected AWS, so it will be the access ID and secret key.
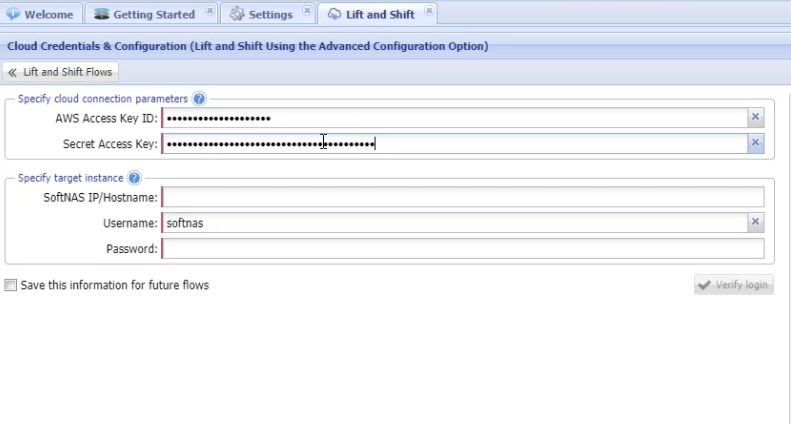
- Next, enter the IP address of the target node. A prompt will appear to remind you that if you are connecting to an HA Pair, to use the private IP of the target primary node. If the IP entered is correct
- Click OK.
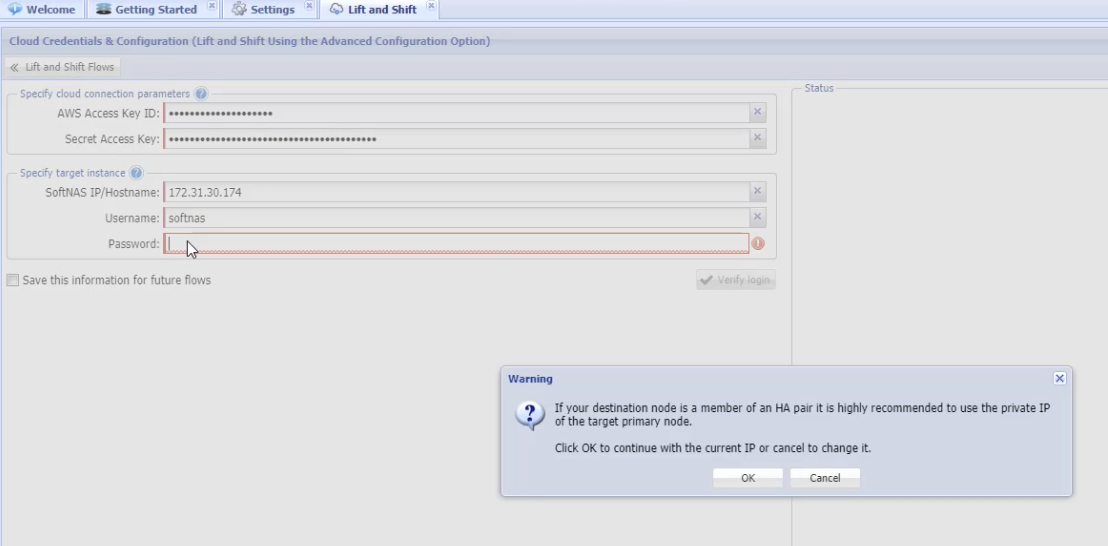
- Provide the password and click Verify Login.

Under Status, you should see Login Successful.
You can save this connection information for future flows by checking the box at the bottom stating "Save this information for future flows".

- Click Next at the bottom right to proceed.
- Clicking Next will connect the instances/virtual machines as well as reboot the Lift and Shift runtime on both the source and target nodes. Once connected, communication will be set up between the nodes. This may take a few minutes. When the process is complete you will automatically be taken to Step 4. Here you need to decide whether to:
- Volume Lift and Shift - Lift and Shift all the data on the source volume to the root of a new SoftNAS volume.
- Directory Lift and Shift - Lift and Shift all data to a specified Target directory.
- Select the radio button for the desired option.
- Click Next at the bottom right.
For this guide, we will select Volume Lift and Shift.

, multiple selections available,
Related content
Lift and Shift of a Volume from Source to Target
Lift and Shift of a Volume from Source to Target
More like this
Configuring Lift and Shift Settings
Configuring Lift and Shift Settings
More like this
What is the process to move from SoftNAS 4 to SoftNAS 5?
What is the process to move from SoftNAS 4 to SoftNAS 5?
More like this
How to Migrate Data Disks to a New SoftNAS VM
How to Migrate Data Disks to a New SoftNAS VM
More like this
Migrate SoftNAS on AWS from VPC to VPC within a Region
Migrate SoftNAS on AWS from VPC to VPC within a Region
More like this
Lift and Shift™ File Migration
Lift and Shift™ File Migration
More like this