AWS Getting Started - Configuring SnapReplicate and High Availability (SNAP HA)
Configuring SnapReplicate™
Having prepared the environment on both AWS SoftNAS instances, we can now set up high availability. The first step towards high availability in SoftNAS is to establish replication. SnapReplicate™ makes this as simple as completing a quick wizard.
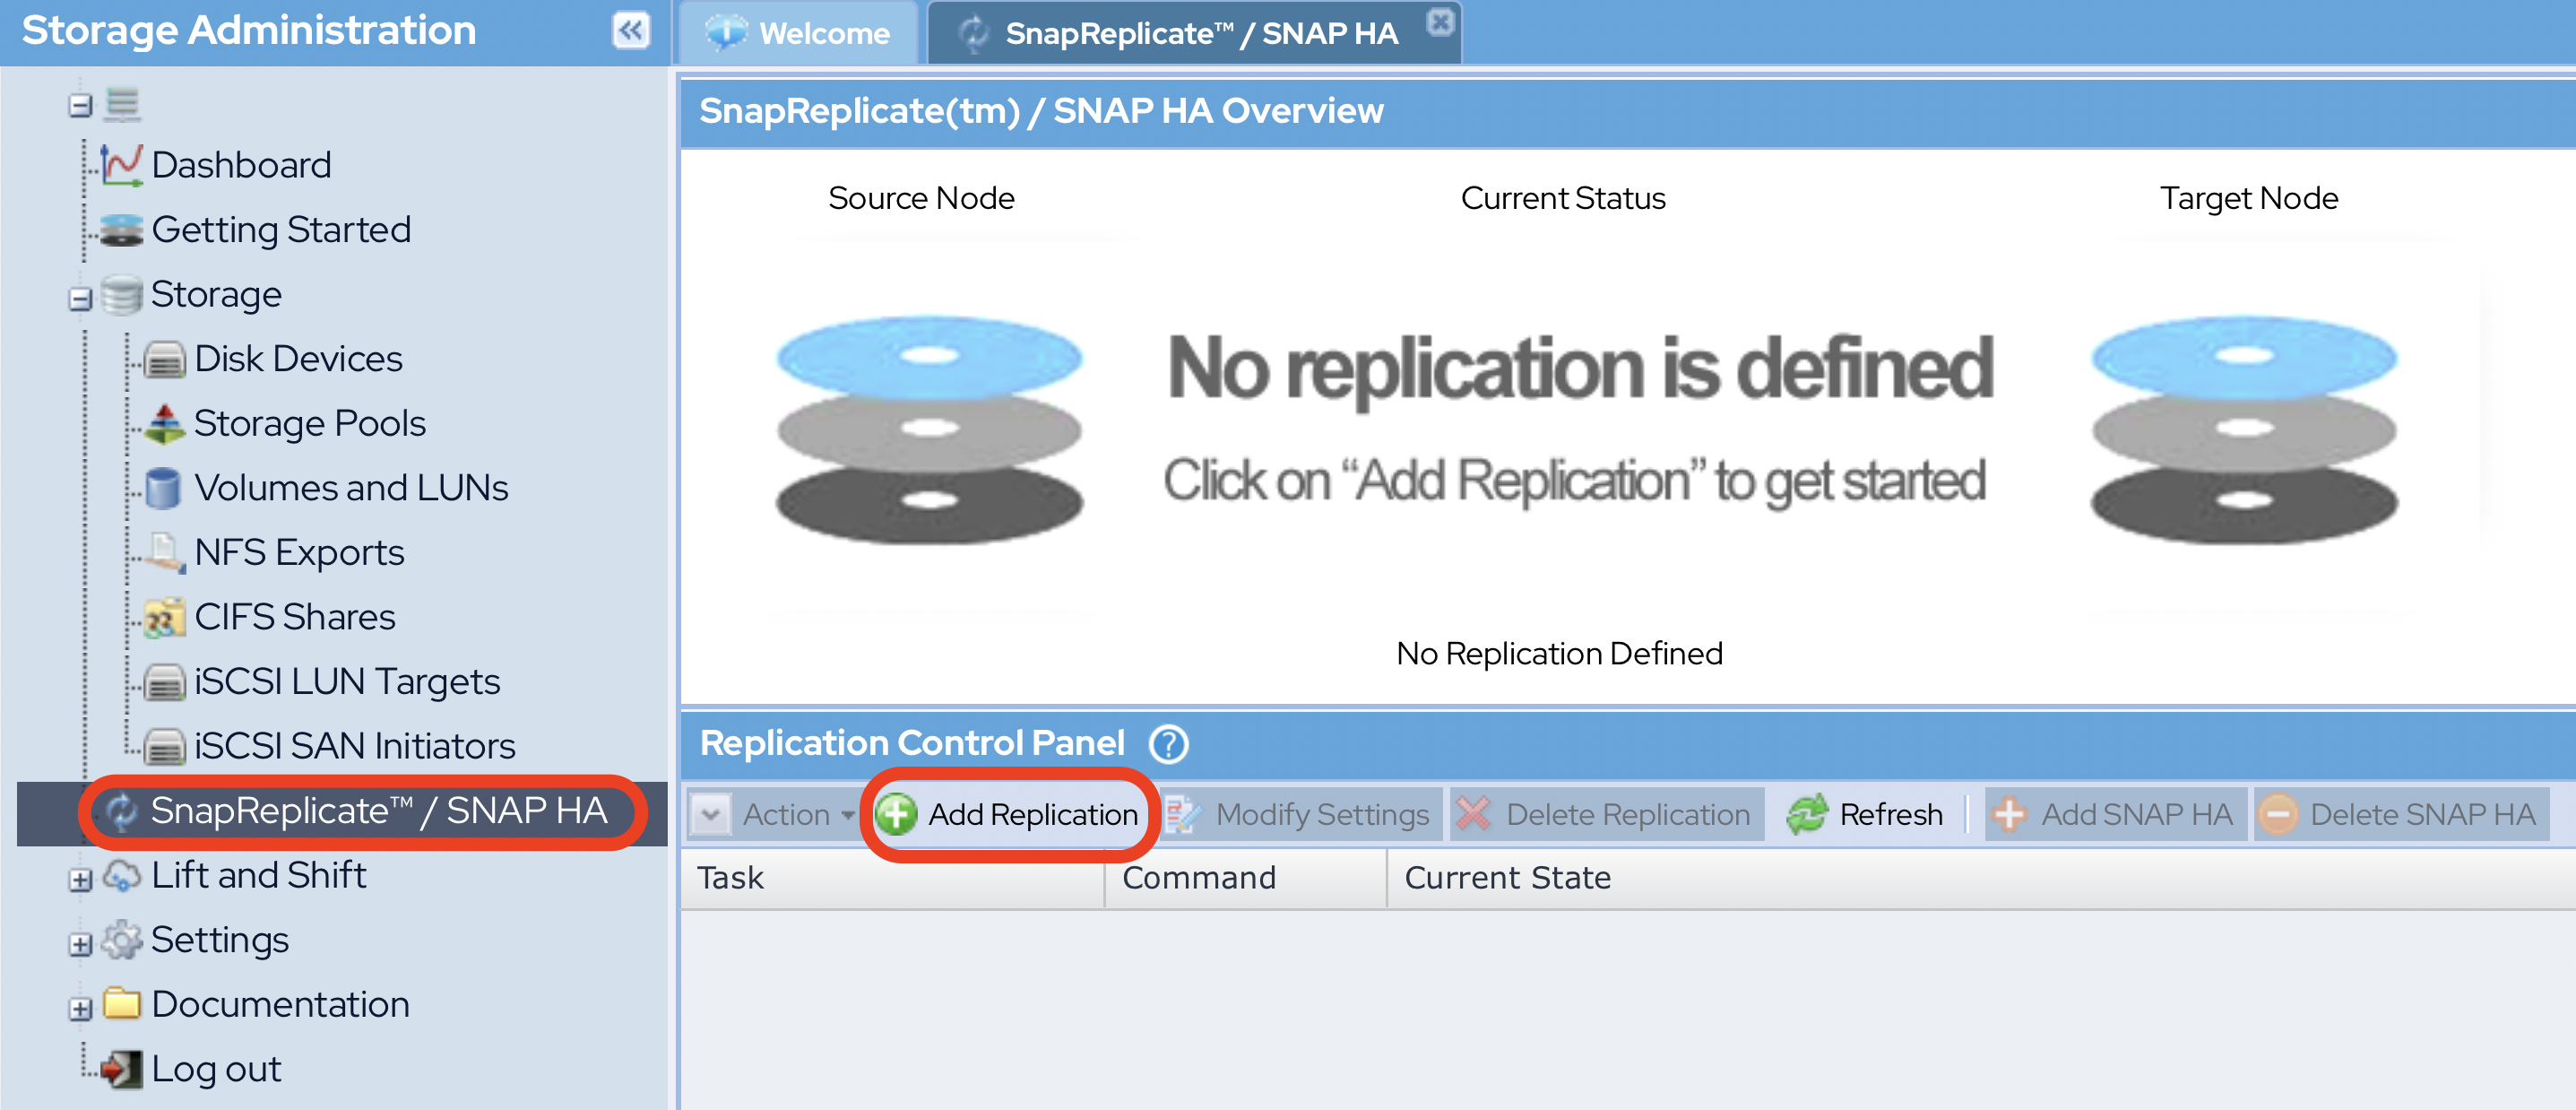
- On your primary instance (source controller) navigate to SnapReplicate/SNAP HA.
- Click the Add Replication button in the Replication Control Panel.
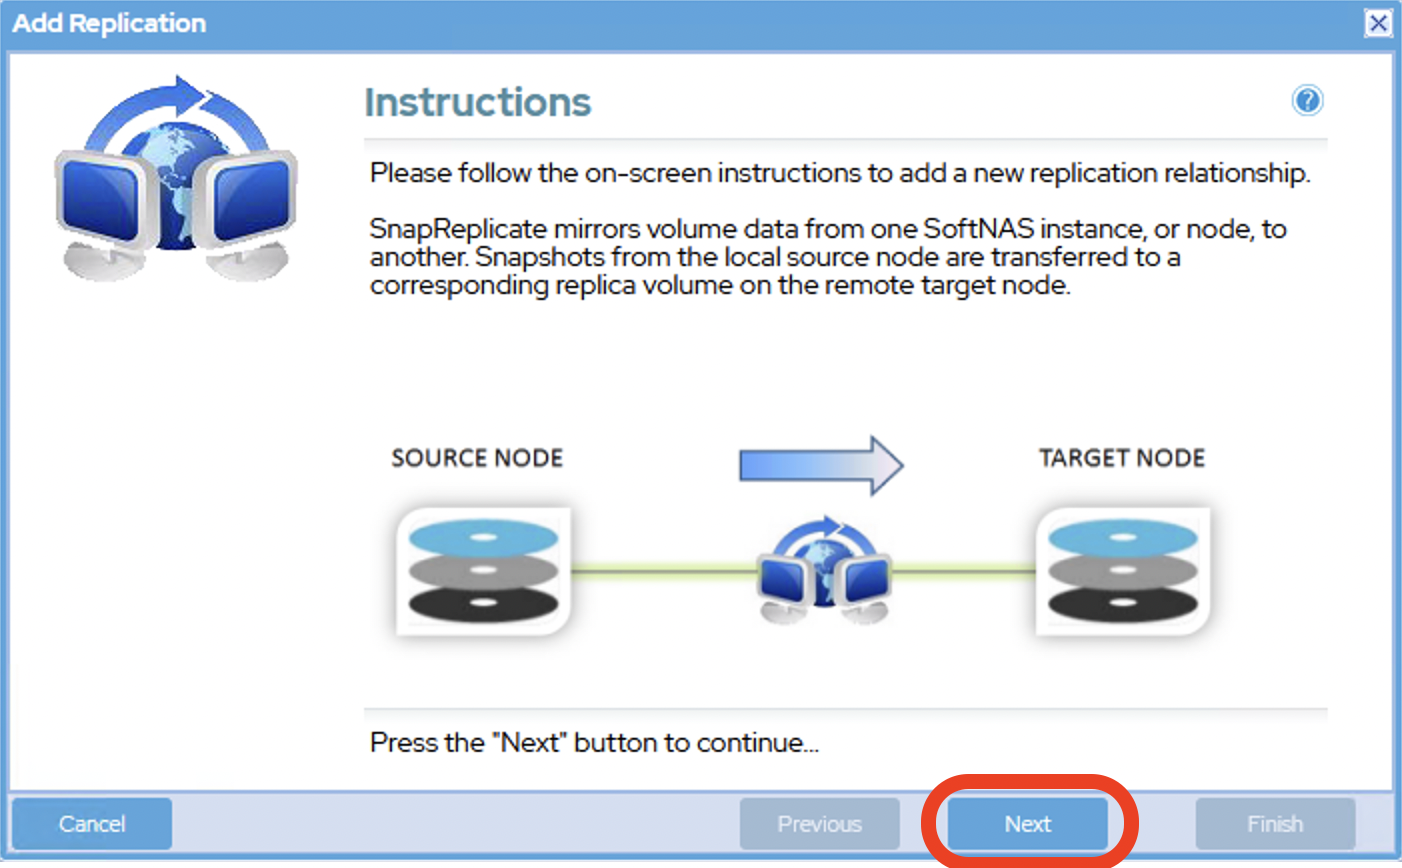
- From the Add Replication wizard, read the Instructions and then click the Next button.
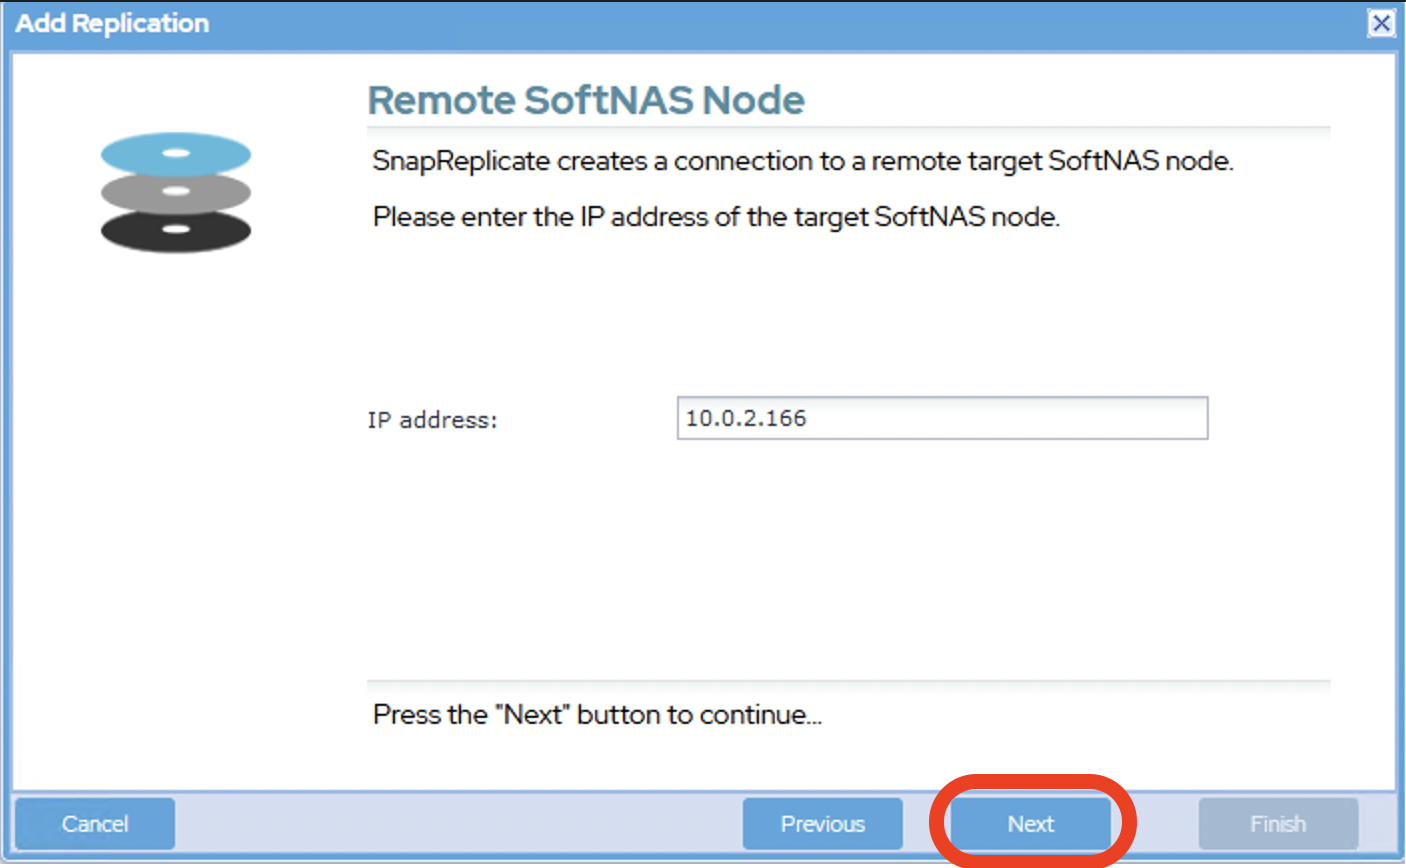
- Enter the IP address of your secondary instance (Target) in the IP address text box. This step is specifying the network path that SnapReplicate™ traffic will take.
- Once done, click the Next button.
The source node must be able to connect via HTTPS to the target node (similar to how the browser user logs into StorageCenter using HTTPS). HTTPS is used to create the initial SnapReplicate configuration.
Next, several SSH sessions are established to ensure two-way communications between the nodes is possible. When connecting two Amazon EC2 nodes, it is best to use the internal instance IP addresses, as traffic is routed internally by default between instances in EC2.
If you have not yet done so, the Security Group on each instance should be configured with the internal IP addresses of the paired instance (the source instance should recognize traffic from the target instance, and the target instance should recognize traffic from the source) to ensure both HTTPS and SSH traffic between instances is recognized.
See AWS Getting Started - Network Configuration (Security Groups) to learn more.
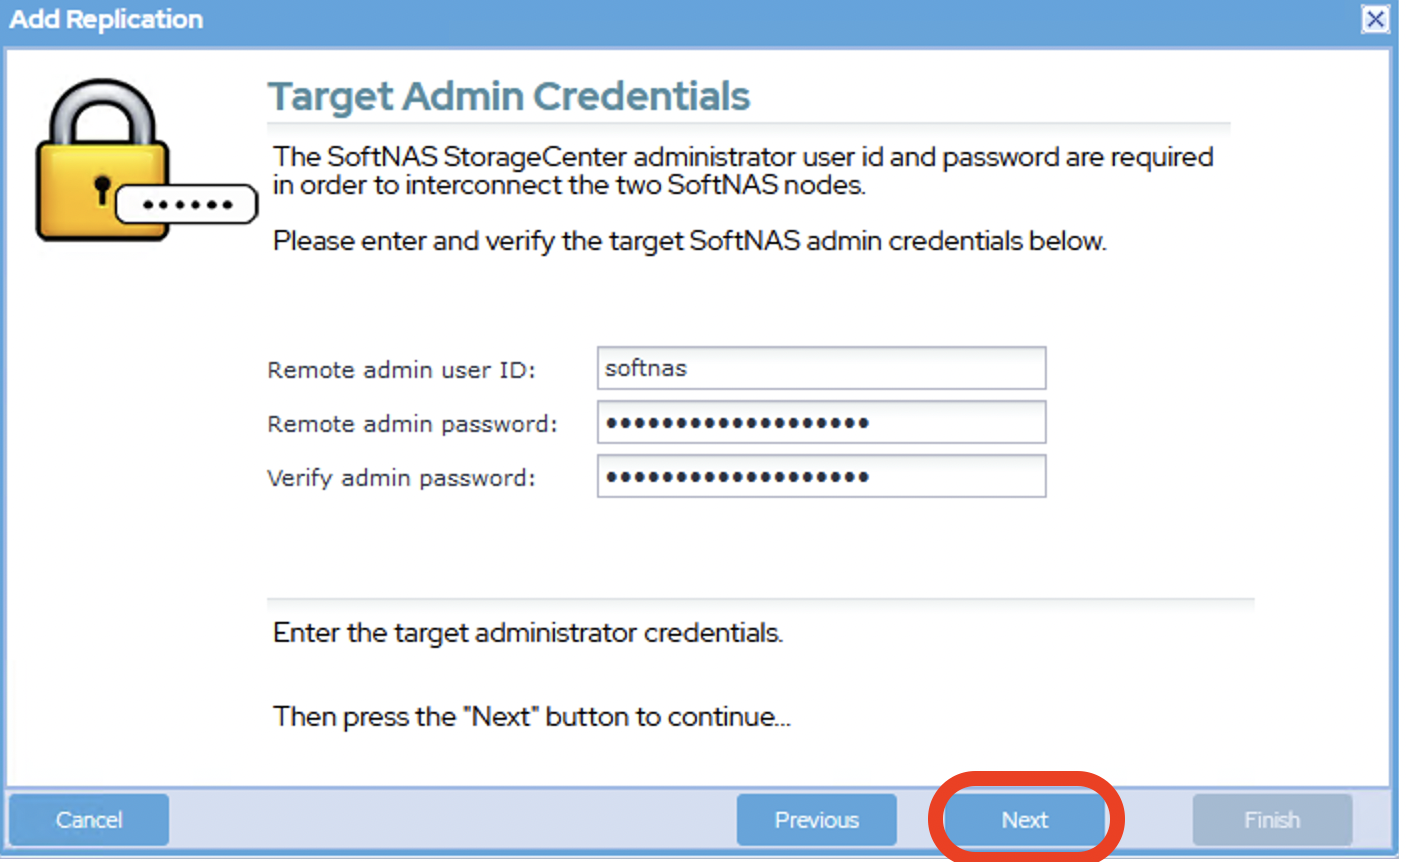
Enter the username for the secondary instance (target) in the Remote admin user ID text box.
The username should be softnas.
Enter the password for the secondary instance (target) and verify in the appropriate text boxes.
Unless changed, by default, the password will be the Instance ID of the target instance.
- Once done, click the Next button.
- Read the Finish Replication Setup instructions and click the Finish button.

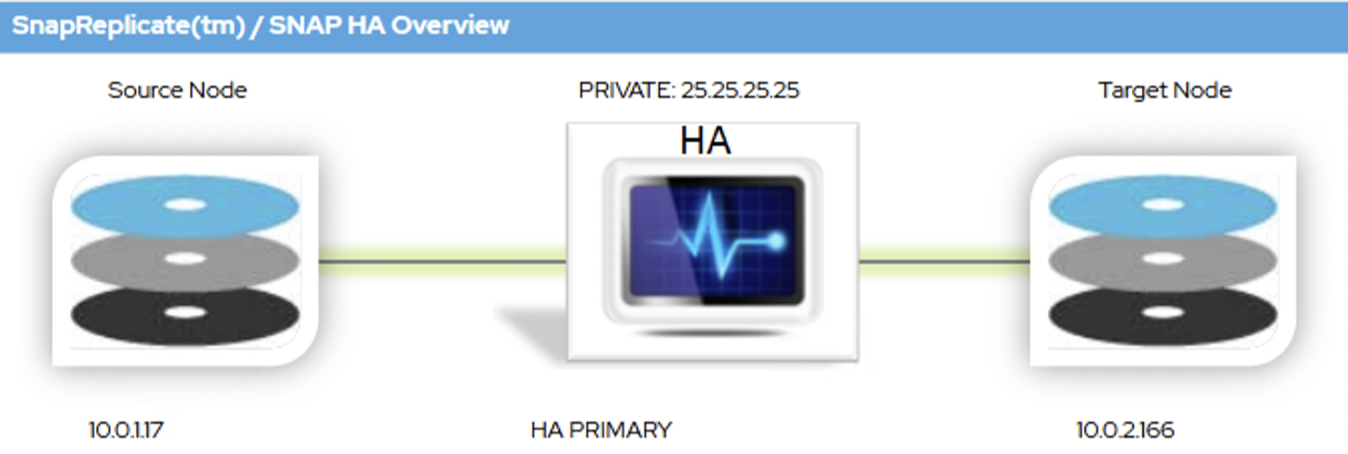
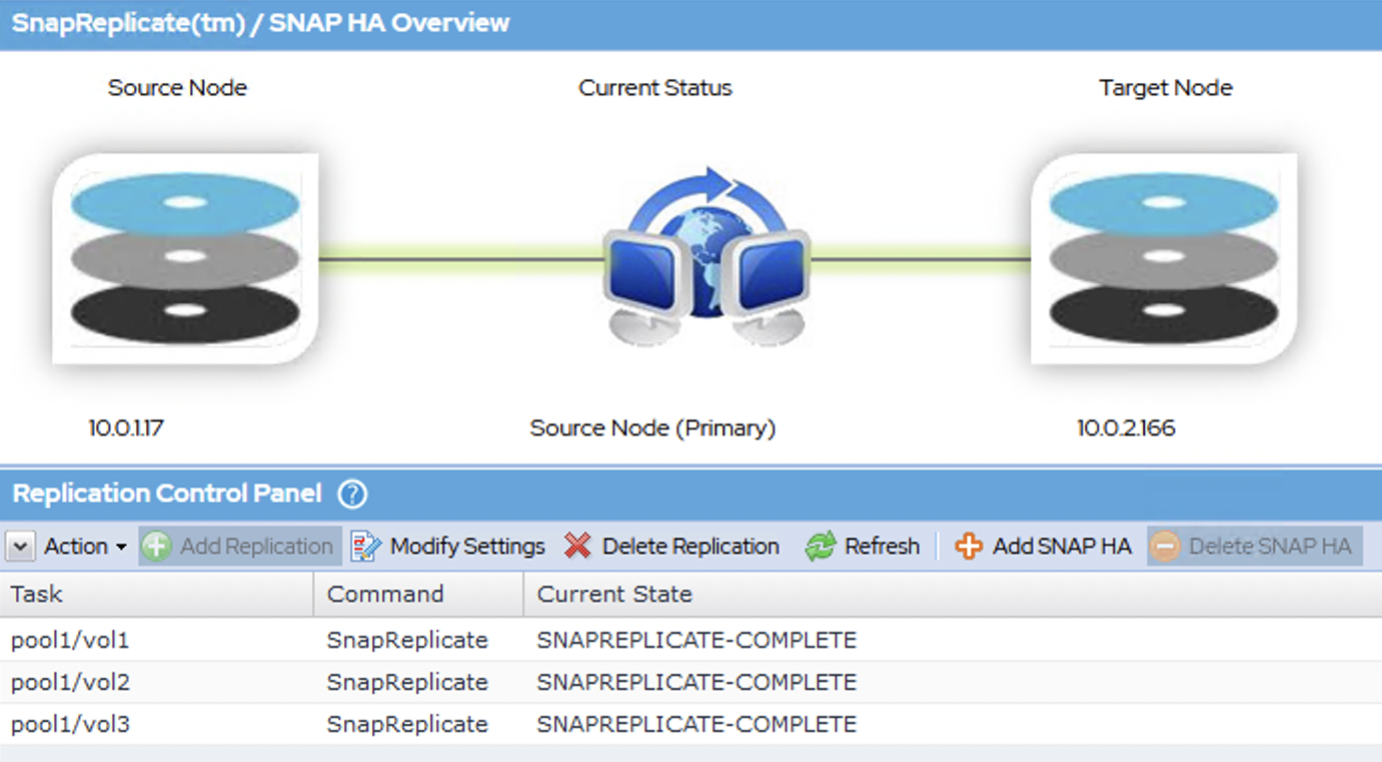
- The SnapReplicate relationship between the two SoftNAS controller nodes will be established. The corresponding SyncImage of the SnapReplicate will be displayed.
- After data from the volumes on the source node is mirrored to the target, once per minute SnapReplicate transfers keep the target node hot with data block changes from the source volumes.
- The tasks and an event log will be displayed in the Replication Control Panel section. This indicates that a SnapReplicate relationship is established and that replication should be taking place.
Configuring SNAP HA™
SnapReplicate™ establishes a replication relationship, one that can be manually triggered or scheduled, but is not automated. For true high availability in a failover situation, SNAP HA™ must be configured as well.
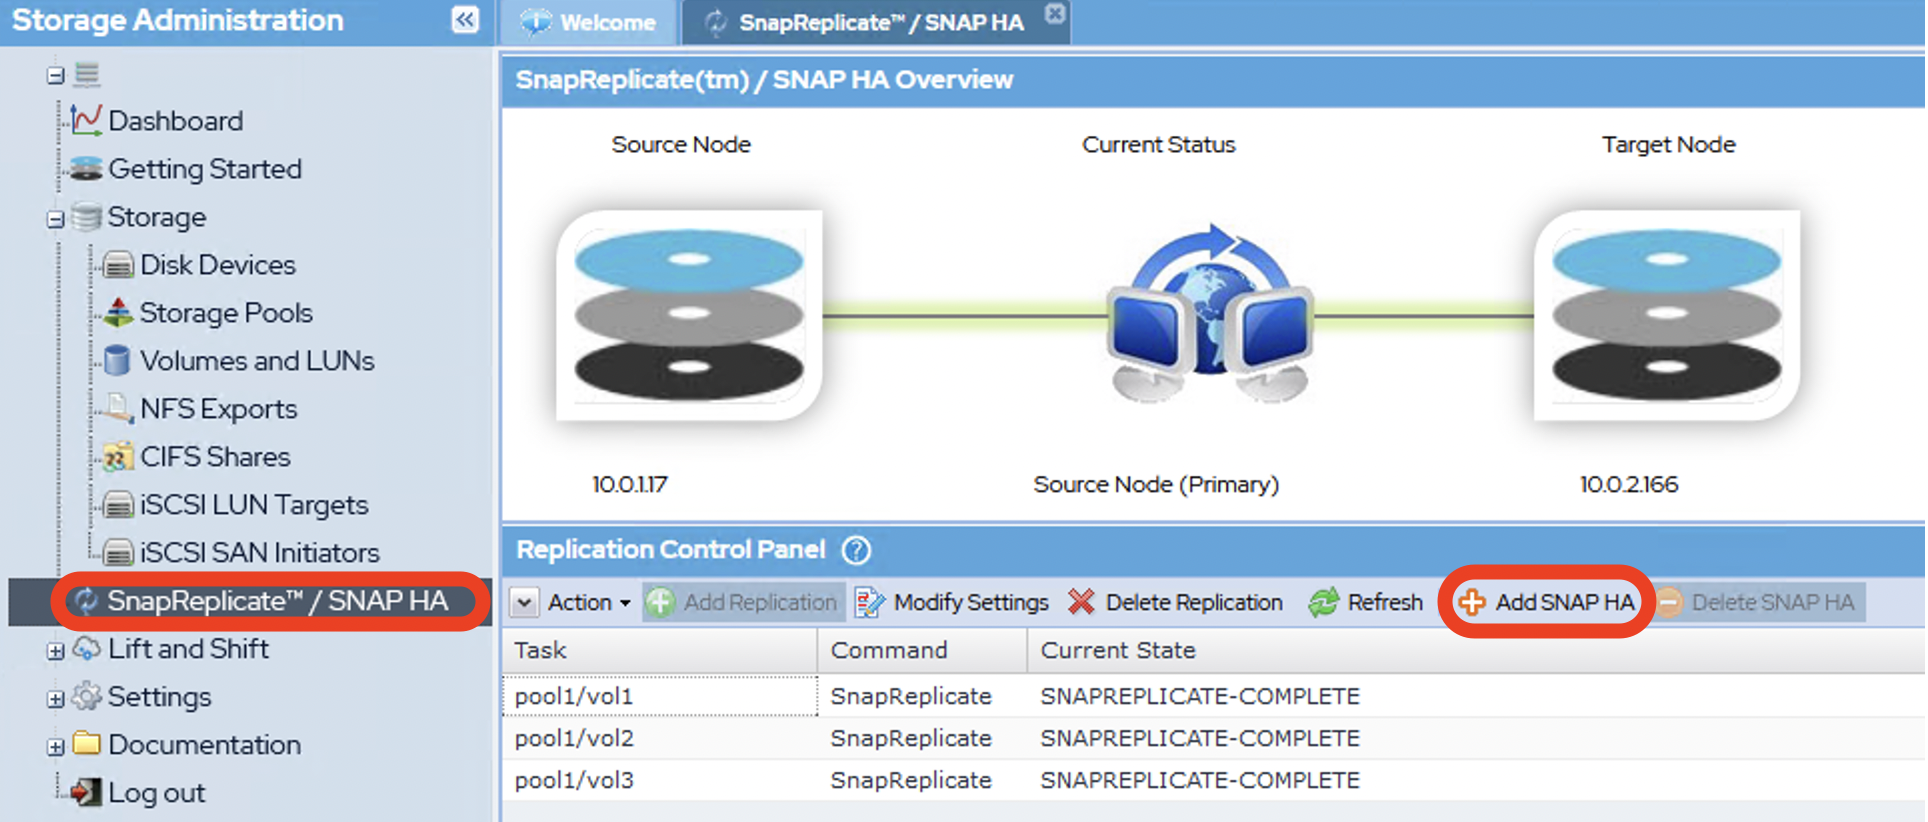
- While still on the SnapReplicate/SNAP HA page, click the Add SNAP HA button in the Replication Control Panel.
Configuration of SnapReplicate™ is a prerequisite to setup of SNAP HA™. If SnapReplicate™ is not configured, the Add SNAP HA™ button will be grayed out.
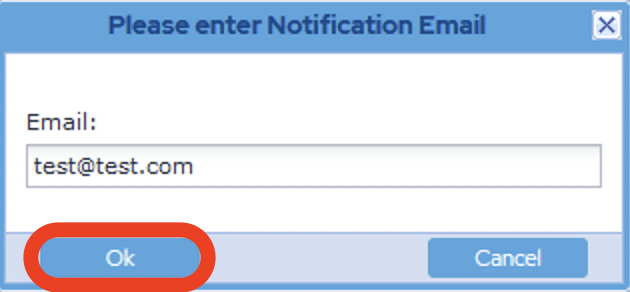
- Enter your e-mail into the Email text box.
- Once done, click the OK button.
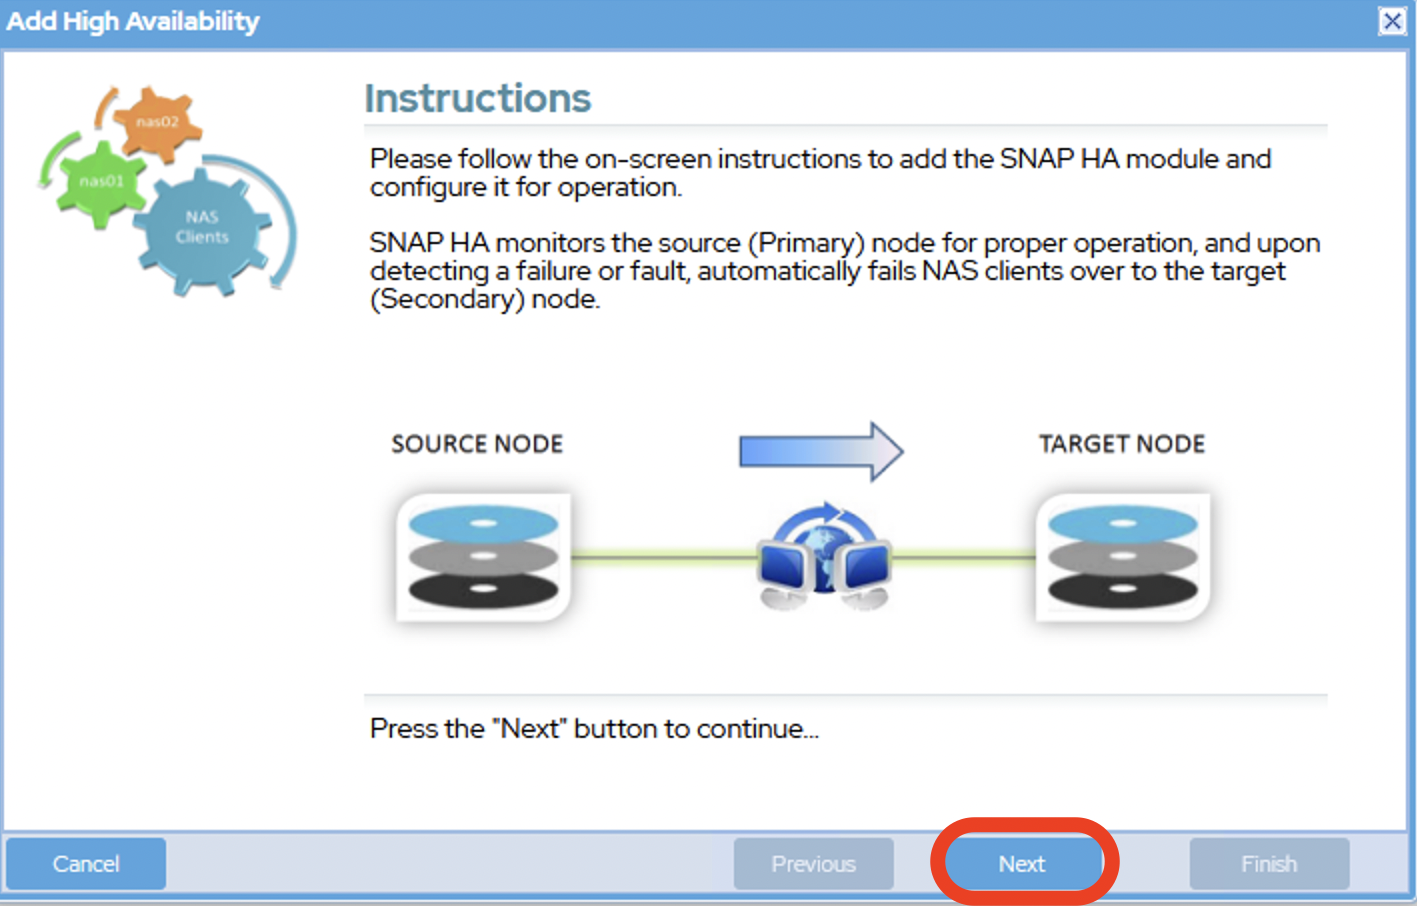
- From the Add High Availability wizard, read the Instructions and then click the Next button.
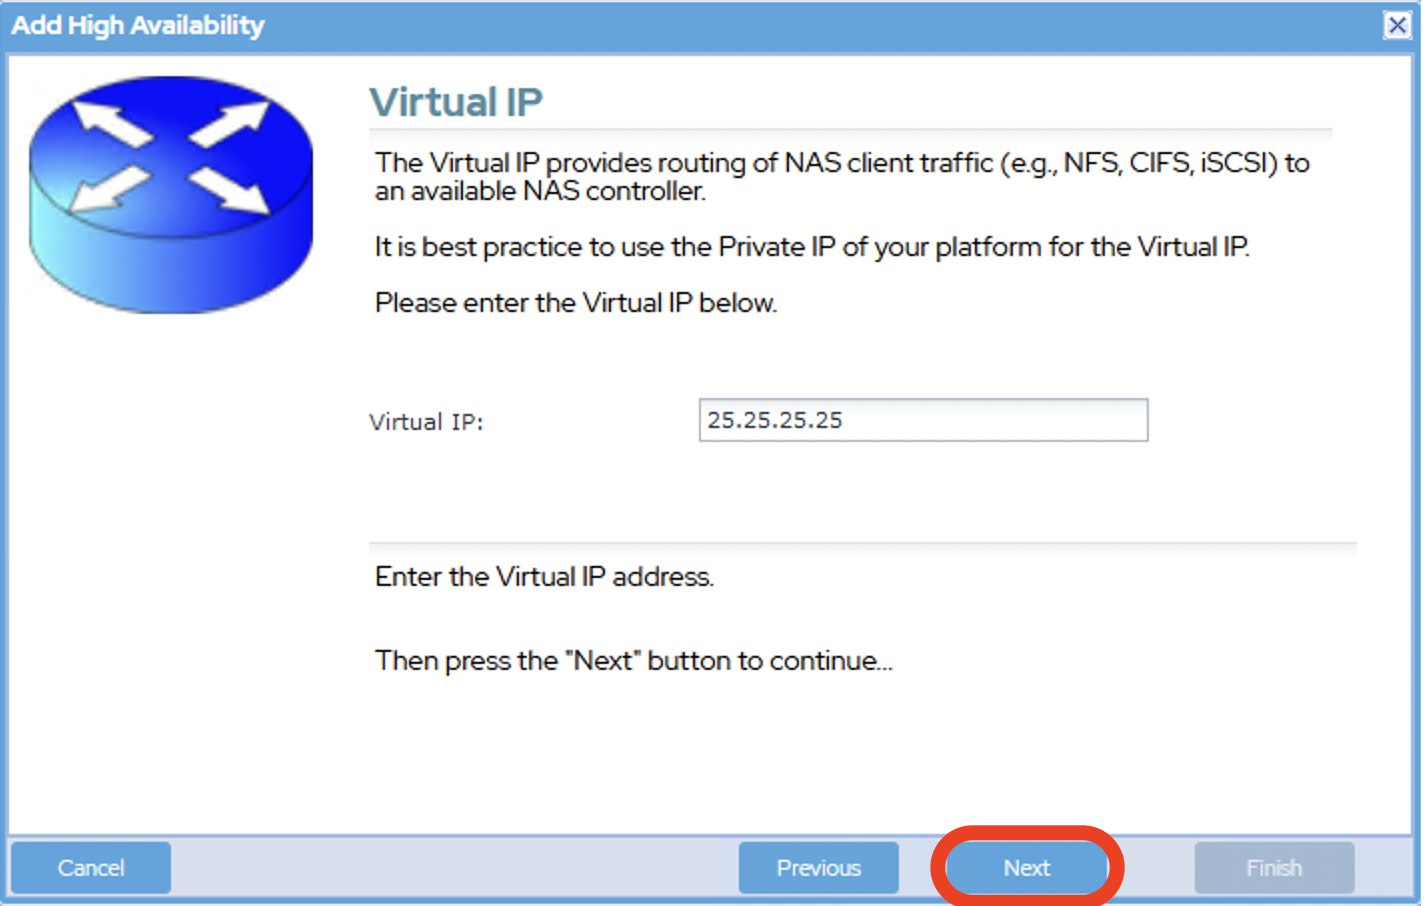
- Enter a Virtual IP into the Virtual IP text box.
- Once done, click the Next button.
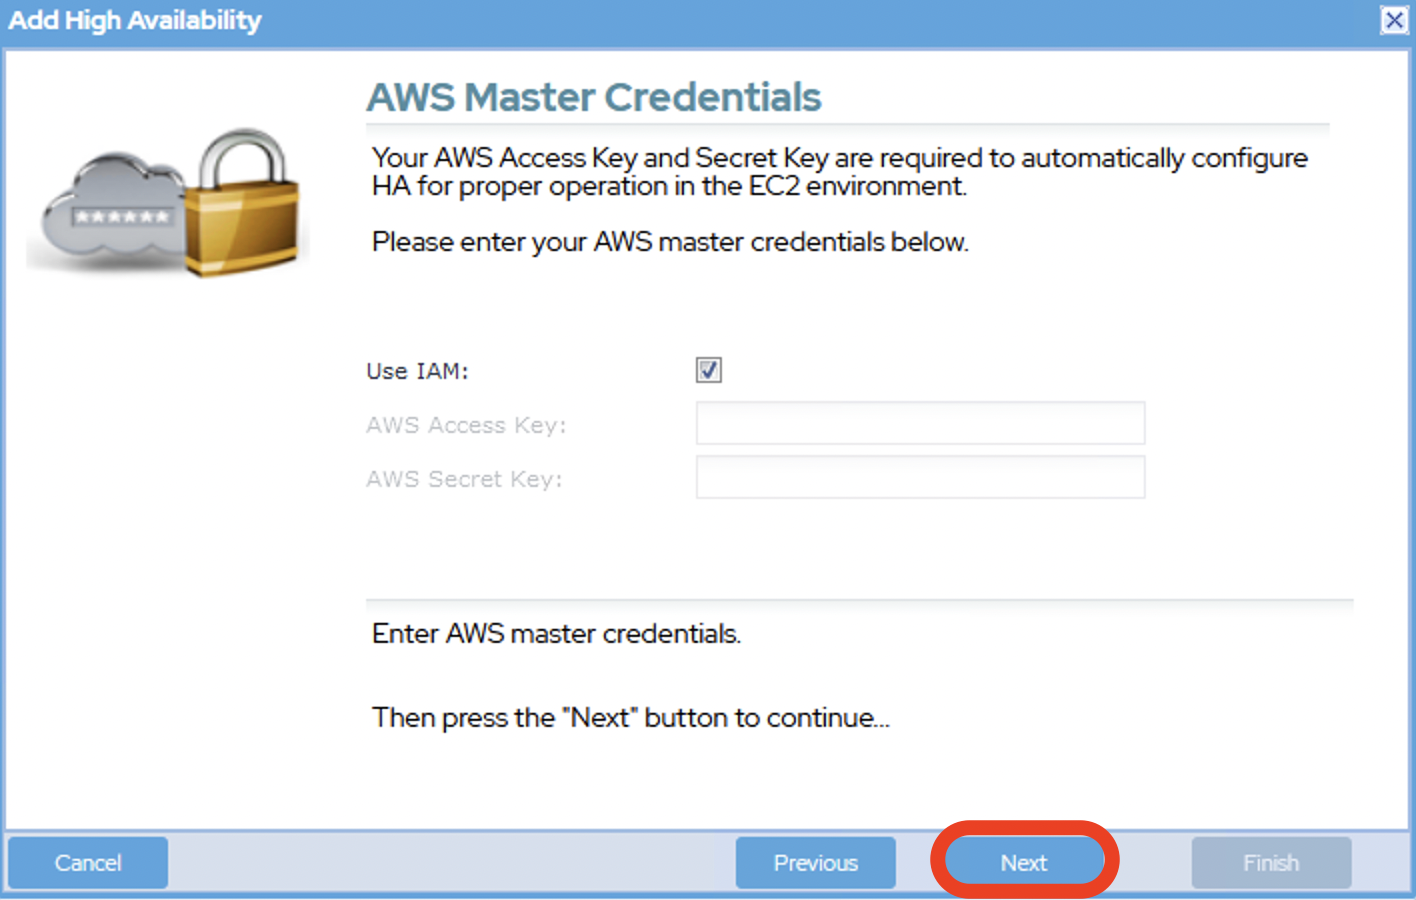
Provide your AWS Access Key and AWS Secret Key in the appropriate text boxes.
In most cases, your IAM Policy will handle this and you will not need to enter anything.
- Once done, click the Next button.
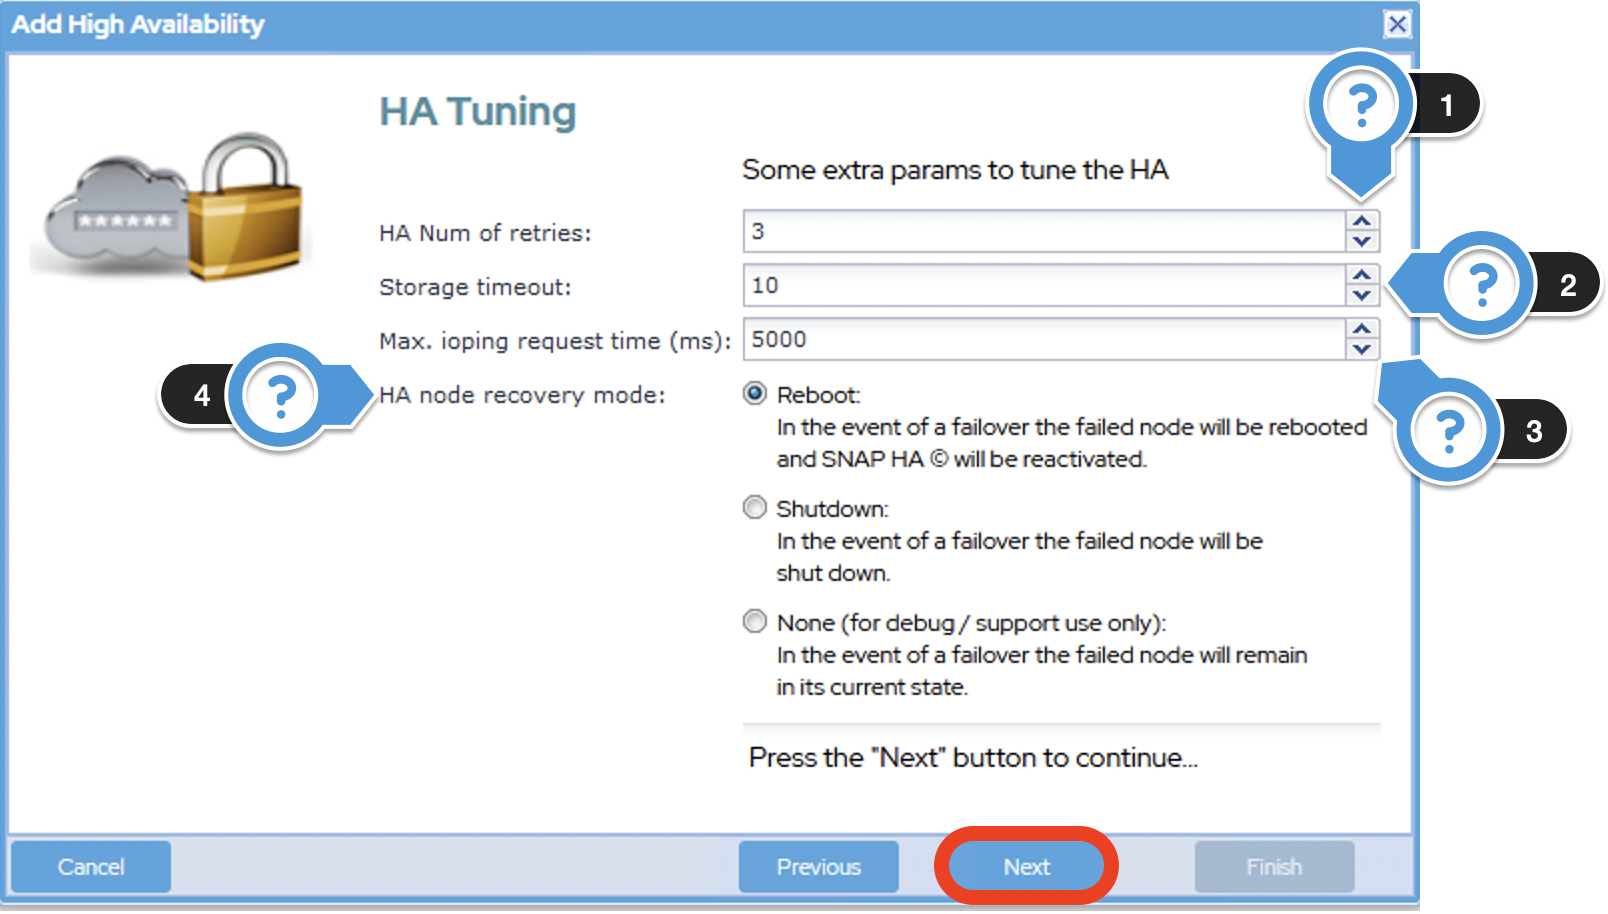
- In the HA Num of retries text box, enter the max number of retries before your virtual machine fails over.
- In the Storage timeout text box, enter the max time (in seconds) that storage can be unavailable before a failover is triggered.
- In the Max. hoping request time (ms) text box, enter the default time for max ioping requests, to ensure that a failover is triggered more quickly in event of failure.
- From the HA node recovery mode section, select the behavior of the failed node during a failover.
- Reboot - this is the default option, allowing for quicker recovery and re-establishment of high availability, as the failed node will reboot, and SNAP HA will be reactivated, with the original node set as secondary.
- Shutdown - The failed node will remain shut down. You will need to reboot the instance manually to re-establish high availability.
- None (No action taken) - This option is only for debug or support use. The failed node will remain in its current state.
- Once done, click the Next button.
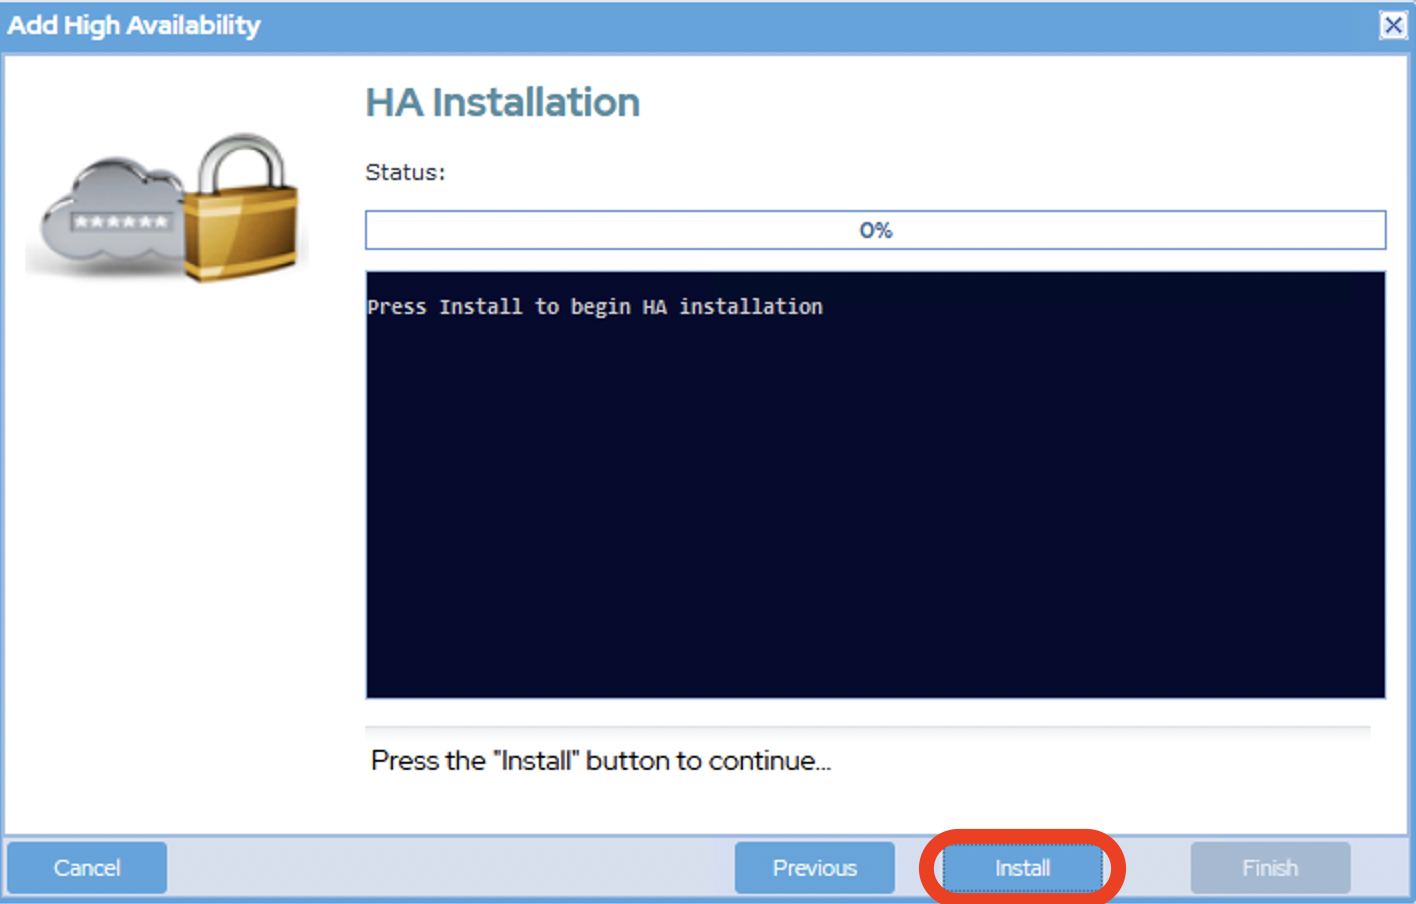
- Click the Install button to start the HA Installation.
- At this point, the SoftNAS product will do all of the heavy lifting that is required to establish HA without the need for any user intervention.
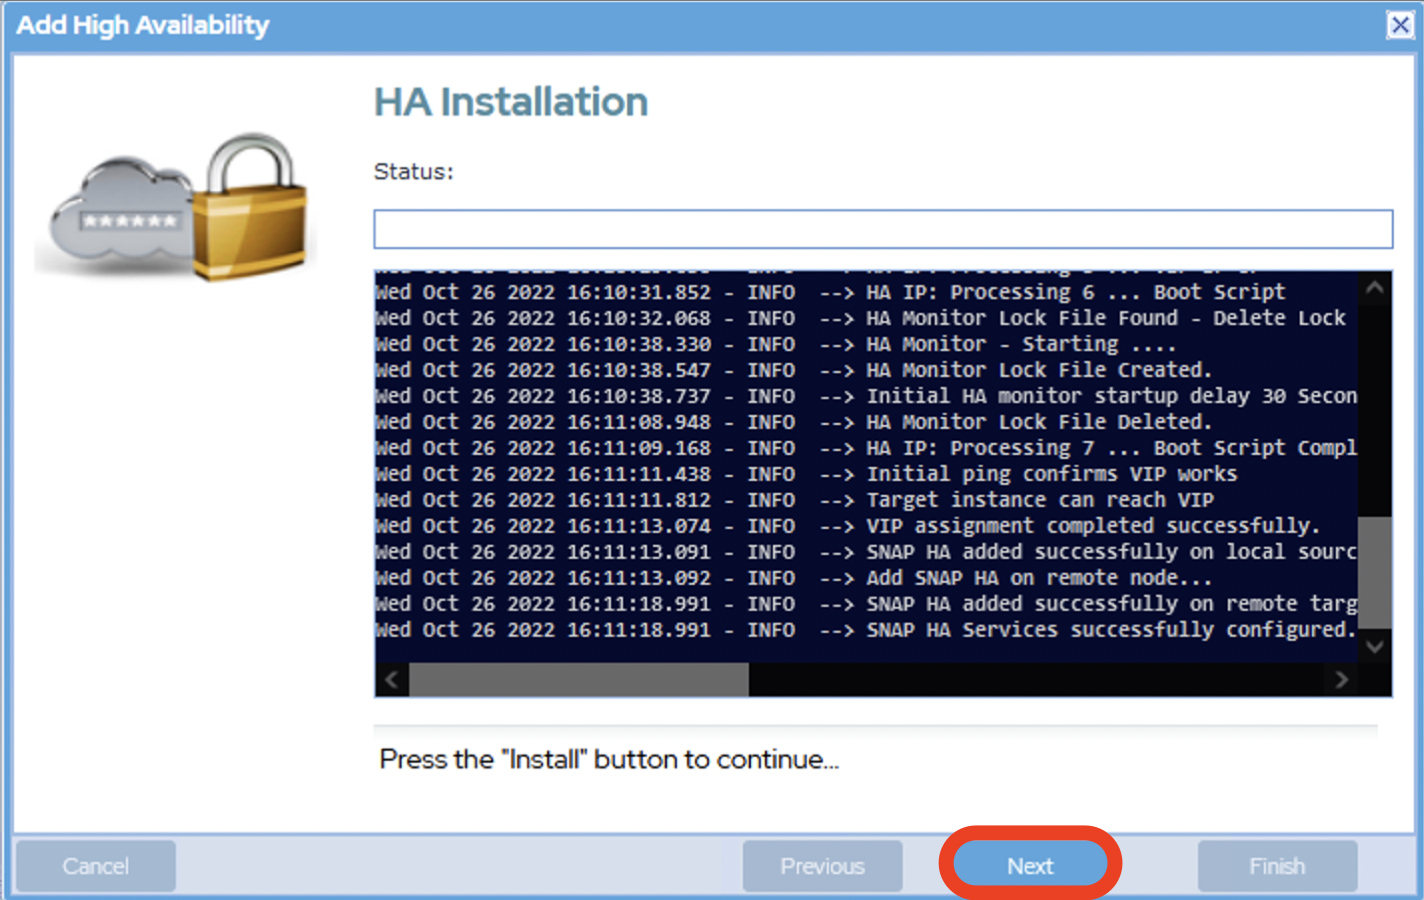
- The process may take several minutes.
- Once complete, click the Next button.
- Read the Finish HA Setup instructions and click the Finish button.
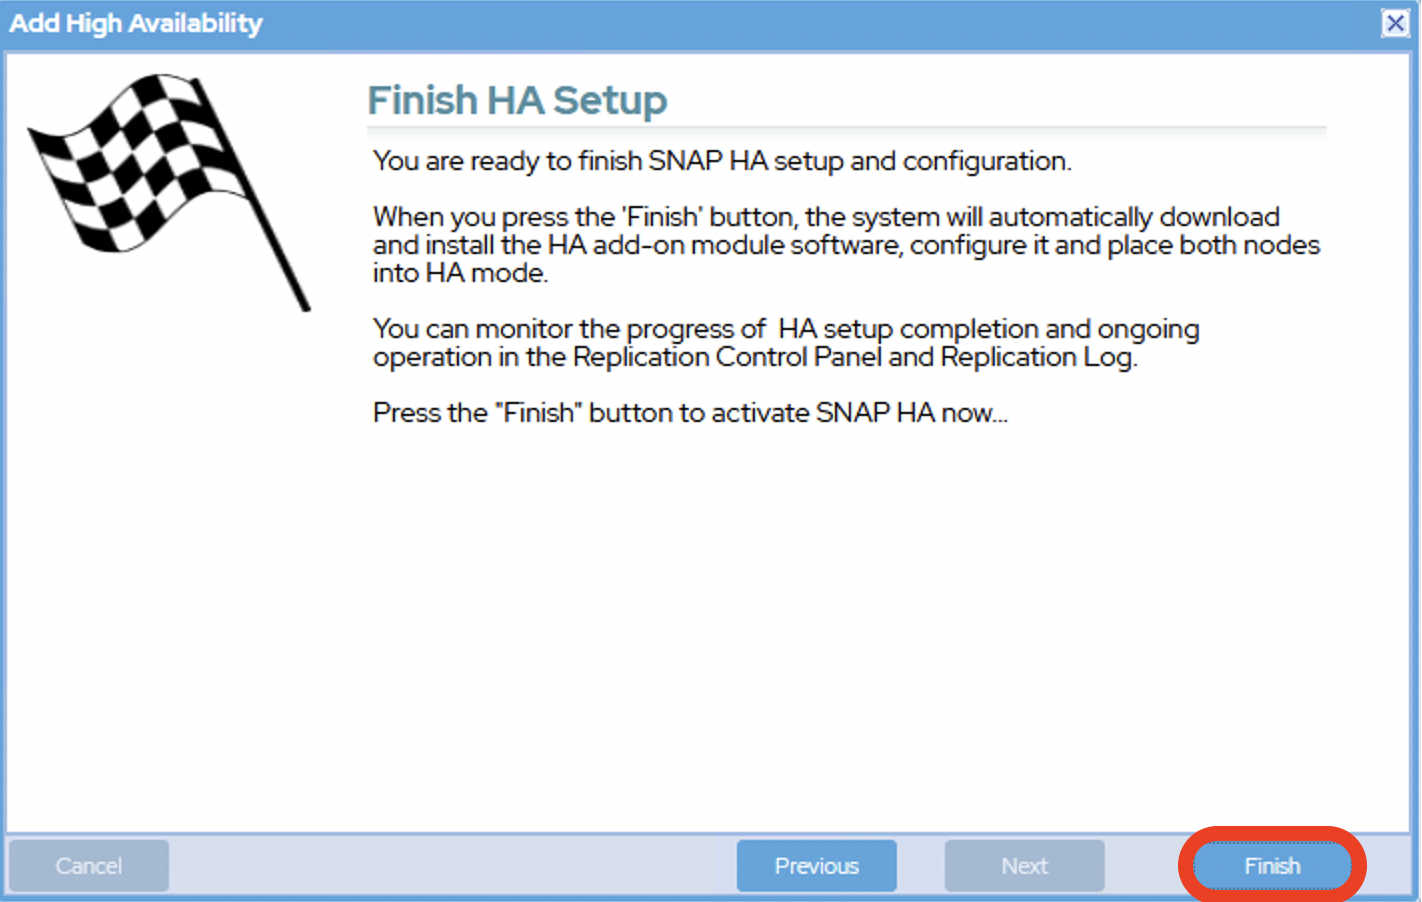
- After completion, the High Availability SoftNAS pair is successfully set up across Availability Zones.