AWS Getting Started - Create and Add a Secondary NIC
If during instance creation you are not able to add a secondary Network Interface (necessary for high availability). the second network interface can be added after instance creation.
- From the EC2 dashboard, scroll down the left panel to Network & Security.
- Select Network Interface.
- Click Create Network Interface.

Next, create the network interface.
- Description - Provide a description to describe your network interface.
- Subnet - Select the desired subnet to match the instance it will be assigned to.
- Private IPv4 address - Select auto-assign.
- Security groups - Select the security group assigned to your instance.
- Tags - Create any tags that you want to be assigned to your network interface.
- Once configuration is complete, click Create network interface.

- Select the network interface created. Click Actions > Attach.
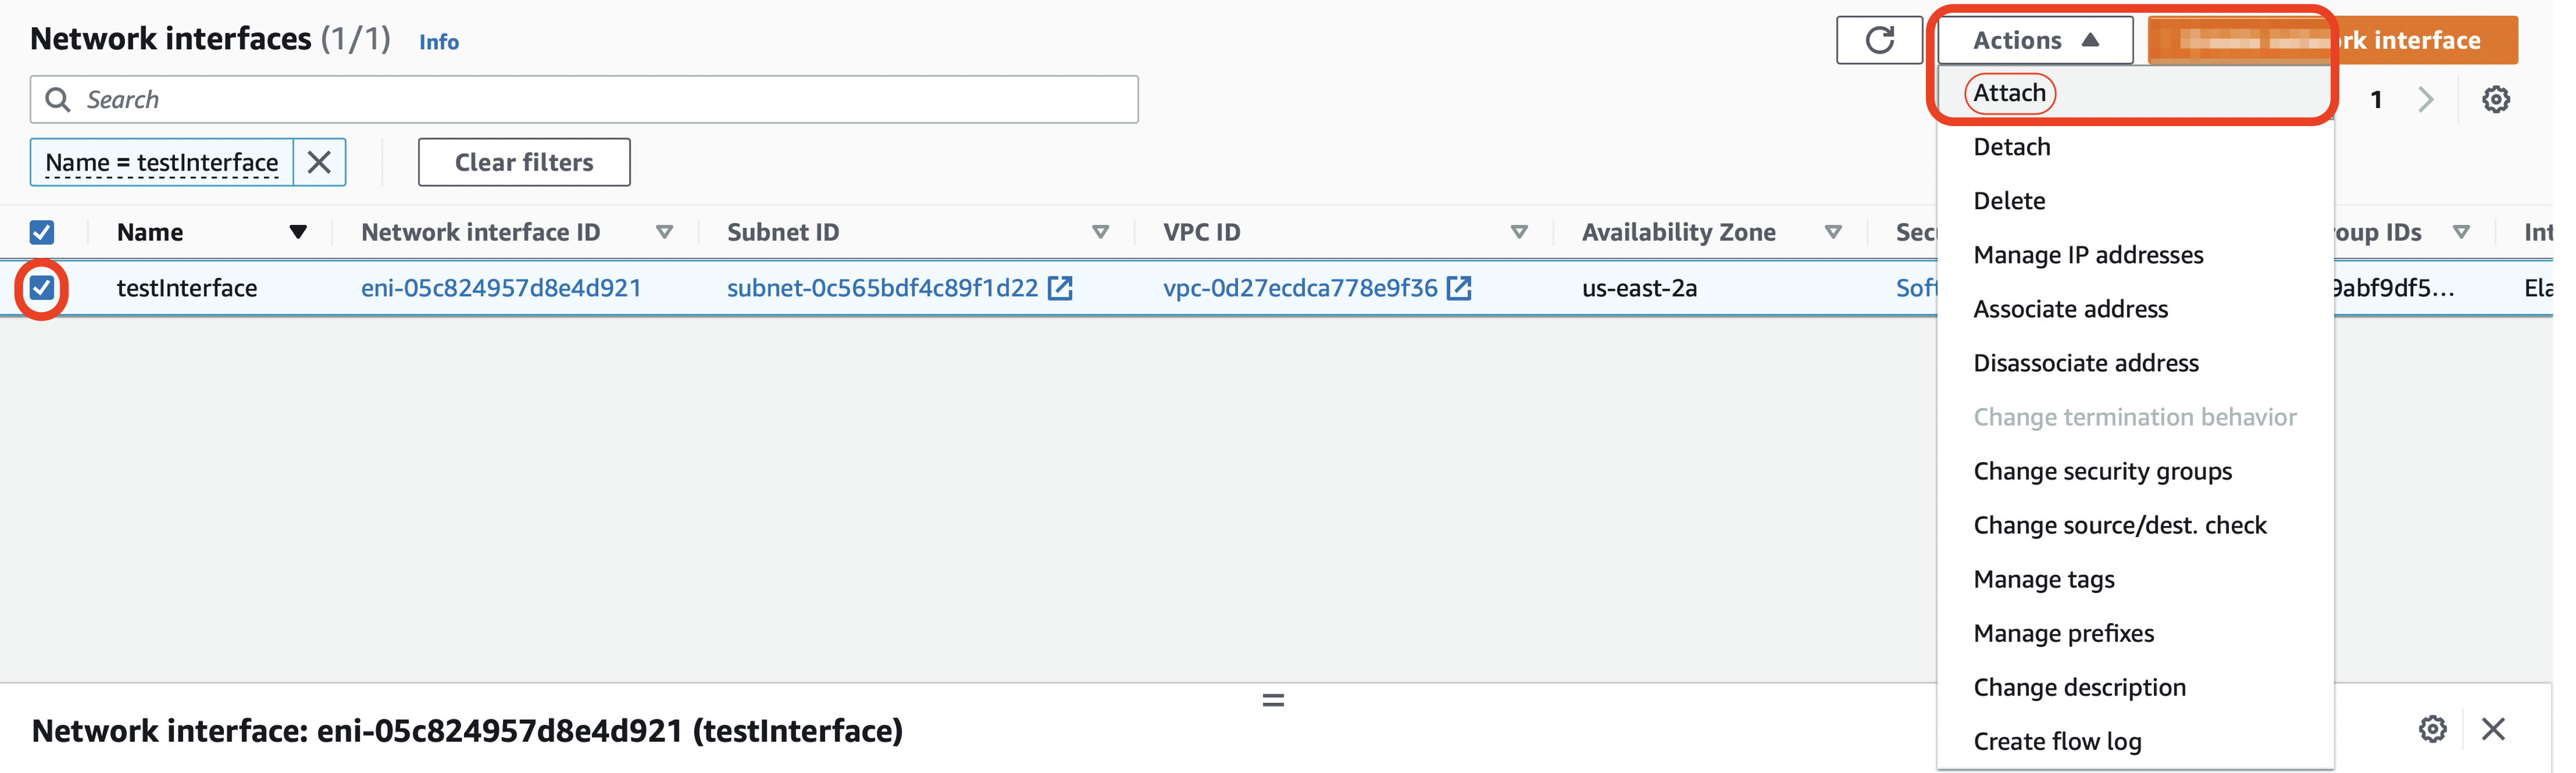
- Select the instance you wish to attach the additional NIC. Click Attach.

- To verify the network interface has been added, select your instance from Instances in the EC2 dashboard.
- Scroll down the Networking tab and look for Network Interfaces.
If two interfaces are present, the task is complete.
