Archive: Azure Active Directory and Connecting Your SoftNAS on Azure Instance
Traditional premise-based Active Directory solutions are not specifically designed to handle identity and access control for the multitude of cloud-based services that may exist in a given organization. For example in traditional AD we have an "organization", that contains "groups", that contain "people". Today's multi-dimensional world requires a more flexible hierarchy. Azure Active Directory (Azure AD) was designed specifically to meet cloud requirements, and SoftNAS® is fully compatible with both traditional and Azure AD.
The following video and article below will help you to join your instance to an existing Azure Active Directory configuration.
Joining your SoftNAS instance to an existing Azure Active Directory is relatively straight forward. It requires but 5 elements:
- An Azure AD User with appropriate credentials
- Fully Qualified Domain Name (FQDN)
- NetBIOS Name
- IP address of the DNS Server
- A connection to the same network as Azure AD
Assuming your existing Azure AD configuration provides the above requirements, the Active Directory wizard will take care of nearly everything. You will need to add the IP of your DNS server. This is covered in Adding Domain Controllers as DNS Server for SoftNAS. See Active Directory Configuration for steps to connect to Active Directory. The configuration of Azure AD and traditional AD is no different, provided you have the credentials, FQDN and NetBIOS, and DNS IP address, and your instance is on the same network.
To find your FQDN, NetBIOS and DNS IP address, simply log in to the classic portal, select Active Directory from the left-side menu, and click the Configure heading.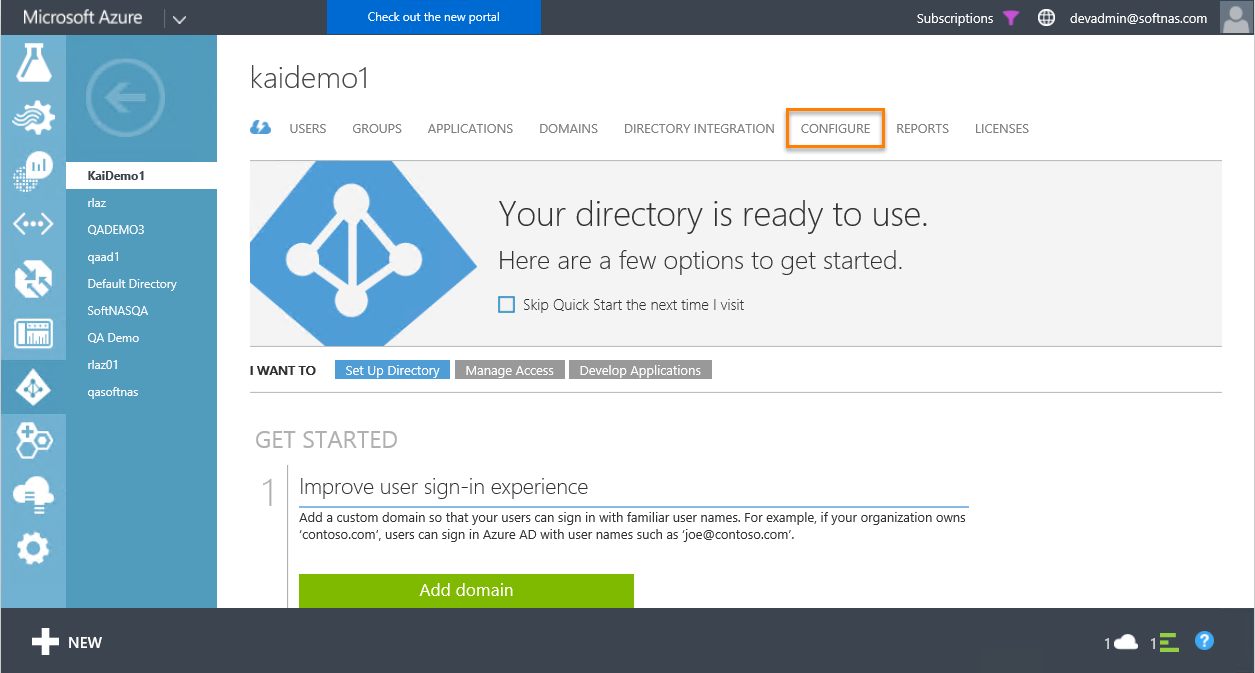
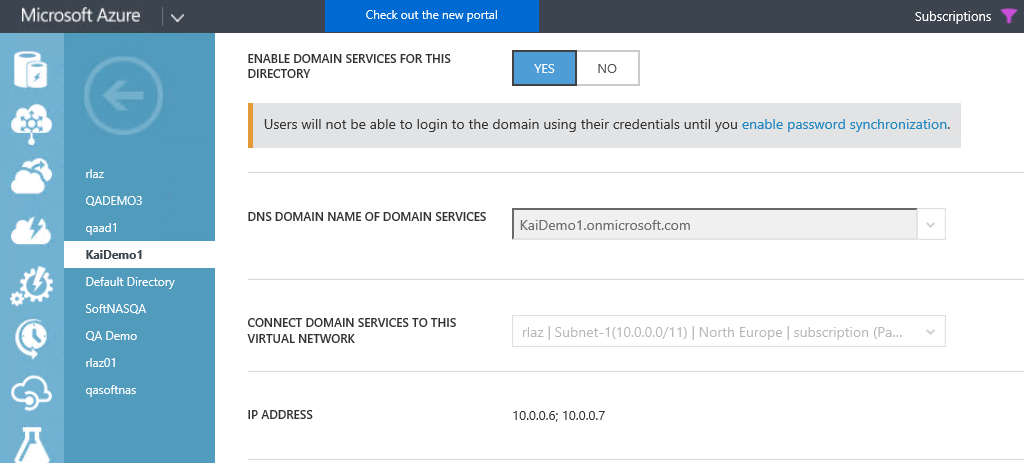
Your NetBIOS name is the first part of your FQDN. In the below example, it would be 'KaiDemo1'. The DNS IP address can be found below Connect Domain Services to This Virtual Network, where it says IP Address.
Note: Network configuration will require peering, as Azure AD is configured using the Classic Azure Management Portal, and your SoftNAS instance will be created using resource manager and a resource group within the Azure Administration portal.
For those who have never configured Azure Active Directory, or who may be unfamiliar with the classic Azure management portal, the following articles will help you with your configuration.
Alternatively, the following video will provide guidance as well.
Configuring a Network on the Classic Portal
The first step in planning your Azure AD configuration is to determine and create your virtual network.
Configuring A Network on Azure's Classic Portal
Configuring Azure Active Directory
Azure Active Directory is configured from the classic Azure management portal. It is a simple and straightforward process, provided virtual networks are configured.
Configuring Azure Active Directory
Creating a User
A user is required to authenticate access to your Azure AD configuration. Of course, any number of users and groups can be created, with whatever access level is deemed necessary. However, for the purposes of connecting SoftNAS instances to Azure AD, you will need one account with the appropriate rights.
Creating A User to connect Azure AD
Set up Network Peering
To ensure network connectivity for your Azure AD configuration, you will need to peer a standard Azure virtual network with a classic Azure virtual network. The primary considerations for this to work are that they must both be in the same region, and both under the same subscription.
Peering between Classic and Resource Manager Virtual Networks